 Save
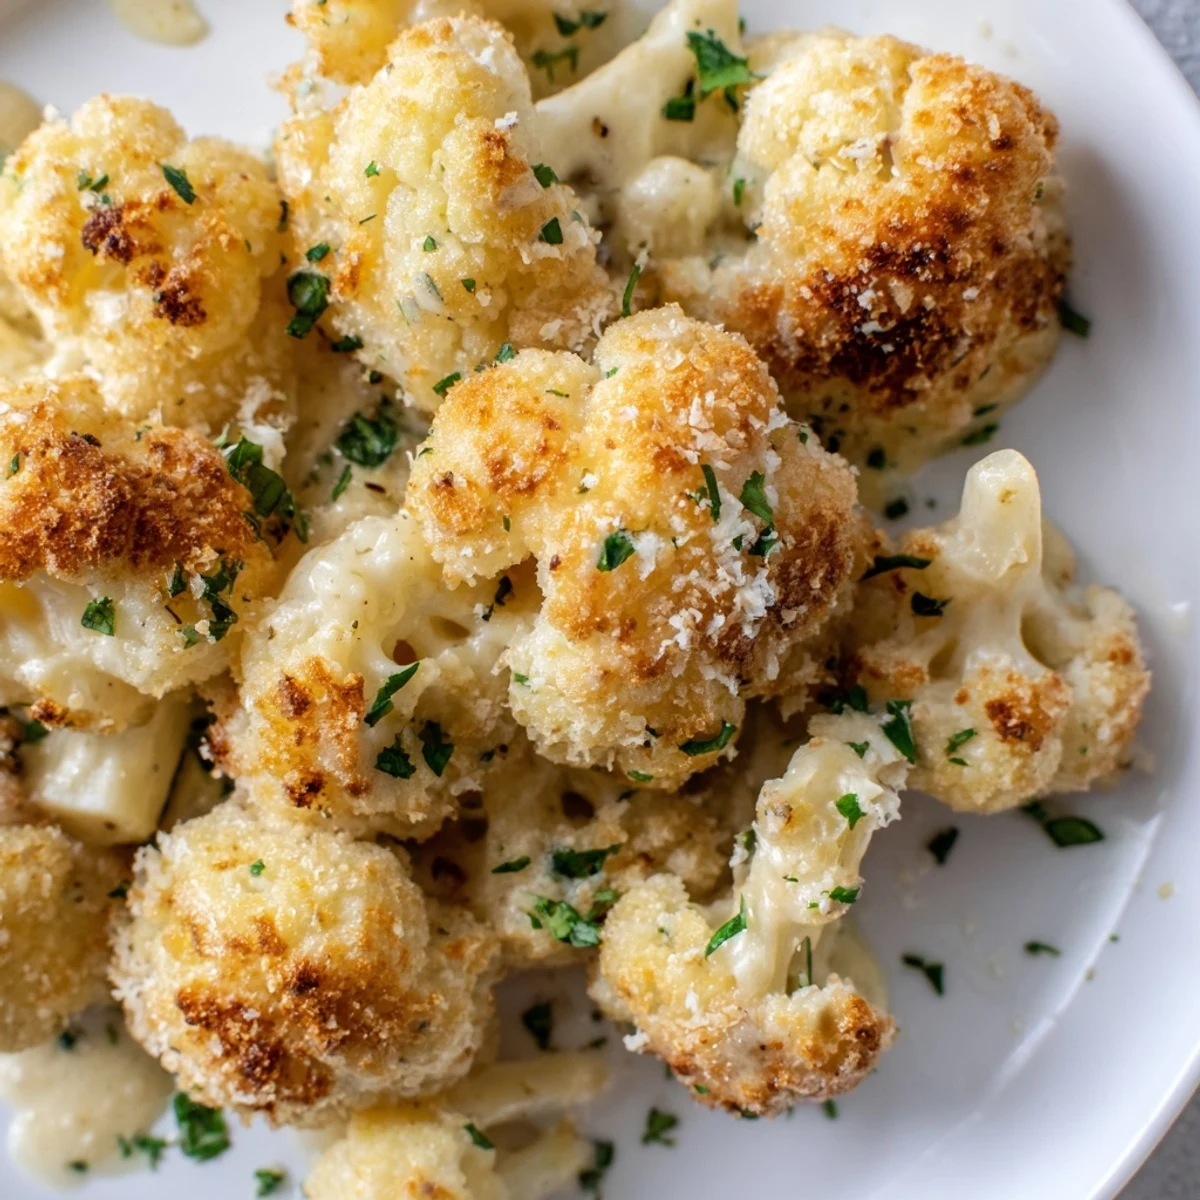
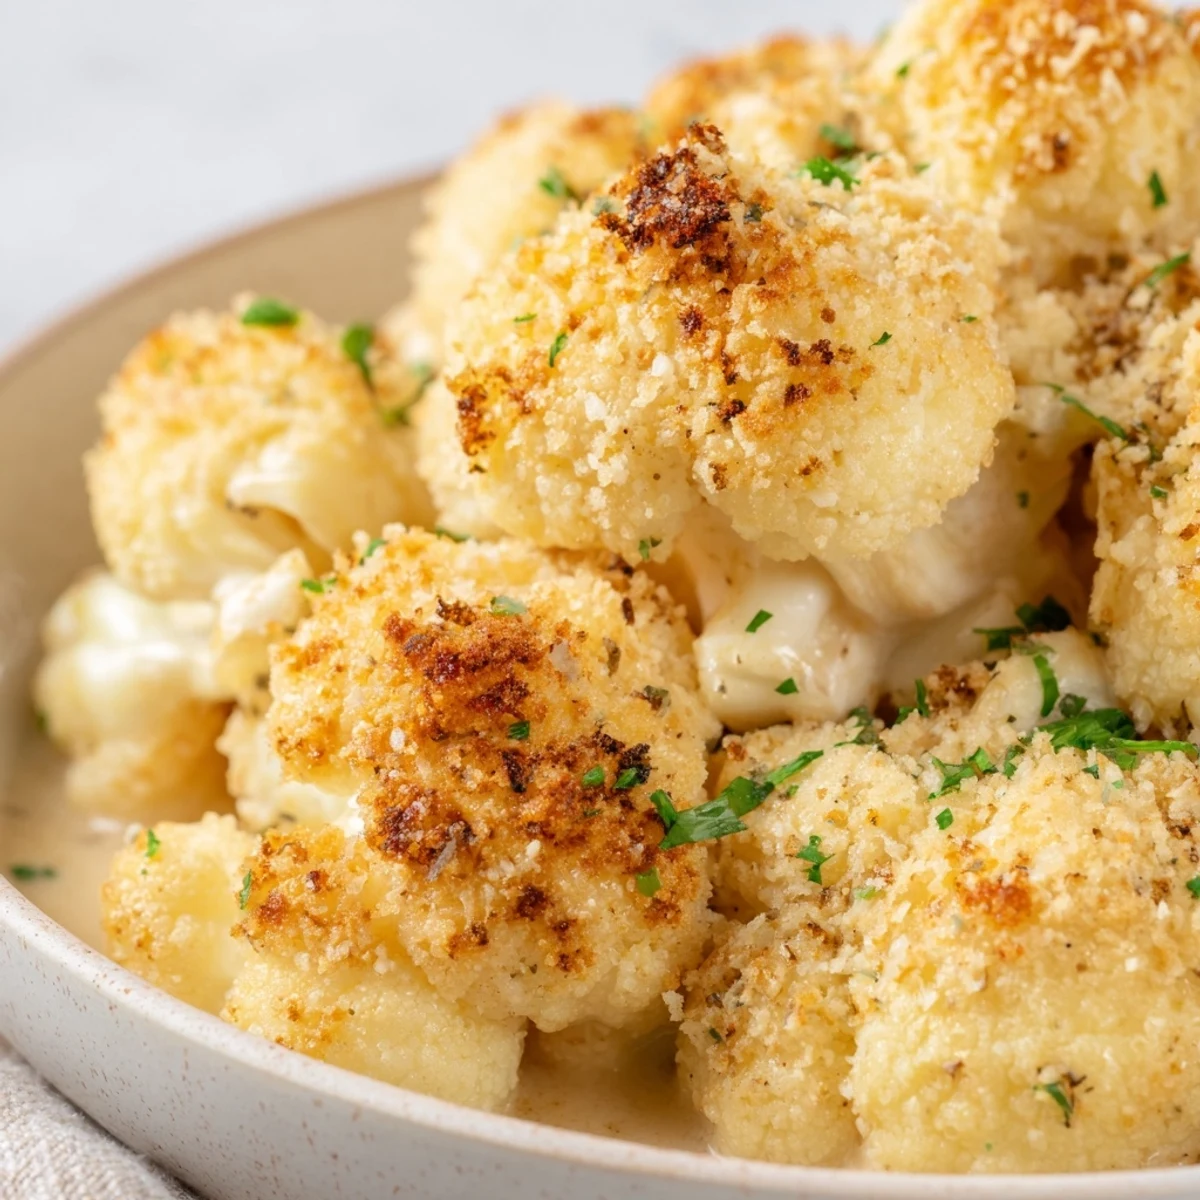
Save This cheesy cauliflower bake combines tender florets in a rich, herb-infused cheese sauce made from butter, milk, cheddar, and Parmesan. Topped with a golden breadcrumb crust and baked until bubbling, it's an easy vegetarian dish that serves four in just 50 minutes.
The technique involves blanching cauliflower briefly, preparing a silky cheese sauce infused with fresh parsley, chives, and thyme, then baking with a crispy topping. Optional broiling adds extra texture. Versatile enough to serve as a side with roasted meats or paired with salad as a main course.
The first time I made this Cheesy Cauliflower Bake, I had a kitchen full of herbs from my window box that were threatening to bolt in the summer heat. The fragrance of thyme and chives filled my apartment as I chopped, and I remember thinking how something so simple could smell so extraordinary. What started as a practical way to use my herbs became an absolute revelation of flavor and comfort.
Last autumn, I brought this to a potluck where most dishes were quite elaborate and fancy. My humble cauliflower dish was scraped clean while other offerings barely had a dent. A friend whispered that she nearly licked the dish clean but maintained her dignity by asking for the recipe instead.
Ingredients
- Cauliflower: Look for tight, cream-colored heads without brown spots, and I've learned that smaller cauliflowers often have the sweetest flavor.
- Cheese combination: The marriage of sharp cheddar and nutty Parmesan creates a depth that a single cheese simply cannot achieve.
- Fresh herbs: This is where the magic happens, as dried herbs just cannot deliver the same bright, aromatic quality that transforms this dish.
- Breadcrumbs: They create that irresistible golden crust that makes everyone fight for the corner pieces.
Instructions
- Prep your cauliflower:
- Cut your cauliflower into bite-sized florets that are roughly the same size for even cooking. You want them tender but not mushy after boiling, about 5-6 minutes.
- Create your aromatic base:
- As the butter melts and the garlic begins to sizzle gently, take a moment to appreciate that incredible smell. This fragrant foundation will carry through the entire dish.
- Make the cheese sauce:
- Whisk continuously as you add the milk to the garlic butter to prevent any lumps from forming. The sauce should coat the back of a spoon before you start adding your cheeses and herbs.
- Assemble with love:
- Gently fold the cauliflower into the cheese sauce rather than stirring vigorously. This preserves the shape of your florets while ensuring every piece gets coated in that luscious sauce.
- Create the perfect crust:
- Sprinkle the breadcrumb mixture evenly across the top, making sure to hit the edges where the sauce bubbles up. These crispy edges will become the most sought-after bites.
- Watch the bake:
- Keep an eye on your bake during the last few minutes, as ovens vary widely. The perfect golden crust can quickly turn too brown if left unattended.
 Save
Save One rainy Sunday, when comfort was needed more than ever, I made this bake with whatever odds and ends of cheese were in my fridge. My daughter, who normally negotiates her way through vegetables, asked for seconds and then proclaimed that cauliflower might not be so bad after all. In our house, that counts as a culinary miracle.
Flavor Variations
Sometimes I add a pinch of smoked paprika to the cheese sauce for a subtle smoky depth, or swap half the cauliflower for broccoli when I want to shake things up. The most surprising addition that worked beautifully was a handful of toasted pine nuts scattered on top before serving, adding an unexpected but welcome crunch against the creamy sauce.
Make-Ahead Tips
This dish shines as a make-ahead option for busy weeknights or holiday preparations. You can assemble everything up to the breadcrumb topping, cover and refrigerate for up to 24 hours, then simply add the topping and bake when you're ready. I've found it needs about 5-7 extra minutes in the oven when coming from the cold refrigerator.
Serving Suggestions
The versatility of this cheesy cauliflower bake continues to surprise me even after countless preparations. It pairs wonderfully with roast chicken or grilled steak for a complete meal, but also stands confidently on its own with just a bright arugula salad dressed with lemon vinaigrette.
- For a hearty vegetarian feast, serve alongside mushroom risotto and roasted cherry tomatoes.
- During cooler months, pair with a bowl of tomato soup for the ultimate comfort food experience.
- Leftovers can be transformed into an incredible omelet filling the next morning, if you manage to have any left.
 Save
Save This cheesy cauliflower bake has become more than just a recipe in my collection, it's become a solution for so many dining dilemmas and a reliable path to contentment. I hope it brings the same comfort and joy to your table as it has to mine.
Recipe FAQs
- → Can I prepare this ahead of time?
-
Yes, assemble the dish completely through step 6, cover with plastic wrap, and refrigerate up to 24 hours before baking. Add 5-10 minutes to baking time if cooking from cold.
- → What cheese alternatives work best?
-
Gruyère offers a nutty depth, while mozzarella creates a milder, stretchy texture. Swiss cheese also works well. Maintain similar ratios to the original for consistent results.
- → How do I achieve a crispier top?
-
After baking until golden, broil for 2-3 minutes under high heat, watching closely to prevent burning. The direct heat creates an extra-crunchy breadcrumb crust.
- → Is this dish suitable for dairy-free diets?
-
Substitute dairy milk with unsweetened oat or almond milk, replace butter with olive oil, and use dairy-free cheese alternatives. The sauce will be slightly less creamy but still flavorful.
- → What's the best way to blanch cauliflower?
-
Boil salted water, add florets, and cook 5-6 minutes until just tender but still firm. Drain thoroughly to remove excess moisture, preventing a watery final dish.
- → Can I add other vegetables to this dish?
-
Absolutely. Combine cauliflower with broccoli, diced bell peppers, or thinly sliced carrots. Pre-cook denser vegetables slightly longer to ensure even tenderness.