 Save
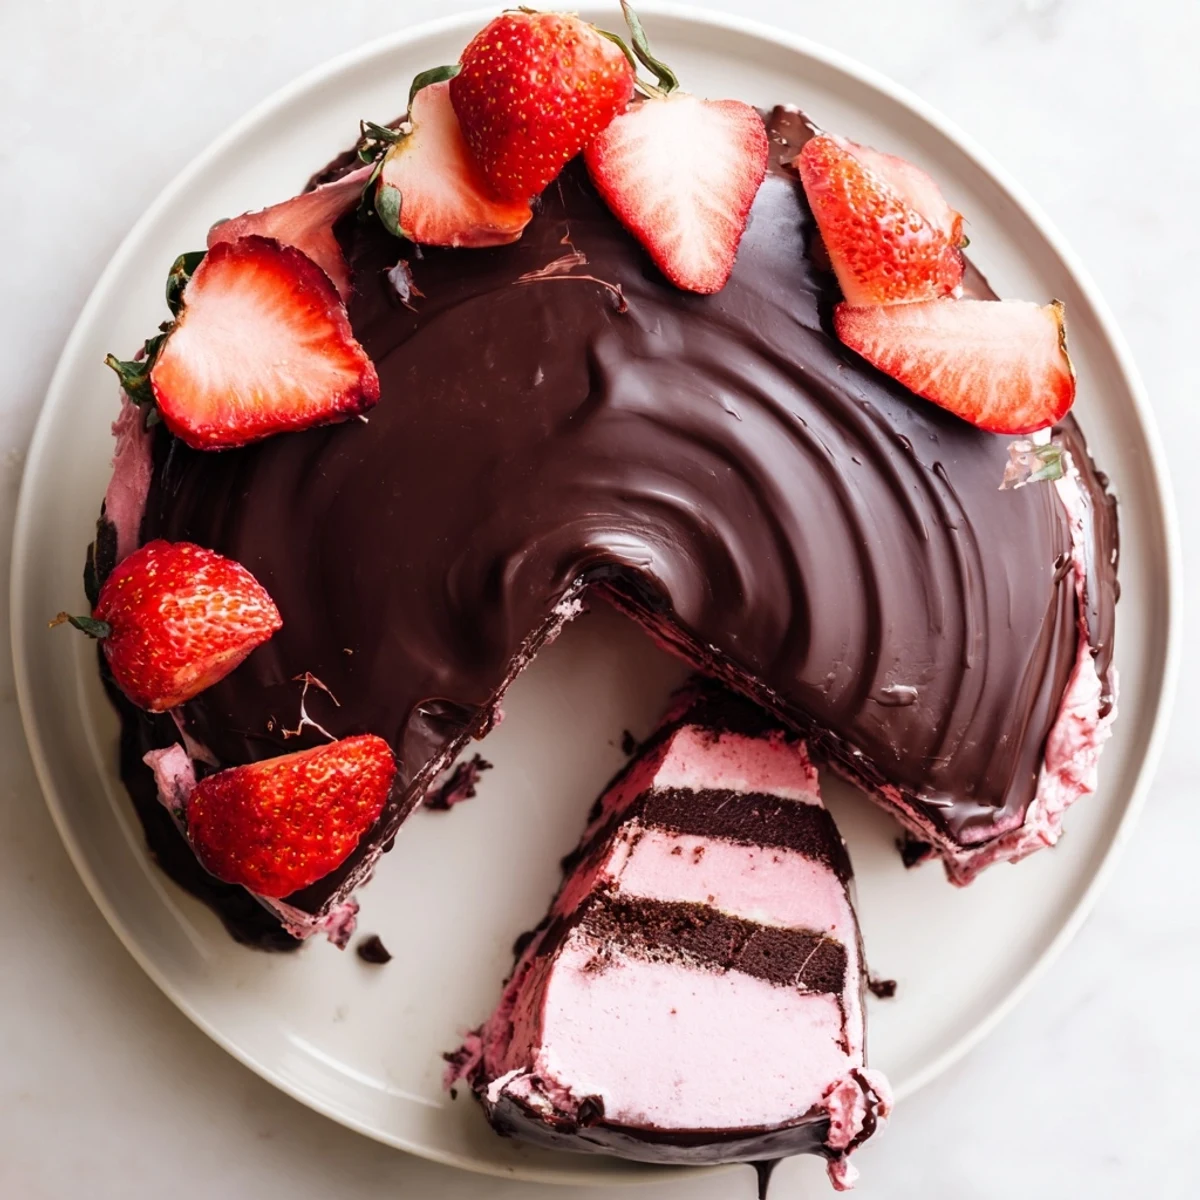
Save This stunning frozen dessert combines three beloved elements into one showstopping treat. A rich, tender chocolate cake forms the base, topped with a thick layer of creamy strawberry ice cream. The entire creation is enveloped in a glossy chocolate shell that cracks beautifully when sliced. Perfect for summer birthdays, holidays, or any celebration requiring an impressive dessert that can be made ahead.
The summer I turned twelve, my sister got married in our backyard. Someone brought a store-bought ice cream cake that sat melting in the July heat, and I remember thinking even then that I could make something better, something that would actually hold up.
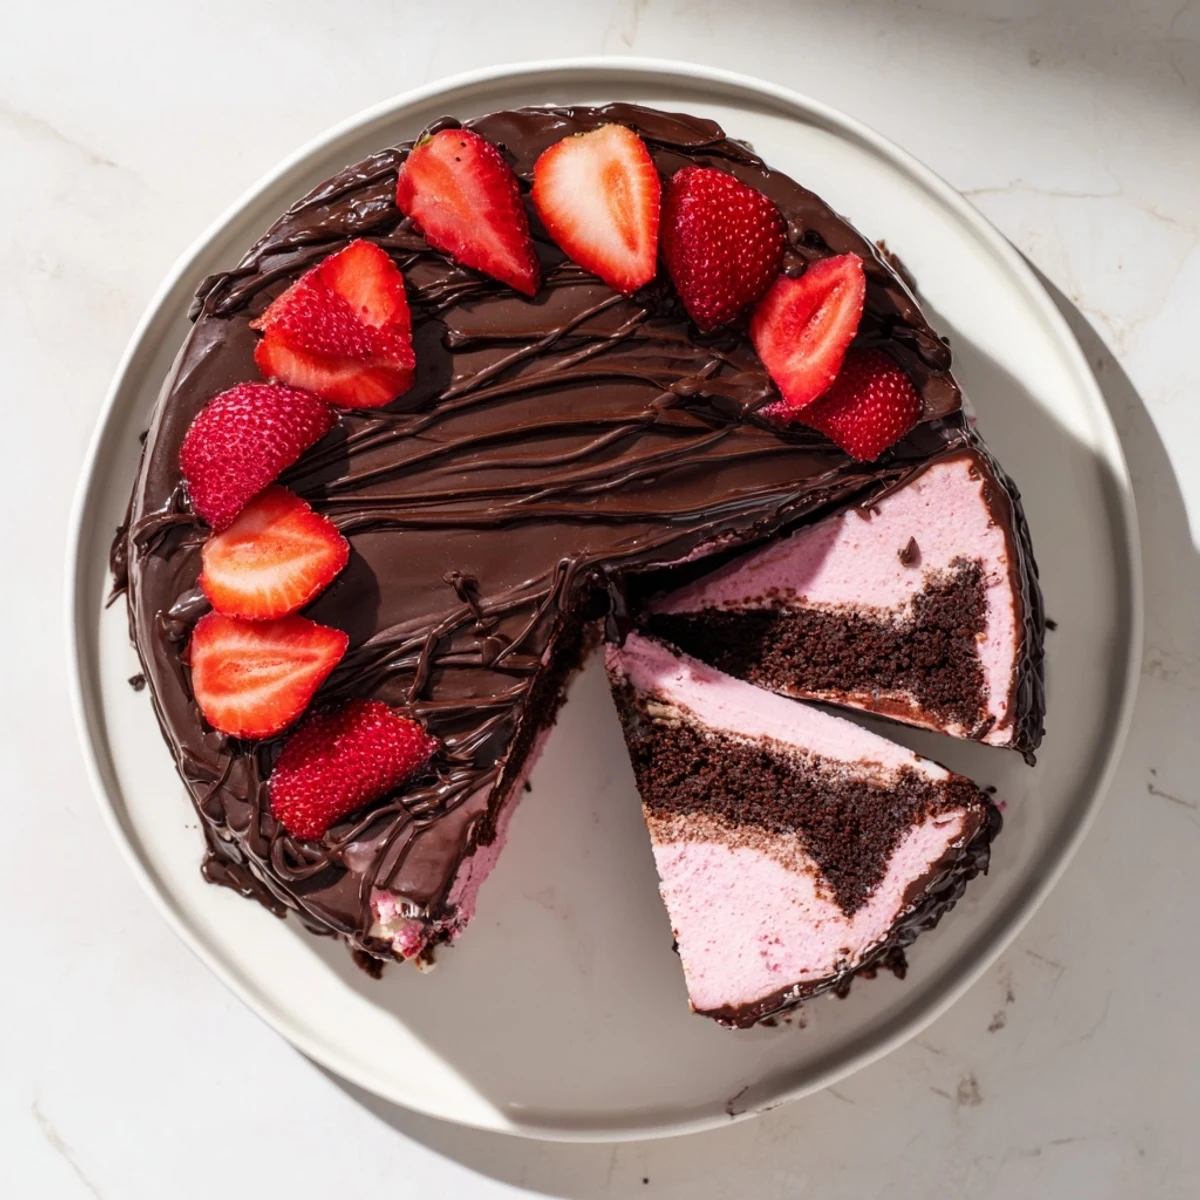
Last Fourth of July, I made three of these cakes for different parties. By the third one, I learned to soften the ice cream exactly right and pour the shell when the kitchen was coolest. People actually gasped when I sliced into it.
Ingredients
- All-purpose flour: The foundation that holds everything together, dont pack it down when measuring
- Unsweetened cocoa powder: Sift it first to avoid any stubborn lumps in your chocolate cake
- Baking powder and baking soda: Both work together to give the cake its tender, airy crumb
- Salt: Just enough to make the chocolate taste more like itself
- Unsalted butter: Room temperature butter creates the perfect texture for creaming with sugar
- Granulated sugar: Cream it thoroughly with butter until the mixture looks pale and fluffy
- Large eggs: Add them one at a time and really let each incorporate before the next
- Vanilla extract: Pure vanilla makes a difference you can actually taste
- Whole milk: Brings just the right amount of moisture to the batter
- Strawberry ice cream: Let it soften on the counter for about 15 minutes before spreading
- Semi-sweet chocolate chips: These melt beautifully with coconut oil for that signature shell
- Coconut oil: The secret ingredient that helps the chocolate shell crack perfectly
- Fresh strawberries: Hull them right before garnishing so they stay bright and fresh
- Dark chocolate: Optional but worth it for that pretty drizzle on top
Instructions
- Preheat your oven:
- Get it to 350 degrees and prep your 9-inch springform pan with grease and parchment paper, this will be your best friend later.
- Whisk the dry ingredients:
- Combine the flour, cocoa powder, baking powder, baking soda, and salt in a medium bowl, set it aside.
- Cream butter and sugar:
- Beat them together until theyre light and fluffy, this takes about 3 minutes but is worth every second.
- Add eggs and vanilla:
- Beat in each egg separately, then stir in the vanilla until everything smells like a bakery.
- Combine everything:
- Add the dry ingredients and milk in alternating batches, starting and ending with the dry, mix until just combined.
- Bake the cake:
- Pour into your prepared pan, smooth the top, and bake 22 to 25 minutes until a toothpick comes out clean, then cool completely.
- Layer the ice cream:
- Spread the softened strawberry ice cream over the cooled cake right in the pan, smooth the top and freeze 3 to 4 hours.
- Make the chocolate shell:
- Melt the chocolate chips with coconut oil in 30-second bursts, stirring between each, then let it cool slightly.
- Unmold and pour:
- Release the springform, place the cake on a serving plate, pour the chocolate shell over the ice cream and spread quickly.
- Final freeze and serve:
- Freeze 30 minutes more to set the shell, let it stand 10 minutes at room temperature before slicing.
 Save
Save My friend Sarah requested this for her birthday instead of a traditional cake. She told me later that the contrast of textures made her close her eyes after every bite, which might be the best compliment Ive ever received.
Getting The Timing Right
I learned the hard way that trying to spread rock-hard ice cream over cake just ends with torn cake and frustration. The sweet spot is when you can press your finger into the ice cream and leave a small indent, but it still holds its shape.
Pan Choice Matters
A springform pan is non-negotiable here. Regular cake pans will trap your beautiful creation forever, and nobody wants to hack apart a frozen masterpiece just to get it out of the pan.
Make It Your Own
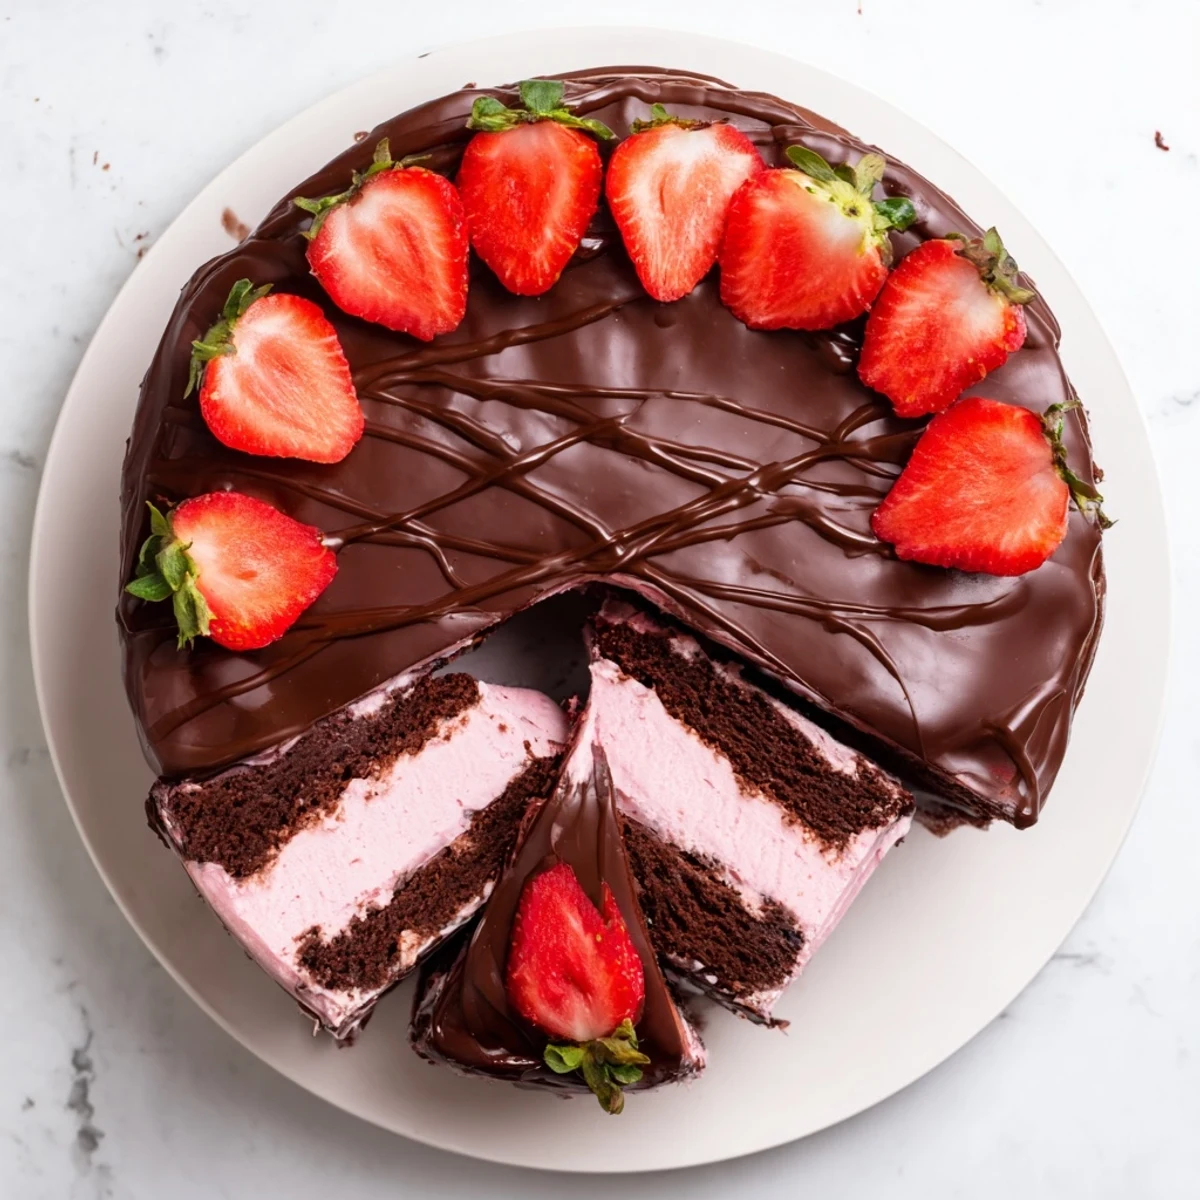
Once you master the basic technique, the variations are endless. Ive swapped chocolate cake for brownies, used mint chip ice cream instead of strawberry, and even added a layer of crushed Oreos between the cake and ice cream.
- Try chocolate chip cookie dough ice cream with a vanilla cake base
- Add chopped toasted nuts to the chocolate shell before it sets
- Let the cake sit 5 minutes longer if the shell feels too hard to slice through
 Save
Save This cake taught me that some recipes are worth the wait and the planning. Now it is my go-to for summer celebrations, and I love watching peoples faces when that chocolate shell cracks open.
Recipe FAQs
- → Can I make this ahead of time?
-
Absolutely. This dessert actually improves when made 1-2 days ahead. Store in the freezer, well-covered, until ready to serve. Let stand 10 minutes at room temperature before slicing.
- → What other ice cream flavors work well?
-
Mint chocolate chip, cookies and cream, or vanilla bean all pair beautifully with the chocolate layers. For a classic combination, try raspberry or cherry ice cream instead of strawberry.
- → Can I use a different type of chocolate?
-
Yes. Dark chocolate (60-70%) creates a richer, less sweet shell. Milk chocolate works if you prefer a sweeter finish. Avoid white chocolate as it doesn't set properly with coconut oil.
- → How do I get clean slices?
-
Run a sharp knife under hot water, dry thoroughly, then slice. Wipe clean and reheat between cuts. Alternatively, use a knife dipped in warm water for smoother cuts through the frozen layers.
- → Can I make this without a springform pan?
-
A 9-inch round cake pan works, but removal requires careful inversion. Line the pan with parchment paper overhang for easier lifting. Alternatively, use a square pan and cut into squares for serving.
- → How long does the chocolate shell stay crisp?
-
The shell remains firm for about 20-30 minutes at room temperature before softening. For best results, serve immediately after the final freezing period, or keep frozen until just before serving.