 Save
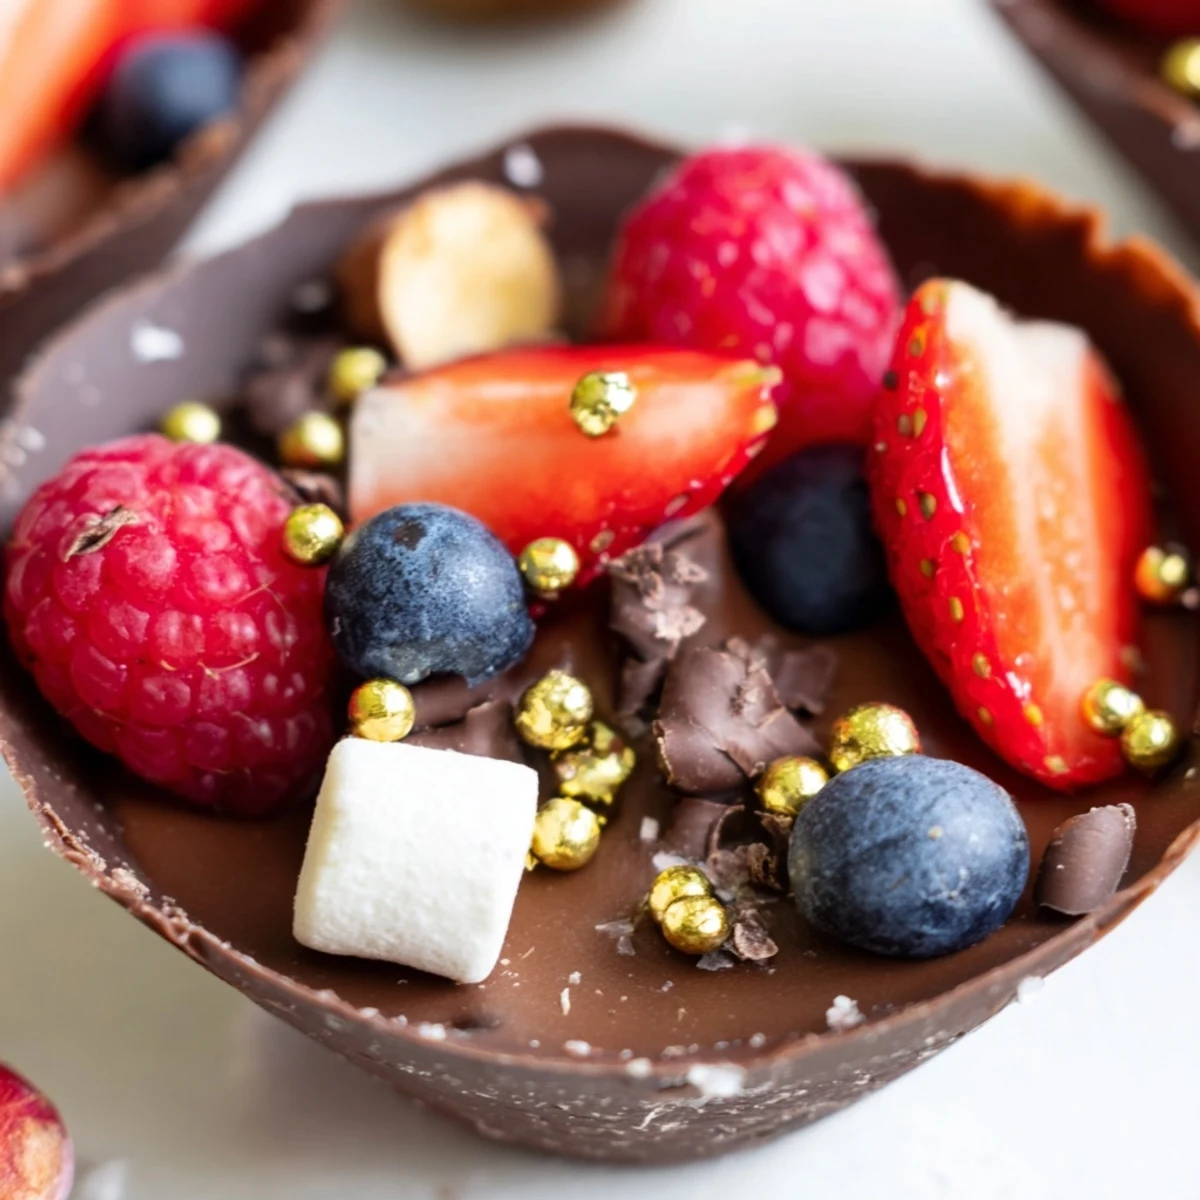
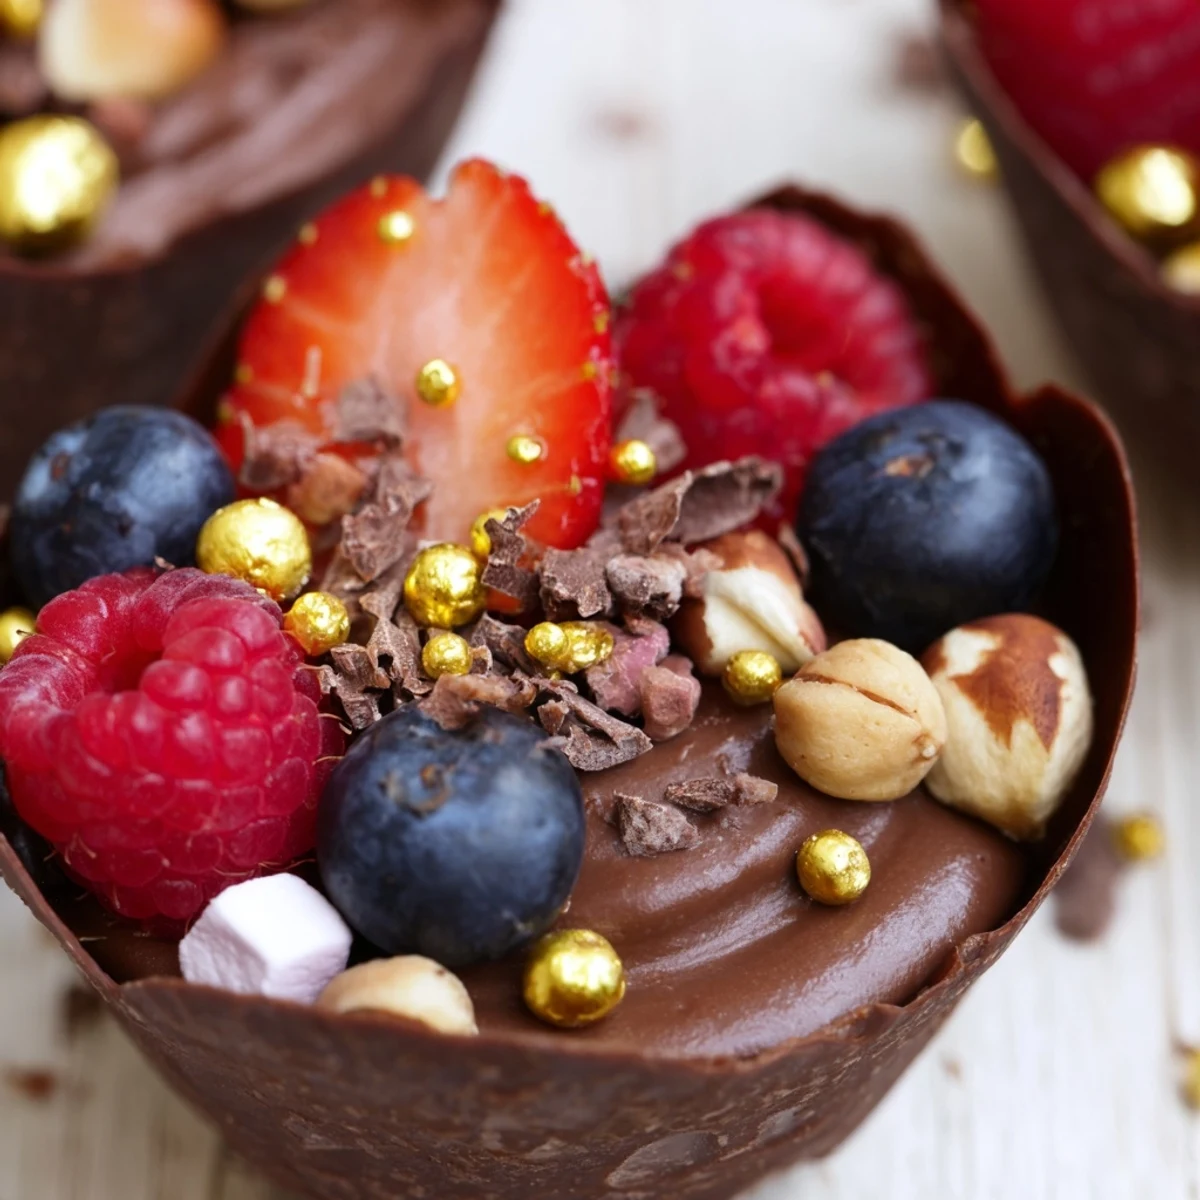
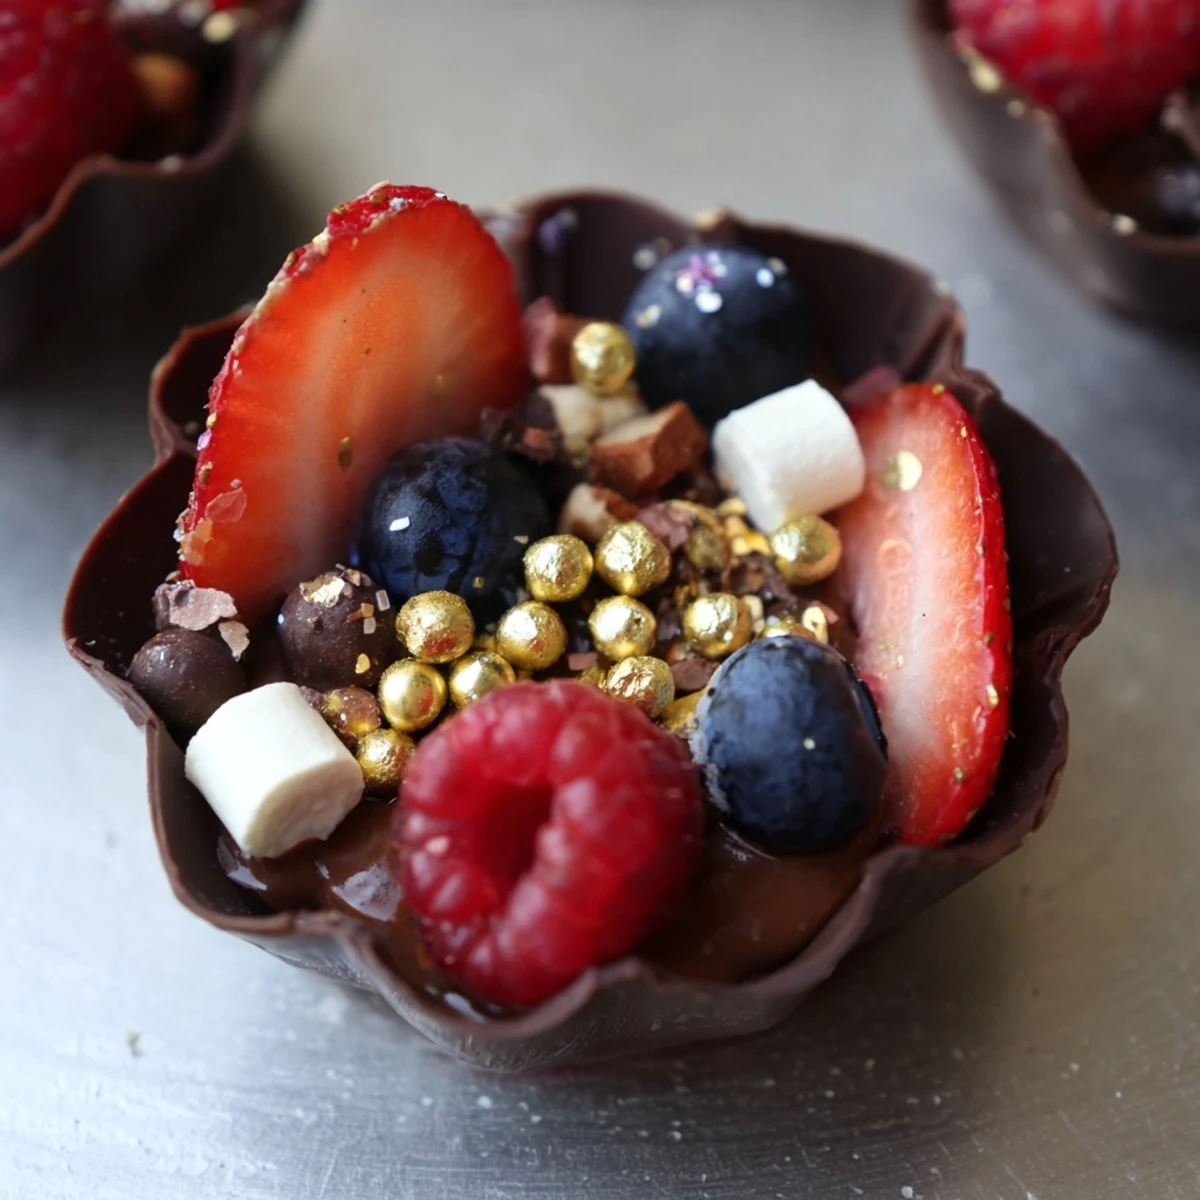
Save Create stunning edible dessert cups with homemade dark chocolate shells filled with silky chocolate mousse. These elegant grazing cups feature fresh berries, chopped nuts, mini marshmallows, and chocolate curls for texture and visual appeal. Perfect for dessert tables, parties, or special celebrations. Ready in just over an hour with simple preparation techniques.
The first time I made chocolate cups, I accidentally pressed too hard and broke three of them trying to peel off the liners. My kitchen smelled like melted chocolate for days, which honestly wasn't the worst problem to have.
I served these at my dinner club last winter, and my friend Sarah literally gasped when I brought out the platter. She thought I'd secretly ordered them from that expensive bakery downtown.
Ingredients
- Dark chocolate (at least 60% cocoa): The higher cocoa percentage gives your chocolate cups structural integrity while still tasting decadent and smooth
- Heavy cream: Very cold cream whips up faster and holds its shape better when folded into the melted chocolate
- Powdered sugar: Dissolves instantly into the cream without leaving gritty texture behind
- Vanilla extract: Pure extract makes a noticeable difference in the mousse's depth and warmth
- Fresh mixed berries: The tartness cuts through all that rich chocolate and keeps each bite interesting
- Chopped nuts: Toast them lightly beforehand for an extra nutty fragrance that people can smell before they even take a bite
- Edible gold leaf: Completely unnecessary but absolutely makes people feel special when they see it
Instructions
- Craft the chocolate cups:
- Melt your chocolate in short bursts, stirring between each round until glossy and smooth. Brush the inside of your liners with an even layer and pop them in the fridge for 20 minutes.
- Whip up the mousse:
- Melt the second batch of chocolate and let it cool slightly while you whip your cream with sugar and vanilla. Fold a spoonful of cream into the chocolate first to loosen it, then gently incorporate the rest.
- Fill and garnish:
- Spoon the mousse into your chocolate cups, leaving room at the top. Pile on berries, nuts, marshmallows, and whatever else catches your eye.
- Chill before serving:
- Give the cups at least 20 minutes in the refrigerator so everything sets properly. Bring them out just before serving.
 Save
Save These became my go-to dessert for dinner parties after the night my brother asked if he could take the extras home for his girlfriend. That's when I knew they were something special.
Making Chocolate Cups That Actually Work
Silicone liners release more easily than paper ones, and you can reuse them forever. The key is brushing the chocolate up slightly over the rim for a nice finished edge that looks intentional.
Getting The Mousse Texture Right
Stop whipping your cream at soft peaks, not stiff ones. Over-whipped cream creates a weird grainy texture when folded into the chocolate, and nobody wants grainy mousse.
Assembly Tips For Picture Perfect Cups
Work quickly once you start assembling, because the chocolate cups soften at room temperature. Have all your toppings ready in little bowls beforehand.
- Place heavier ingredients like nuts first, then lighter berries on top
- Add delicate gold leaf right before serving so it stays pristine
- Keep assembled cups chilled until the moment you serve them
 Save
Save These grazing cups make ordinary days feel like celebrations and special occasions feel extraordinary.
Recipe FAQs
- → How long do chocolate cups stay fresh?
-
Best enjoyed within 24 hours for optimal texture. The chocolate shells may soften slightly over time, so assembly on the day of serving is recommended.
- → Can I make chocolate cups in advance?
-
Yes, prepare the chocolate shells up to 2 days ahead and store in an airtight container with parchment paper between layers. Fill with mousse just before serving.
- → What chocolate works best for cups?
-
Dark chocolate with 60% cocoa content provides the ideal balance of firmness and flavor. Higher percentages create sturdier cups but may be more bitter.
- → Can I use silicone molds instead of cupcake liners?
-
Absolutely. Silicone molds work excellently and provide consistent shapes. Simply press chocolate into mold cavities and chill until set before gently removing.
- → How do I prevent chocolate from seizing when melting?
-
Ensure all equipment is completely dry, as even a drop of water causes seizing. Microwave in 30-second intervals, stirring between each, or use a double boiler.
- → What other toppings work well?
-
Try crushed cookies, toasted coconut, shaved white chocolate, caramel drizzle, fresh mint, or citrus zest. Seasonal fruits make beautiful additions.