 Save
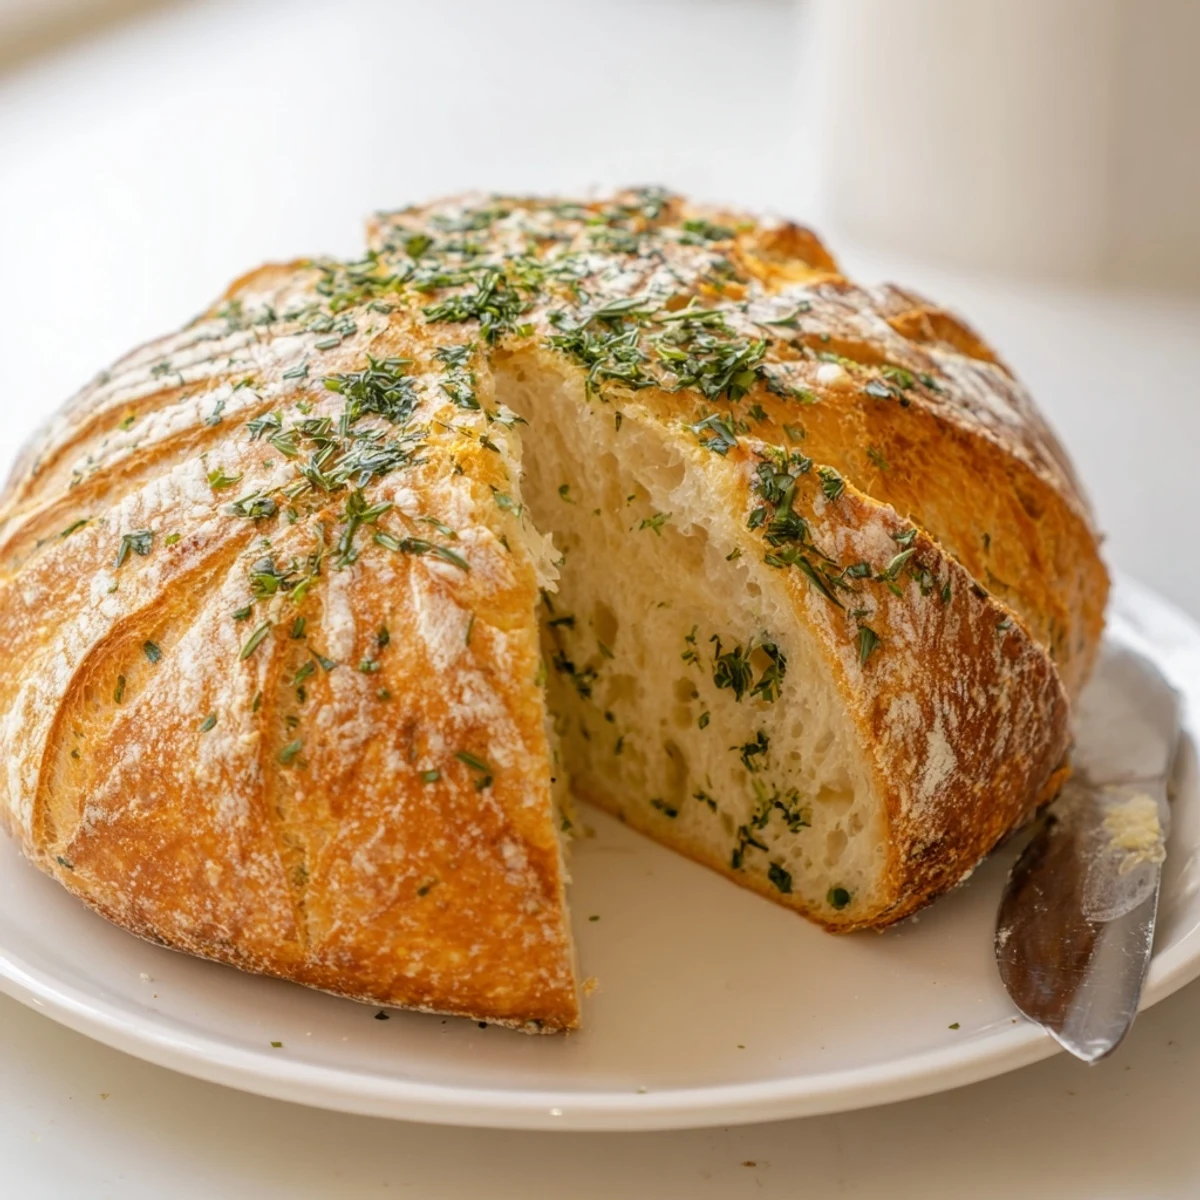
Save Create bakery-worthy garlic herb bread at home using a Dutch oven for that perfect crispy crust and tender interior. This artisan-style loaf combines aromatic minced garlic with fresh rosemary, thyme, and parsley woven throughout a simple yeast dough. The Dutch oven method creates ideal steam conditions, resulting in a professional-looking bread with a crackled golden exterior and airy crumb.
Ready in about 3.5 hours with mostly hands-off rising time, this versatile bread pairs beautifully with soups, salads, or simply enjoyed warm with olive oil. The final butter brushing adds extra richness and an attractive sheen.
The smell of garlic and herbs wafting through the kitchen is something that stops everyone in their tracks. I first made this bread on a snowy Sunday when we had nothing but flour and a wilting herb bouquet on the windowsill. My roommate poked her head in, asked what bakery I'd secretly visited, and refused to believe it came from our own oven. Now it's the bread I make whenever I need to feel like a kitchen magician without actually using any magic tricks.
Last winter my sister came over during a particularly rough week at work. I pulled this bread out of the oven, still crackling from the heat, and set it on the counter with some softened butter. She stood there eating slice after slice, talking about how the simple act of breaking warm bread made everything feel manageable again. We stood in the kitchen for an hour, just eating and talking, while the snow piled up outside.
Ingredients
- Bread flour: The higher protein content creates that chewy artisan texture and helps the dough develop structure without excessive kneading
- Active dry yeast: Make sure your water is warm but not hot, like a comfortable baby bath, or you'll kill the yeast before it can work
- Garlic cloves: Mince them finely so they distribute evenly throughout the dough, creating pockets of aromatic flavor in every bite
- Fresh herbs: Rosemary, thyme, and parsley form the classic trio, but don't be afraid to use whatever's looking sad in your crisper drawer
- Olive oil: This keeps the dough tender and adds a subtle fruity undertone that complements the garlic beautifully
- Melted butter: Brushing this on right after baking gives the crust an irresistible sheen and an extra layer of flavor
Instructions
- Mix your foundation:
- Combine the flour, salt, and sugar in a large bowl, then stir in the yeast until everything is evenly distributed throughout the flour
- Bring the dough together:
- Pour in the warm water and olive oil, then stir with a wooden spoon until a shaggy, sticky dough forms—it will look messy and that's exactly right
- Add the aromatics:
- Fold in your minced garlic and chopped herbs, stirring until they're evenly incorporated and the dough looks speckled with green and white
- Let it rise:
- Cover the bowl with plastic wrap or a damp towel and walk away for 2 hours, until the dough has doubled in size and looks puffy and alive
- Shape the loaf:
- Turn the dough onto a floured surface and gently fold the edges underneath to create a round, smooth ball—handle it lightly to preserve those air bubbles
- Rest again:
- Place the dough on parchment paper, cover loosely with a towel, and let it relax for 30 minutes while you preheat your Dutch oven
- Preheat your oven:
- Put your Dutch oven and its lid in the oven and heat to 450°F for at least 30 minutes—getting it screaming hot is the secret to the crispy crust
- Score and bake:
- Carefully lift the dough by the parchment and lower it into the hot Dutch oven, score the top with a sharp knife, then cover and bake for 30 minutes
- Finish with glory:
- Remove the lid and bake another 15 to 20 minutes until the crust is deeply golden, then brush with melted butter and sprinkle with extra herbs
 Save
Save This bread became my go-to housewarming gift after I brought it to a friend's first apartment. She called me the next day to say she ate half the loaf standing in her kitchen at midnight, unable to stop herself. Now every time I make it, I think about how something so simple can make a new place feel like home.
Choosing Your Herbs
I've learned that fresh herbs make a noticeable difference here, but don't let perfect be the enemy of good. Dried herbs work in a pinch—just use about one third the amount since they're more concentrated. The combination of woody herbs like rosemary and thyme with softer parsley creates layers of flavor that unfold as you eat.
Timing Your Bake
The rise time is flexible enough that you can mix this dough before work and bake it when you get home, or start it after lunch and have fresh bread for dinner. Just don't rush the second rise—those 30 minutes are when the dough relaxes and the yeast gets its second wind, which affects the final texture.
Storing And Serving
This bread is best eaten the day it's made, when the crust is at its crispest and the interior is still tender. If you manage to have leftovers, wrap them tightly and reheat slices in a 350°F oven for about 5 minutes. The buttered crust makes it exceptional toasted the next morning, perhaps topped with a fried egg.
- Slice with a serrated knife in a gentle sawing motion to preserve that beautiful crust
- Let it cool for at least 30 minutes before slicing into it, or the steam will escape and make the interior gummy
- Wrap any leftovers in a cloth bag rather than plastic to maintain the crust's texture
 Save
Save There's something profoundly satisfying about pulling this bread out of the oven, hearing the crust sing as it hits the cool air, and knowing you made that magic happen with your own two hands.
Recipe FAQs
- → Why bake bread in a Dutch oven?
-
A Dutch oven traps steam during baking, creating the perfect environment for a crisp, crackly crust and airy interior. The enclosed space mimics professional steam-injected ovens, giving your bread that bakery-quality appearance and texture.
- → Can I use dried herbs instead of fresh?
-
Yes, substitute 1 teaspoon of each dried herb (rosemary, thyme, parsley) for the fresh versions. Dried herbs are more concentrated, so you'll need about one-third the amount. Add them directly to the dough with the garlic.
- → How do I know when the bread is done baking?
-
The bread is ready when the crust is deeply golden brown and sounds hollow when tapped on the bottom. An instant-read thermometer inserted into the center should read between 190-200°F (88-93°C) for fully baked bread.
- → Can I freeze this garlic herb bread?
-
Absolutely. Wrap the completely cooled loaf tightly in plastic wrap, then foil, and freeze for up to 3 months. Thaw at room temperature, then refresh in a 350°F oven for 10 minutes to restore crustiness.
- → What size Dutch oven do I need?
-
A 4-6 quart Dutch oven works perfectly for this single loaf. Ensure your pot is oven-safe with a tight-fitting lid. Cast iron, enameled cast iron, or ceramic Dutch ovens all produce excellent results.
- → Why score the top of the bread?
-
Scoring creates intentional weak points in the dough's surface, allowing the bread to expand properly during baking without tearing unevenly. Use a sharp knife or lame to make a shallow slash about ½ inch deep.