 Save
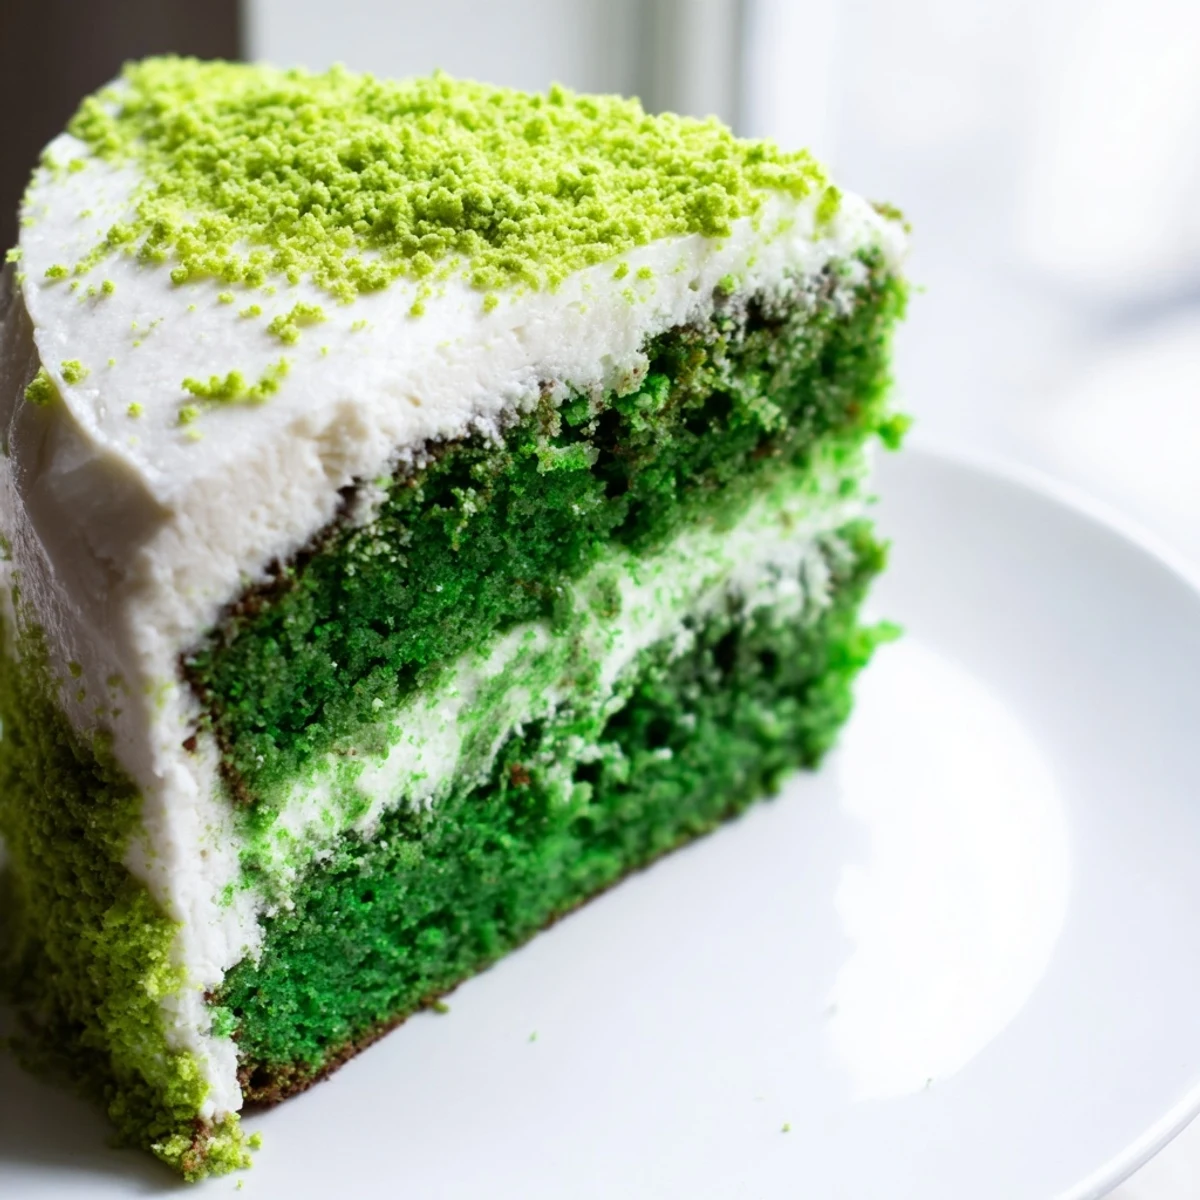
Save This showstopping dessert transforms the classic red velvet into a vibrant emerald celebration cake. The tender crumb carries subtle cocoa undertones while the buttermilk ensures incredible moisture. A tangy cream cheese frosting balances the sweetness perfectly, creating that irresistible velvet texture we love. The striking green hue makes it ideal for St. Patrick's Day gatherings, spring celebrations, or anytime you want to serve something truly memorable. Best of all, it comes together in just over an hour from start to finish.
The first time I attempted this green velvet cake, my kitchen looked like a St. Patrick's Day explosion had occurred. Green food coloring had somehow found its way onto my shirt, the counter, and even the unsuspecting cat who'd wandered in to investigate. But when that cake emerged from the oven, sporting the most stunning emerald crumb I'd ever seen, the mess was instantly forgiven. It's now become my go to showstopper for March gatherings, though I've learned to wear an apron.
Last year I brought this to a friend's birthday dinner, and her daughter kept asking if it was Grinch themed cake. The whole table laughed as I explained it was actually green velvet, and suddenly everyone wanted seconds just to keep the conversation going. Sometimes the most memorable desserts aren't just about flavor, they're about the stories that unfold around the table.
Ingredients
- All purpose flour: Provides the structure for the cake, and measuring it correctly prevents a dense texture
- Unsweetened cocoa powder: Adds that classic velvet depth without overpowering the delicate vanilla notes
- Baking soda: The leavening agent that works with buttermilk's acidity to create lift
- Salt: Enhances all the flavors and balances the sweetness
- Granulated sugar: Sweetens and creates that tender velvet texture we all love
- Vegetable oil: Keeps the cake moist longer than butter based recipes would
- Large eggs: Room temperature eggs incorporate better and create proper structure
- Buttermilk: The secret ingredient that makes velvet cakes so incredibly tender
- Pure vanilla extract: Rounds out the flavor profile with warmth
- White vinegar: Activates the baking soda and enhances the red velvet tradition
- Green gel food coloring: Gel coloring gives more vibrant results with less liquid than traditional drops
- Cream cheese: The tangy backbone of the perfect frosting
- Unsalted butter: Adds richness and helps the frosting hold its shape
- Powdered sugar: Sifting prevents lumps and ensures silky smooth frosting
Instructions
- Prep your oven and pans:
- Preheat your oven to 350°F (175°C). Grease and line two 9-inch (23 cm) round cake pans with parchment paper.
- Mix the dry ingredients:
- In a medium bowl, whisk together flour, cocoa powder, baking soda, and salt. Set aside.
- Combine sugar and oil:
- In a large bowl, beat sugar and oil until combined. Add eggs, one at a time, mixing well after each.
- Add the wet ingredients:
- Stir in buttermilk, vanilla extract, vinegar, and green food coloring. Whisk until the mixture is evenly green.
- Combine everything:
- Add dry ingredients to the wet ingredients in two batches, mixing just until incorporated.
- Divide and bake:
- Divide the batter evenly between the prepared pans. Bake for 28-32 minutes, or until a toothpick inserted in the center comes out clean.
- Cool the layers:
- Cool cakes in pans for 10 minutes, then turn them out onto wire racks and let cool completely.
- Make the frosting:
- Beat cream cheese and butter together until smooth and fluffy. Add powdered sugar, vanilla, and salt. Beat until light and creamy.
- Frost the cake:
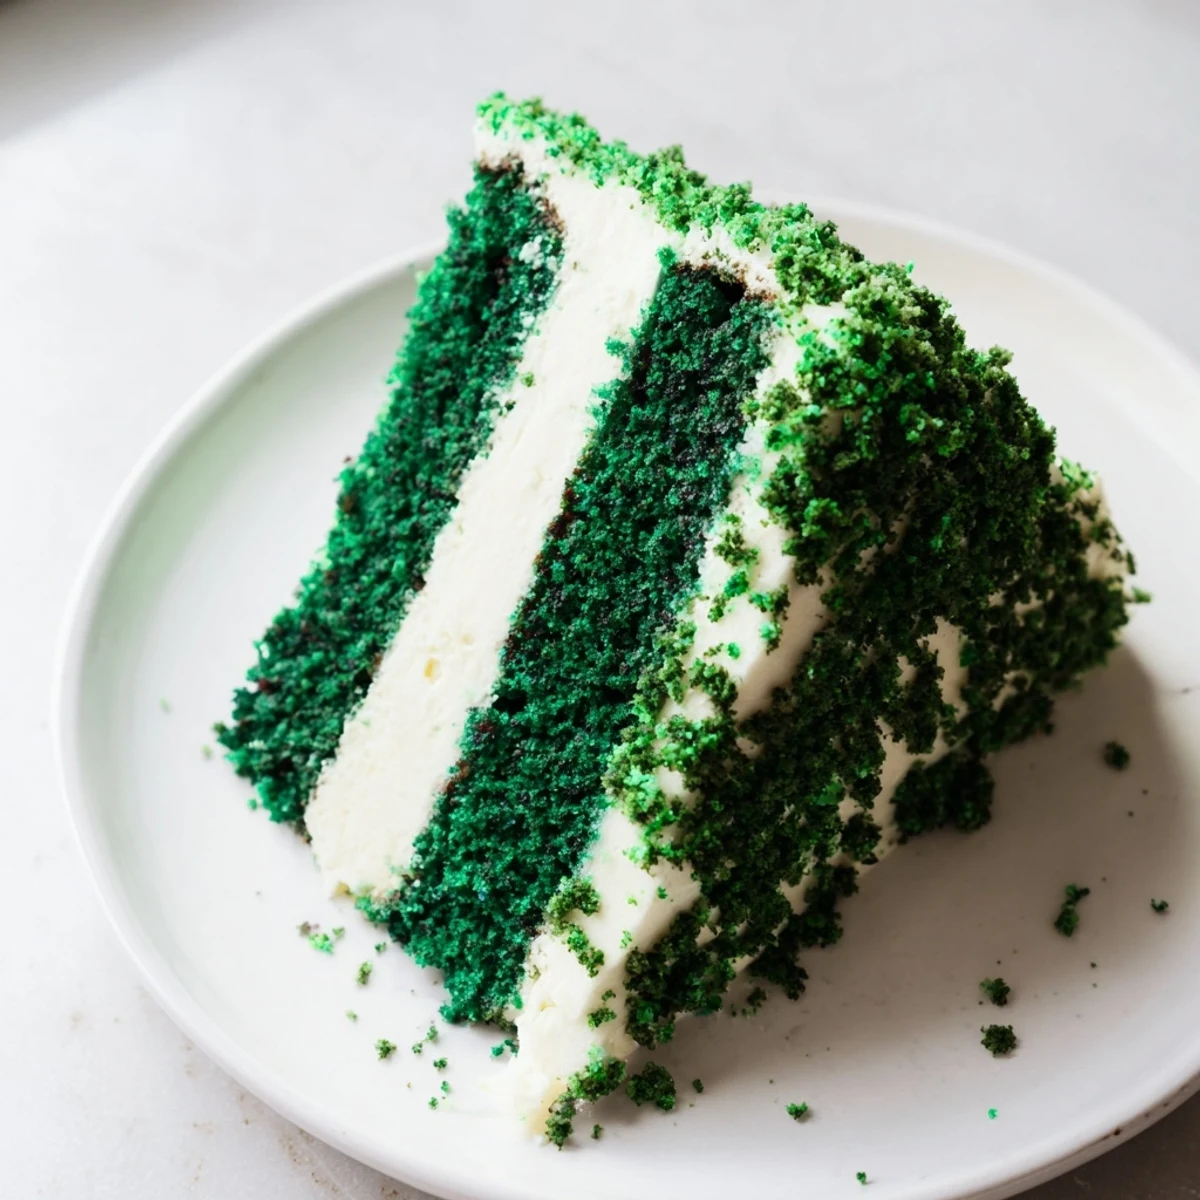
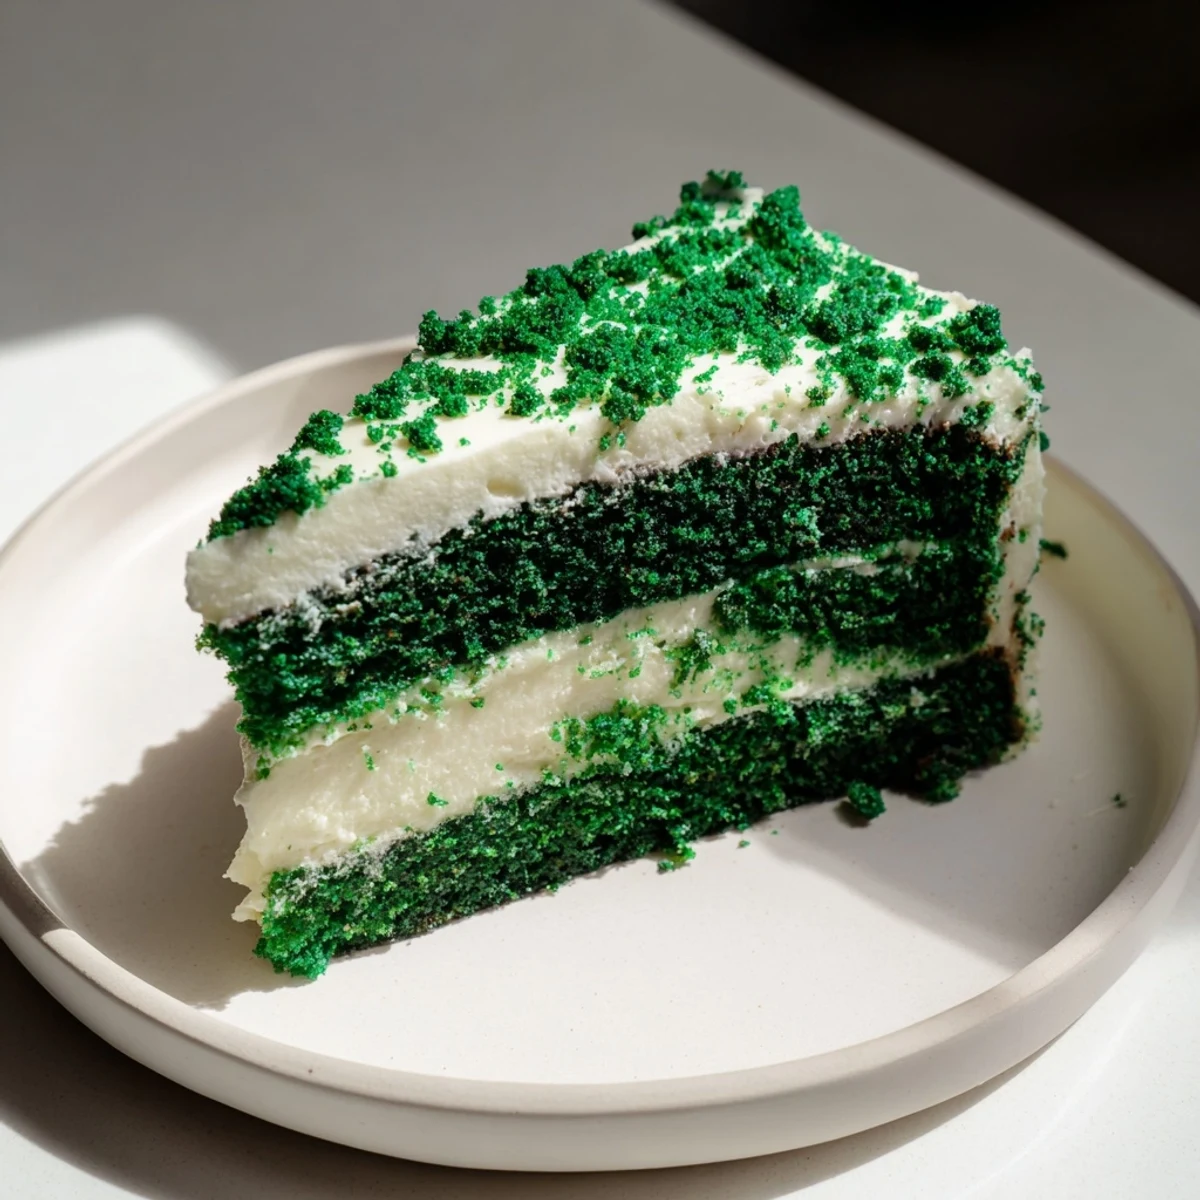
- Place one cake layer on a serving plate. Spread frosting over the top. Place second layer on top and frost the entire cake.
- Add decorations:
- Decorate with green sprinkles or crumbs from trimmed cake edges if desired.
 Save
Save My sister now requests this cake for every March birthday in the family. It's become something of a running joke, but I don't mind because watching people cut into that green velvet reveal never gets old. Food should be fun, and this cake delivers that in spades.
Getting The Perfect Green
Start with less food coloring than you think you need, you can always add more. I've learned the hard way that what looks like forest green in the bowl can sometimes read more like seaweed once baked. The color should look vibrant before it goes in the oven.
Frosting Like A Pro
Apply a thin crumb coat first and refrigerate for 15 minutes before the final frosting layer. This simple step prevents those frustrating green cake crumbs from speckling your pristine white cream cheese frosting.
Serving And Storage
This cake actually tastes better the next day as the flavors meld together. Store it in the refrigerator but bring it to room temperature 30 minutes before serving for the best texture and flavor.
- The frosting firms up nicely when chilled, making it easier to transport
- Leftovers keep well in an airtight container for up to five days
- Freeze unfrosted layers for up to three months if you want to prep ahead
 Save
Save There's something joyful about cutting into a cake that looks like pure celebration. This green velvet has become my secret weapon for turning ordinary moments into little parties.
Recipe FAQs
- → What makes green velvet different from red velvet?
-
The primary difference is the food coloring used—green gel instead of red. Both share the same foundational ingredients including buttermilk, slight cocoa, and vinegar for that signature tender, velvety texture and subtle tang.
- → Can I make this ahead of time?
-
Absolutely. The unfrosted layers can be wrapped tightly and stored at room temperature for one day or frozen for up to three months. Frosted cake keeps well in the refrigerator for 4-5 days when properly covered.
- → Why use gel food coloring instead of liquid?
-
Gel coloring provides concentrated pigment without adding excess liquid that could alter the batter's consistency. You'll achieve that vibrant emerald hue using much less product compared to traditional liquid drops.
- → What can I substitute for buttermilk?
-
Combine 1 cup of regular milk with 1 tablespoon of white vinegar and let it sit for 5 minutes. This homemade version creates the same acidity needed for tender crumb and proper leavening.
- → How do I know when the cake is done baking?
-
Insert a toothpick into the center—it should come out clean or with just a few moist crumbs. The edges will begin pulling away from the pan slightly, and the cake will spring back when gently touched.
- → Can I make cupcakes instead of layers?
-
Yes, fill lined cupcake tins two-thirds full and reduce baking time to 18-22 minutes. This yields approximately 24 standard cupcakes with the same vibrant appearance and delicious flavor.