 Save
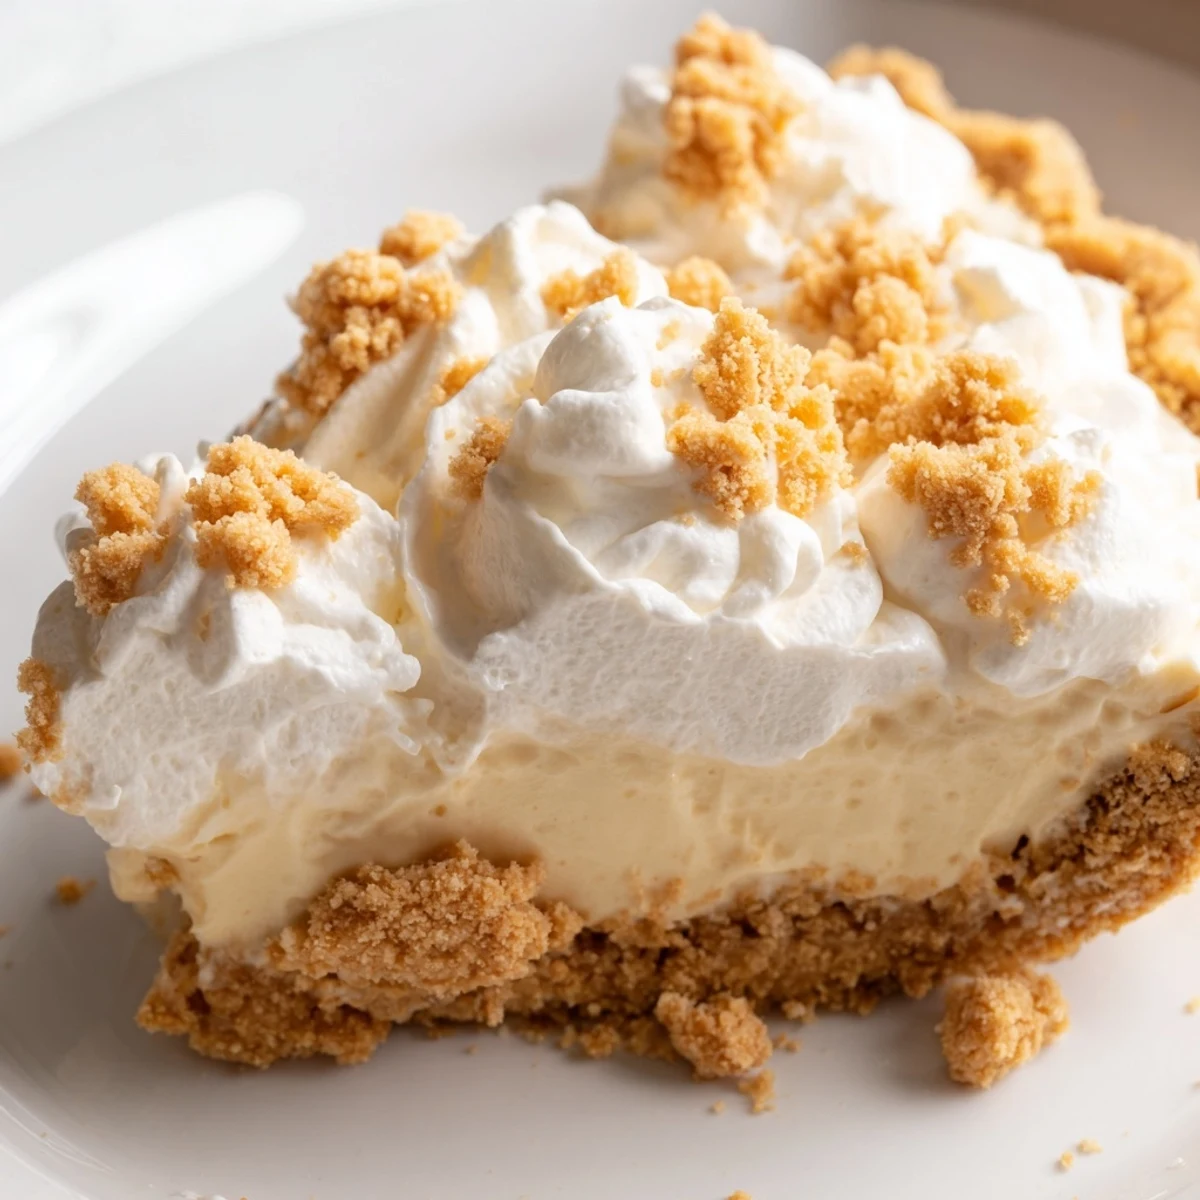
Save This classic Amish dessert combines creamy peanut butter filling with a crisp pie shell and billowy whipped cream topping. The velvety custard-style filling gets its rich texture from whole milk and egg yolks, while layers of sweet peanut butter crumbs add delightful crunch throughout.
Perfect for gatherings, this make-ahead dessert requires just 25 minutes of active prep time before chilling to set. The result is an irresistibly smooth and satisfying treat that embodies traditional Amish baking at its finest.
The kitchen was quiet except for the hum of the refrigerator and my grandmother explaining that real pie filling requires patience, not shortcuts. I stood on a stool watching her transform milk and eggs into something silky and magical. That first taste of her peanut butter pie changed everything I thought about homemade desserts.
Last summer I made this for a backyard barbecue and watched my usually skeptical father in law go back for seconds. Later he confessed he had been dreaming about that pie for weeks. Sometimes the simplest recipes become the ones people remember most.
Ingredients
- 1 9-inch prepared pie crust: Use a good quality store bought crust or bake your favorite homemade recipe and let it cool completely
- 3/4 cup creamy peanut butter: Room temperature peanut butter mixes easier with the powdered sugar for those perfect crumbs
- 1 cup powdered sugar: Sift this first to avoid any lumpy surprises in your crumb mixture
- 2/3 cup granulated sugar: This dissolves into the custard as it cooks, creating that silky smooth texture
- 1/3 cup all-purpose flour: The secret thickener that transforms milk into proper pudding consistency
- 1/4 teaspoon salt: Just enough to make the peanut butter flavor sing without tasting salty
- 2 cups whole milk: Full fat milk makes all the difference in achieving that rich, creamy filling
- 3 large egg yolks: Room temperature yolks temper more smoothly into the hot milk mixture
- 1 teaspoon pure vanilla extract: Use the good stuff since vanilla carries the background flavors
- 2 tablespoons unsalted butter: Adds that luxurious finish to the filling
- 1 cup heavy whipping cream: Cold cream whips up faster and holds those beautiful peaks longer
- 2 tablespoons powdered sugar: Sweetens the whipped cream just enough without making it cloying
- 1/2 teaspoon vanilla extract: A little vanilla in the whipped cream ties everything together
Instructions
- Make the peanut butter crumbs:
- Mix the peanut butter and powdered sugar with a fork until you have uneven, delicious crumbs that hold together when squeezed
- Layer the bottom crust:
- Press half the crumbs into the bottom of your cooled pie shell and save the rest for the top
- Start the custard base:
- Whisk granulated sugar, flour, and salt in your saucepan, then gradually whisk in the milk until completely smooth
- Cook until thickened:
- Heat over medium heat, whisking constantly until the mixture bubbles and thickens enough to coat the back of a spoon
- Temper the egg yolks:
- Whisk your yolks in a separate bowl and slowly whisk in about half a cup of the hot milk to warm them gently
- Combine and finish cooking:
- Pour the warmed yolks back into the saucepan, whisking constantly, and cook for 2 more minutes until glossy
- Add the finishing touches:
- Remove from heat and stir in the butter and vanilla until everything is perfectly smooth and fragrant
- Assemble the pie:
- Pour the warm filling over the crumbs in your crust and let it cool for 15 minutes before refrigerating for at least 2 hours
- Whip the cream:
- Beat the heavy cream, powdered sugar, and vanilla until you have stiff peaks that hold their shape
- Finish and serve:
- Spread the whipped cream over your chilled pie and sprinkle with the remaining peanut butter crumbs right before serving
 Save
Save My sister called me at midnight once after making this pie, whispering that she had eaten three slices standing at the counter. Some desserts just demand to be experienced that way.
Making It Your Own
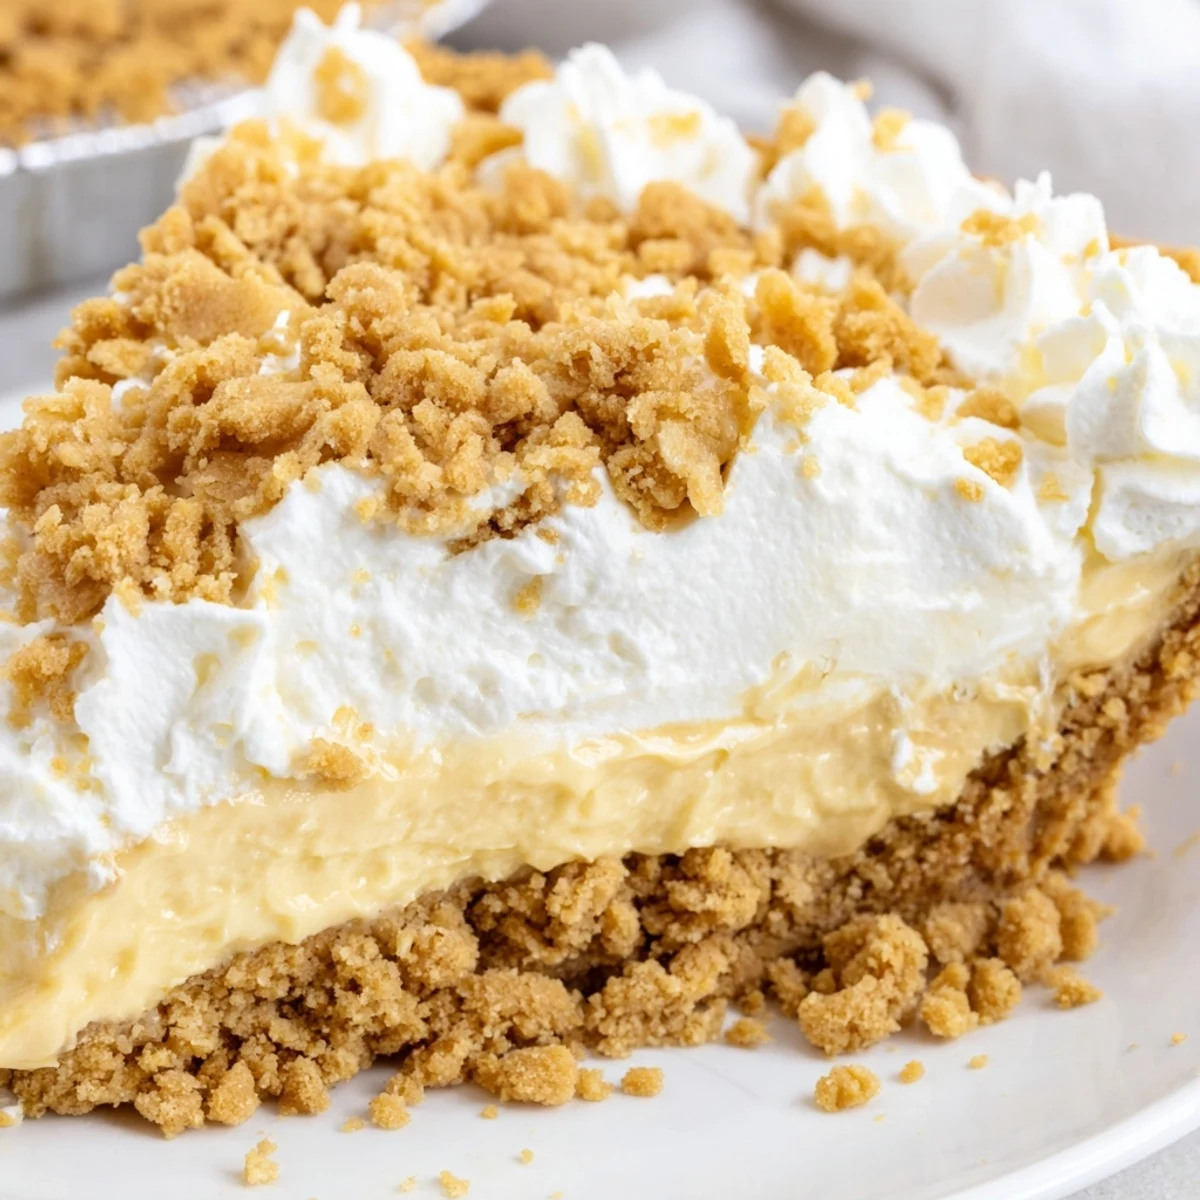
A graham cracker crust adds that perfect crunch and sweetness that pairs so well with peanut butter. I have also used a shortbread crust when I wanted something more refined and buttery.
Timing Everything Right
This pie needs those full two hours of chilling time to set properly. Rush it and you will end up with custard that oozes instead of slices, though nobody at my table has ever complained about that.
Serving Suggestions
A slice of this pie deserves to be the star of the show, but it also plays nicely with a cold glass of milk or hot coffee. The contrast between temperatures makes each bite more interesting.
- Drizzle melted chocolate over the top for a chocolate peanut butter version
- Chill your serving plate for 10 minutes before slicing to keep portions neat
- Use a hot knife wiped clean between cuts for perfect restaurant style slices
 Save
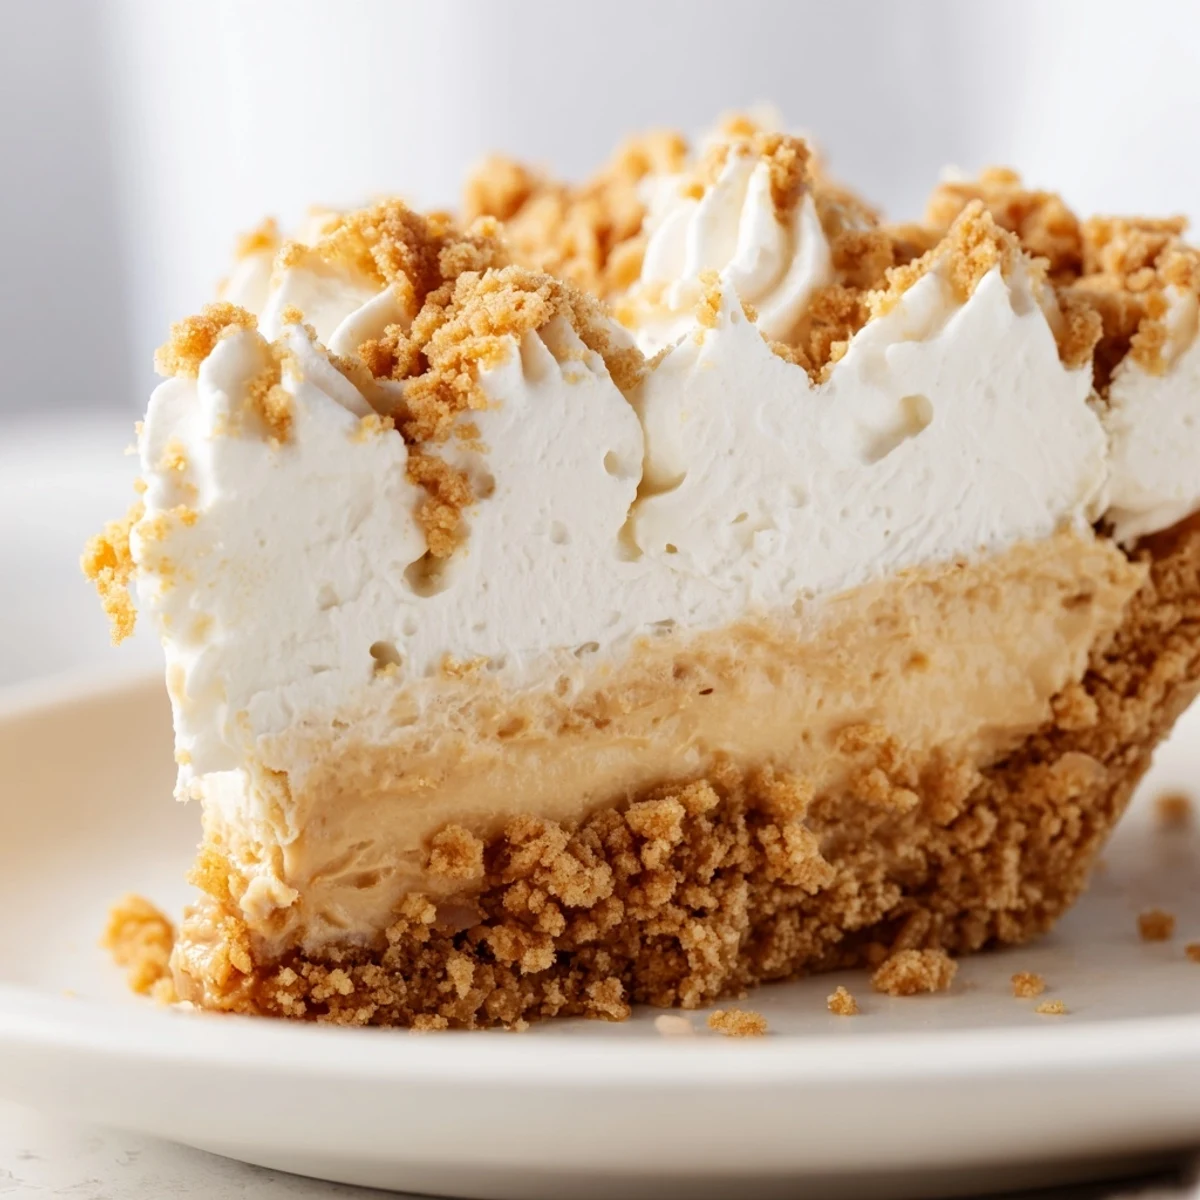
Save There is something profoundly satisfying about a pie that looks impressive but comes together with such humble ingredients. This one has earned its permanent spot in my recipe box.
Recipe FAQs
- → How long should I chill the pie before serving?
-
Refrigerate for at least 2 hours until completely set. For best results, chill 3-4 hours or overnight to allow flavors to meld and the filling to firm up properly.
- → Can I use crunchy peanut butter instead of creamy?
-
Yes, crunchy peanut butter works well and adds extra texture. However, creamy peanut butter creates the smoothest traditional filling and crumb mixture.
- → Can this pie be frozen?
-
The assembled pie freezes well for up to 2 months. Wrap tightly in plastic and foil. Thaw overnight in the refrigerator before serving. Note that the whipped cream topping may lose some texture after freezing.
- → What type of crust works best?
-
A traditional baked pie crust, graham cracker crust, or shortbread crust all work beautifully. The Amish tradition typically uses a standard pastry crust, but graham cracker adds complementary flavor.
- → How do I store leftovers?
-
Store covered in the refrigerator for up to 4 days. The pie holds up well due to its cooked filling structure. Avoid leaving at room temperature for more than 2 hours.
- → Can I make this dairy-free?
-
Substitute coconut milk or almond milk for whole milk, use dairy-free butter, and coconut cream for whipping cream. The texture will vary slightly but still deliver delicious results.