 Save
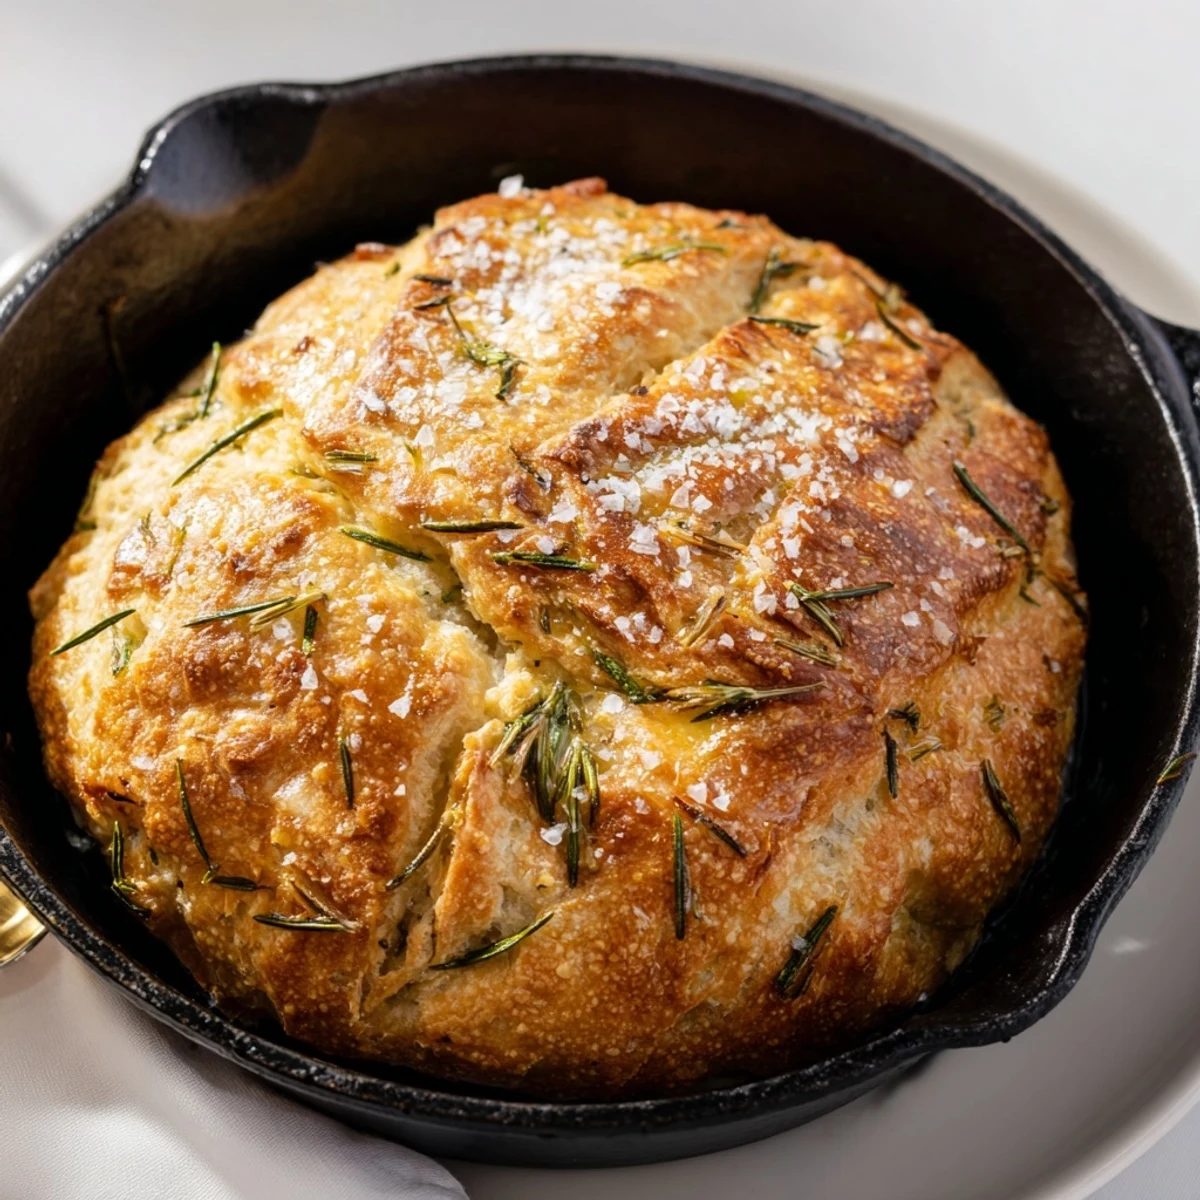
Save This hearty European-style bread delivers the perfect balance of textures—crisp, golden edges giving way to a tender, chewy crumb. The dough comes together with just flour, yeast, water, and salt, then gets transformed by generous amounts of roasted garlic and fresh rosemary.
Baked in a cast iron skillet, this aromatic loaf develops a beautiful crust while staying moist inside. The 2-hour total time includes rising, making this an achievable project for bakers of any level. Serve warm alongside soups, stews, or simply with olive oil for dipping.
The first time I made skillet bread, I was skeptical about how something so simple could taste so extraordinary. My tiny apartment filled with the intoxicating scent of rosemary and garlic, and when I pulled that golden crust from the oven, I understood why this style of bread has been feeding families for generations. Now it is my go-to when I want people to feel welcomed and cared for without spending hours in the kitchen.
Last winter, my neighbor came over shivering from a long walk in the snow. I had just pulled this bread from the oven, and we stood in the kitchen breaking off warm pieces, dipping them in olive oil, and talking until the sun went down. That afternoon turned into a weekly tradition, and this bread became the start of something wonderful.
Ingredients
- Bread Flour (3 cups): The higher protein content creates that satisfying chewy texture we love in rustic breads
- Active Dry Yeast (2 1/4 tsp): One standard packet gives you reliable rise every time
- Warm Water (1 1/4 cups): Should feel like bath temperature, about 105°F, to wake up the yeast without killing it
- Salt (1 1/2 tsp): Essential for flavor and helps control the fermentation
- Olive Oil (3 tbsp total): Use a good quality one since the flavor really shines through
- Fresh Rosemary (2 tbsp): Fresh herbs make a huge difference here, and chopping them releases their aromatic oils
- Garlic (4 cloves): Minced finely so it distributes evenly throughout the dough
- Flaky Sea Salt (1/2 tsp): The finishing touch that adds crunch and bursts of salty flavor
Instructions
- Wake Up the Yeast:
- Whisk warm water and yeast in a large bowl, then walk away for 5 minutes until you see a foamy layer on top
- Mix the Dough:
- Add flour and salt, stir until shaggy, then knead for 5 to 7 minutes until smooth and slightly tacky
- Add the Good Stuff:
- Drizzle in olive oil, chopped rosemary, and minced garlic, then knead just until everything is evenly distributed
- Let It Rise:
- Place dough in a greased bowl, cover with a damp towel, and find a warm corner for about 1 hour until doubled
- Prepare the Skillet:
- Generously oil your 10 inch oven safe skillet, especially up the sides, so nothing sticks
- Shape the Loaf:
- Punch down gently and press dough into the prepared skillet, stretching it to the edges
- Second Rise:
- Cover and let rest another 25 to 30 minutes while you preheat the oven to 425°F
- Finish and Bake:
- Brush with remaining oil, sprinkle with flaky salt, and bake for 30 to 35 minutes until deeply golden
 Save
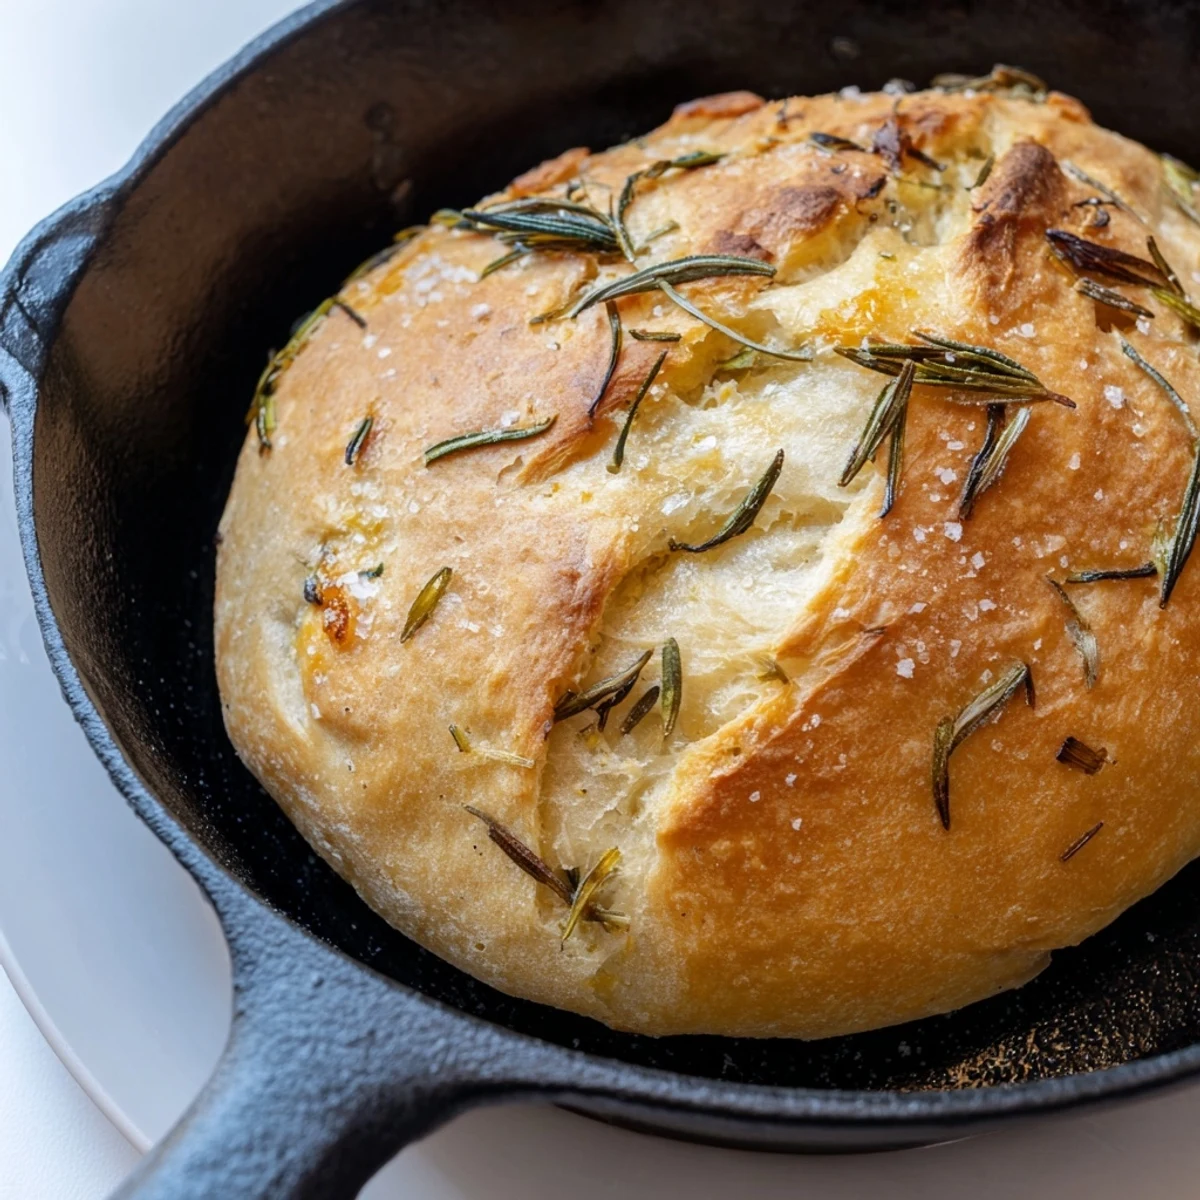
Save This bread has become my secret weapon for turning ordinary weeknight dinners into something that feels special and intentional. The way the honeycombed interior soaks up olive oil or soup broth is absolutely irresistible.
Choosing the Right Skillet
Cast iron is my absolute favorite for this recipe because it conducts heat so evenly and creates those beautifully crisp edges. If you do not have cast iron, any oven safe skillet will work, though you might need to adjust the baking time by a few minutes.
Making It Your Own
While garlic and rosemary are a classic combination, I have experimented with thyme and lemon zest for spring, or caramelized onions and sage for a deeper, sweeter flavor profile. The technique remains the same, but the personality of the bread changes completely.
Serving Suggestions
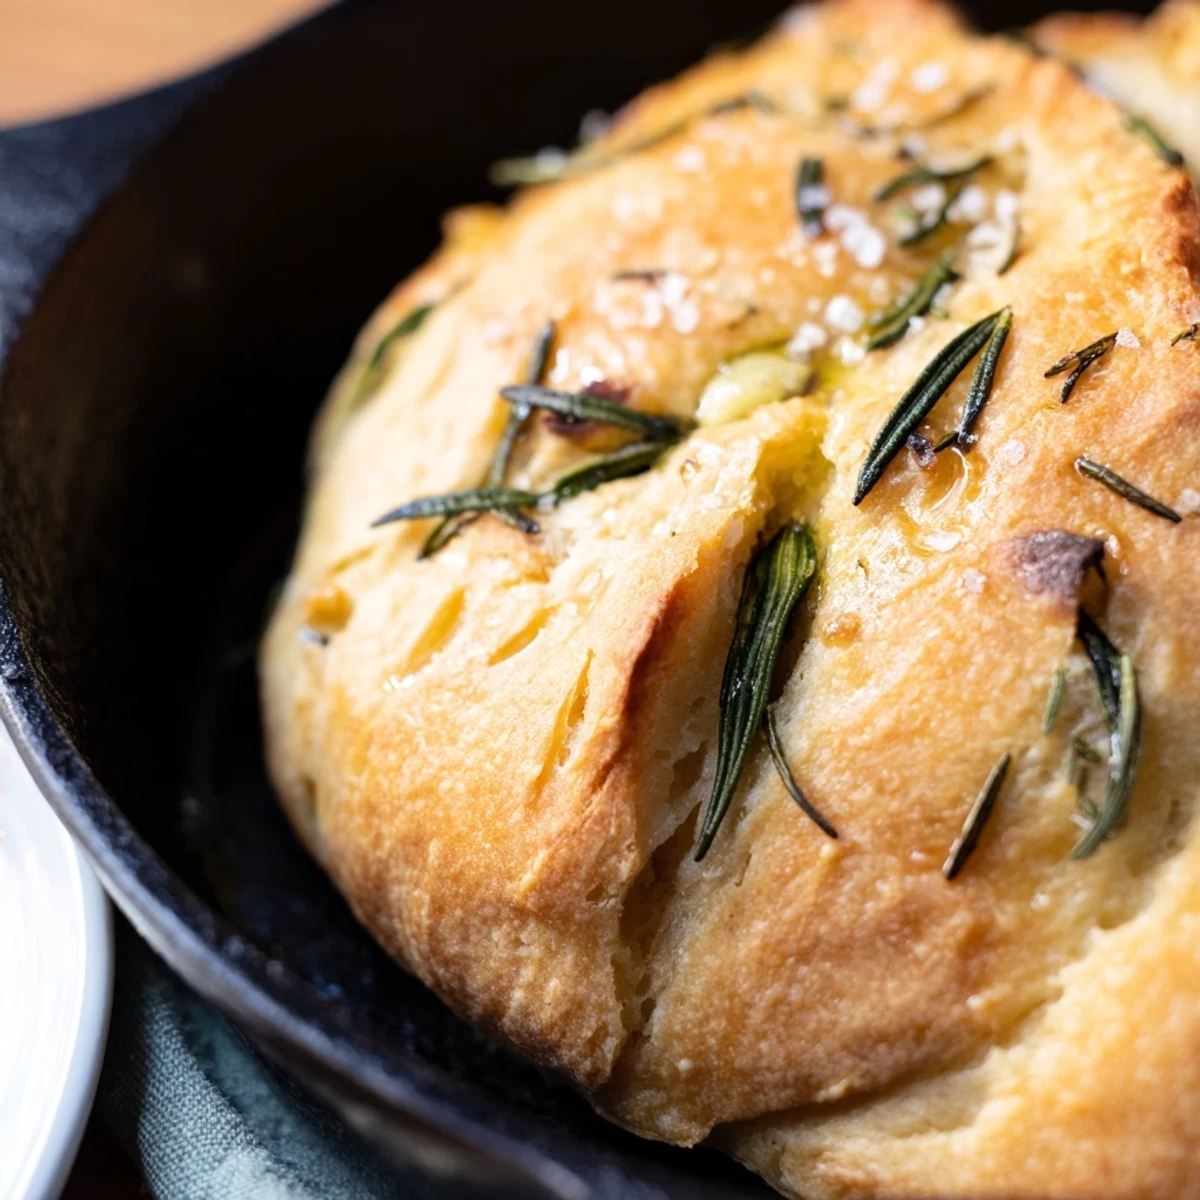
This bread arrives at the table with an uncanny ability to make any meal feel like a celebration. I love tearing pieces directly from the loaf and passing it around family style.
- Tear while warm for the most dramatic effect at the table
- Pair with a bowl of olive oil and balsamic for simple dipping
- Leftovers make excellent panini sandwiches the next day
 Save
Save There is something profoundly satisfying about making bread with your own hands, and this recipe delivers maximum reward for minimal effort. I hope it finds a regular place in your kitchen.
Recipe FAQs
- → Can I use dried rosemary instead of fresh?
-
Fresh rosemary provides the best flavor and aroma, but you can substitute dried rosemary. Use one-third the amount—about 2 teaspoons instead of 2 tablespoons. Rehydrate the dried herbs in warm water for 10 minutes before adding to the dough to prevent them from becoming dry and brittle during baking.
- → What if I don't have a cast iron skillet?
-
Any oven-safe 10-inch skillet will work, including stainless steel or aluminum. Alternatively, use a round cake pan or baking dish. The cast iron is ideal because it holds heat evenly and creates a superior crust, but you'll still get excellent results with other oven-safe cookware.
- → Can I prepare the dough ahead of time?
-
Yes, you can refrigerate the dough after the first rise for up to 24 hours. Let it come to room temperature for 30 minutes before pressing into the skillet and proceeding with the second rise. This actually develops more flavor. You can also bake the bread completely, cool it, and reheat wrapped in foil at 350°F for 10-15 minutes.
- → Why roast the garlic before adding?
-
Roasting garlic mellows its sharpness and brings out deep, savory sweetness. Raw garlic can taste harsh or bitter when baked directly in bread. Roasted cloves blend seamlessly into the dough, infusing every bite with rich, mellow flavor rather than concentrated heat. It's an extra step worth taking for the best results.
- → How do I know when the bread is done baking?
-
The bread is ready when the top is deep golden brown and sounds hollow when tapped. An instant-read thermometer inserted into the center should read 190-200°F. The crust should feel firm and crispy. If the top browns too quickly, tent loosely with foil for the last 10 minutes of baking.
- → Can I make this gluten-free?
-
This particular loaf relies on gluten for structure and chew, so gluten-free substitutions are not recommended. The rising, texture, and crust development all depend on wheat flour's protein content. For a gluten-free alternative, seek recipes specifically designed with gluten-free flours and xanthan gum.