 Save
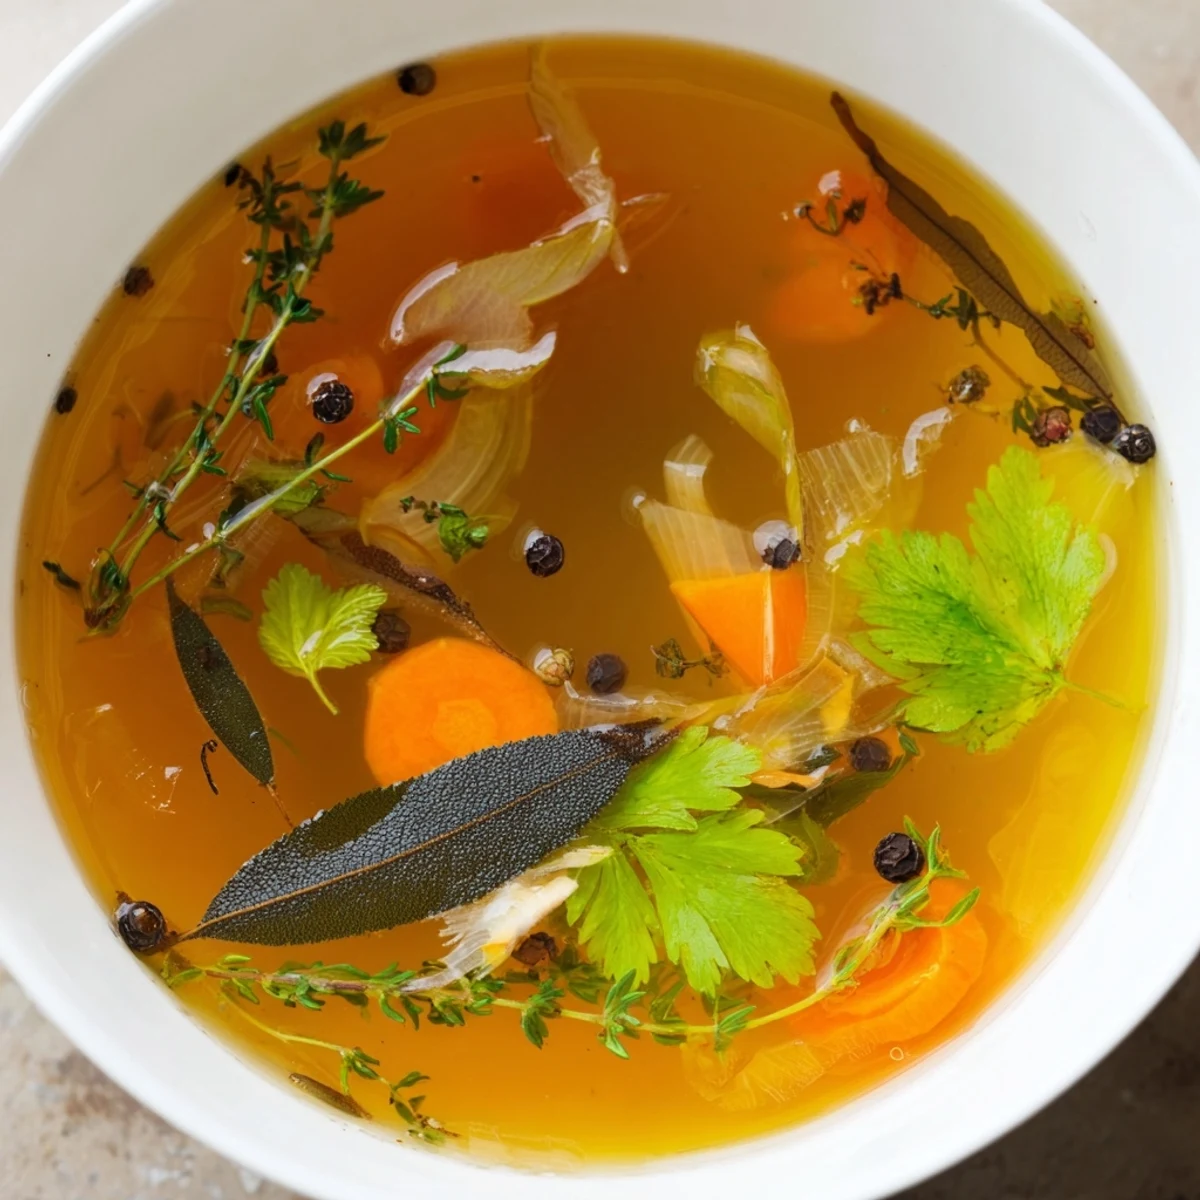
Save This vegetable broth blends assorted vegetable scraps with fresh herbs to create a fragrant, flavorful base perfect for enhancing soups, risottos, and sauces. Simmered gently for an hour, it captures rich, natural flavors without overpowering the final dish. Adding optional ingredients like vinegar or lemon juice brightens the broth, while roasting scraps beforehand can boost depth. This vegan, gluten-free, and low-fat liquid foundation is both simple and versatile, making it a staple for home cooking.
There's a moment early every morning, before the day really starts, when I stand at the counter sorting through yesterday's vegetable scraps—carrot nubs, onion skins, celery leaves destined for the compost—and think how wasteful that feels. One winter, I decided those scraps deserved a second life, tossed them into a pot with cold water and herbs, and what emerged an hour later was something so deep and golden it made me wonder why I'd spent years buying broth. That pot has become a ritual now, a quiet way to transform kitchen debris into liquid gold.
I remember the first time I made this for someone else—a friend stopping by on a cold afternoon who mentioned she was coming down with something. I had a cup of this broth warming on the stove, and when I handed it to her, still steaming, she closed her eyes on that first sip like it was the simplest form of care. She later told me it was the only thing that felt good that day, and from then on, this broth became my answer to almost any kitchen situation.
Ingredients
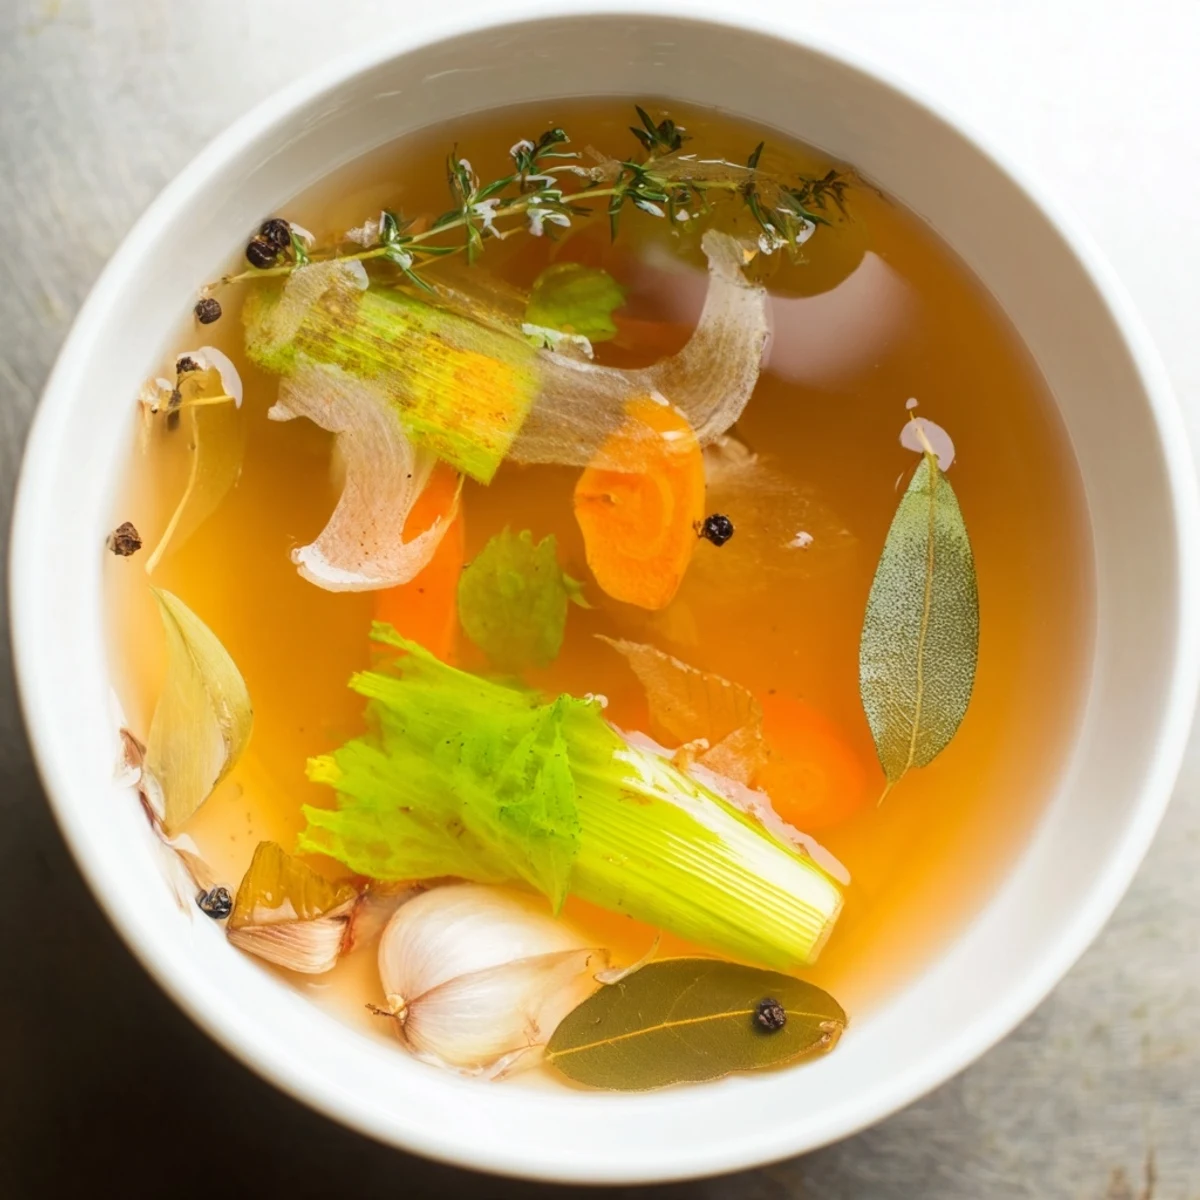
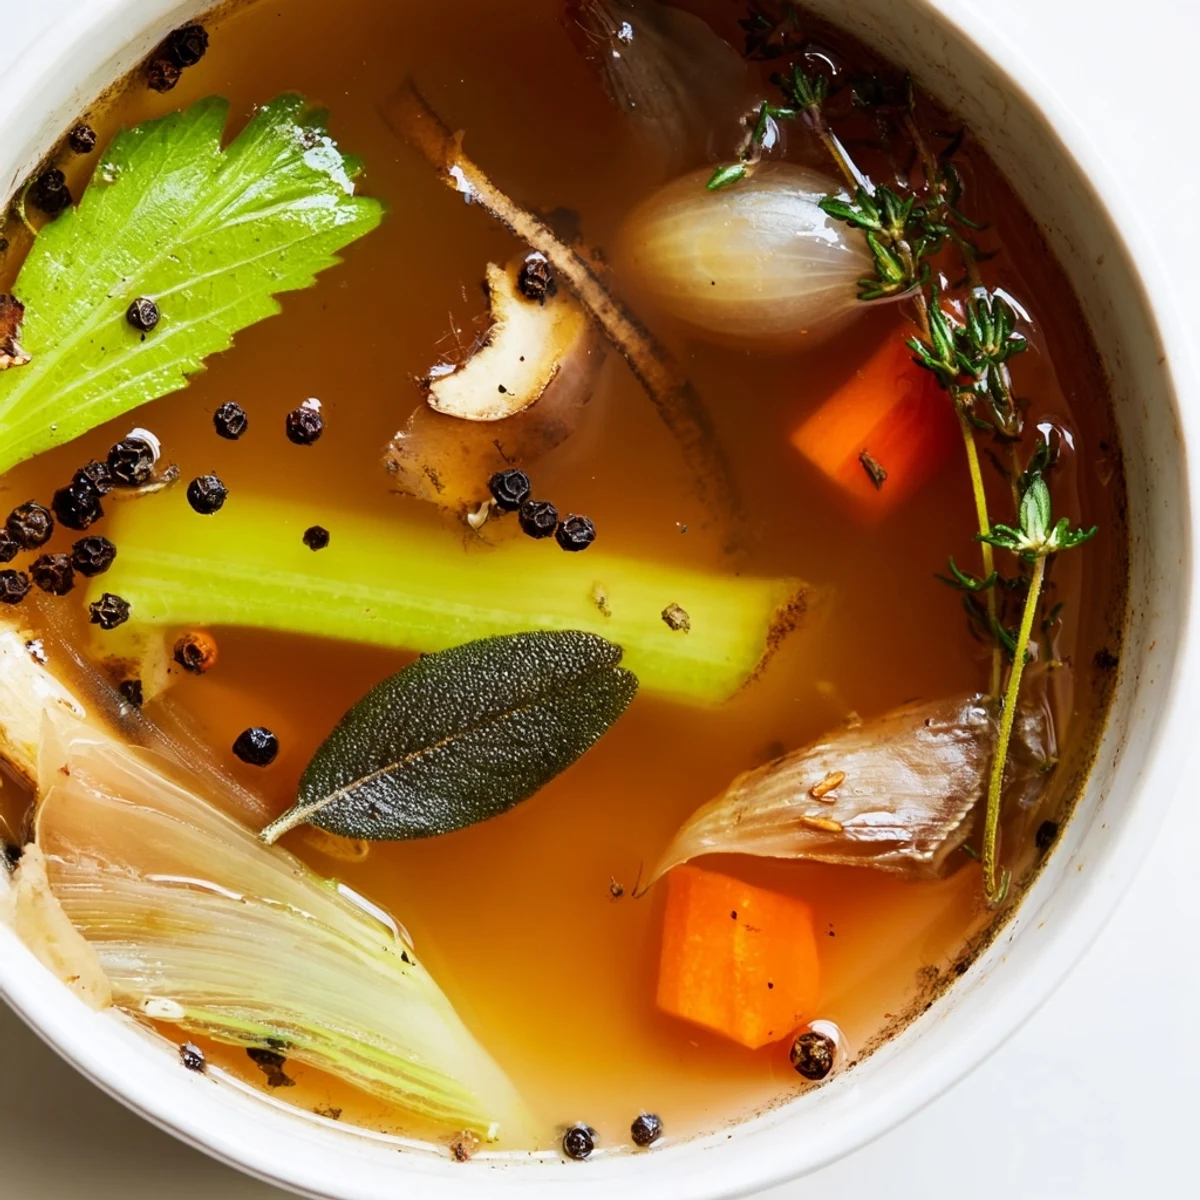
- Vegetable Scraps (4 cups): Onion peels, carrot ends, celery leaves, leek greens, mushroom stems, and parsley stems are pure flavor waiting to happen—save these instead of discarding them.
- Optional Potato (1 small, chopped): A small chopped potato adds body and richness to the finished broth, making it feel more substantial.
- Fresh Vegetables (if scraps fall short): One quartered onion, two roughly chopped carrots, and two celery stalks build the aromatic foundation when scraps alone aren't enough.
- Bay Leaves (2): These two leaves create a subtle earthiness that ties everything together.
- Fresh Parsley (5 sprigs): Fresh parsley brings brightness and prevents the broth from tasting one-dimensional.
- Fresh Thyme (3 sprigs) or Dried (1 tsp): Thyme adds herbaceous depth—the fresh version offers more delicate notes than dried.
- Black Peppercorns (1 tsp whole): Whole peppercorns stay suspended during cooking and release their spice gradually, keeping the broth clean-tasting.
- Garlic (2 cloves, smashed): Smashing releases the garlic's essence without letting it break apart and cloud the broth.
- Salt (1 tsp, adjusted to taste): Start conservative here—you can always add more once you taste the finished broth.
- Apple Cider Vinegar or Lemon Juice (1 tsp, optional): A small splash wakes up the broth's flavor and helps extract minerals from the vegetables.
- Cold Water (2.5 liters or 10 cups): Cold water pulls flavors gently; always start with cold for a cleaner-tasting broth.
Instructions
- Gather Your Scraps:
- Collect all your vegetable scraps, the optional potato, and any fresh vegetables into a large stockpot. There's something satisfying about watching what seemed like waste transform into intention the moment you gather it intentionally.
- Layer In the Aromatics:
- Add bay leaves, parsley, thyme, peppercorns, smashed garlic, salt, and vinegar or lemon juice (if using) directly into the pot. The herbs won't blend invisibly—you'll fish them out later, but right now they're setting the stage for what's coming.
- Cover with Cold Water:
- Pour in the cold water and stir everything together so nothing sticks to the bottom of the pot. You're not looking for uniformity; just a gentle mingling of vegetables and herbs.
- Bring to a Boil:
- Place the pot over high heat and let it come to a rolling boil. The moment steam begins rising, you'll notice the kitchen's whole atmosphere changes—it smells like something meaningful is happening.
- Skim Away the Foam:
- Within the first 10 minutes, foam will rise to the surface like the broth is breathing out. Use a spoon or ladle to gently skim this away—it keeps your finished broth clear and clean.
- Reduce to a Gentle Simmer:
- Lower the heat so the broth barely bubbles, with just an occasional tiny break at the surface. This is where patience becomes flavor—a gentle simmer extracts depth without turning the broth cloudy or harsh.
- Let Time Do the Work:
- Simmer uncovered for a full hour, stirring occasionally as you pass by the stove. By the 45-minute mark, your kitchen will smell like something between a forest and a cozy kitchen, and you'll know you're close.
- Cool and Strain:
- Remove from heat and let the broth cool slightly—long enough to handle safely but while it's still warm. Pour it through a fine-mesh sieve or cheesecloth into a large bowl, letting gravity do the work and squeezing the last flavor from the solids if you're feeling thorough.
- Taste and Adjust:
- Once fully cooled, taste the broth and add salt or acid as needed. This is your moment to make it yours—more savory, brighter, whatever feels right.
 Save
Save There was an afternoon when a neighbor brought over fresh mushrooms from a weekend trip, and I added a handful of dried mushrooms from my pantry to a pot of this broth as an experiment. The result was so deeply savory, so umami-rich, that I stood there tasting spoonful after spoonful, amazed at how a simple addition completely transformed what had been my standard broth into something restaurant-quality. Now I keep those dried mushrooms around specifically for moments like that.
Roasting for Deeper Flavor
If you have the time and inclination, roasting your vegetable scraps and fresh vegetables at 200°C (400°F) for 20 minutes before adding them to the pot creates a broth with noticeably deeper, more caramelized notes. The kitchen will fill with an almost sweet aroma—nothing like raw vegetables, but something darker and more inviting. The extra step adds maybe 20 minutes to your total time, but the flavor shift is significant enough that once you've tried it, you might find yourself always roasting first.
Storing and Using Your Broth
Freshly made broth tastes best used immediately, but it keeps refrigerated for up to five days in a glass container and freezes beautifully for three months. I've learned that freezing it in ice cube trays gives you flexibility—a single cube for a quick sauce, several for a full pot of soup. The broth becomes the backbone of a hundred different meals, and knowing you have homemade broth waiting in the freezer changes how you approach cooking.
Variations and Additions Worth Trying
This broth is fundamentally flexible—it's a canvas more than a rigid formula. Some nights I lean into earthiness with dried mushrooms or added garlic; other times I make it brighter with extra lemon and fennel fronds. The herbs can shift with the seasons, and any vegetable scraps that feel right belong in the pot. Start with this version, taste what you create, and then trust your instincts to make it your own.
- Dried mushrooms add an umami depth that makes the broth feel richer and more complex.
- A small piece of kombu (dried seaweed) adds minerals and a subtle savory quality that's hard to name but impossible to miss.
- Fresh ginger or turmeric can shift the broth's personality toward something warming and spiced instead of purely savory.
 Save
Save Making broth from scraps has become my quiet act of kitchen respect—a way of saying that every part of a vegetable matters, and that patience transforms what seemed disposable into something nourishing. The next time you stand at your counter with scraps in your hand, remember that they're not waste; they're the beginning of something good.
Recipe FAQs
- → What vegetables work best for this broth?
-
Use mild scraps like onion peels, carrot ends, celery leaves, mushroom stems, and herbs such as parsley and thyme to achieve a balanced flavor.
- → Can I add other herbs or seasonings?
-
Absolutely. Bay leaves, fresh thyme, and black peppercorns contribute depth, but feel free to customize based on your taste preferences.
- → Should I roast the vegetables before simmering?
-
Roasting scraps and fresh vegetables at 200°C for 20 minutes enhances the broth’s richness and adds a subtle caramelized note.
- → How long should the broth simmer?
-
Simmer uncovered for about 1 hour to extract flavors thoroughly without bitterness.
- → How do I store the broth safely?
-
Cool the broth, then refrigerate for up to 5 days or freeze for as long as 3 months in airtight containers.
- → Can I use the broth for other dishes?
-
Yes, this broth works well as a liquid base for soups, stews, sauces, and grains.