 Save
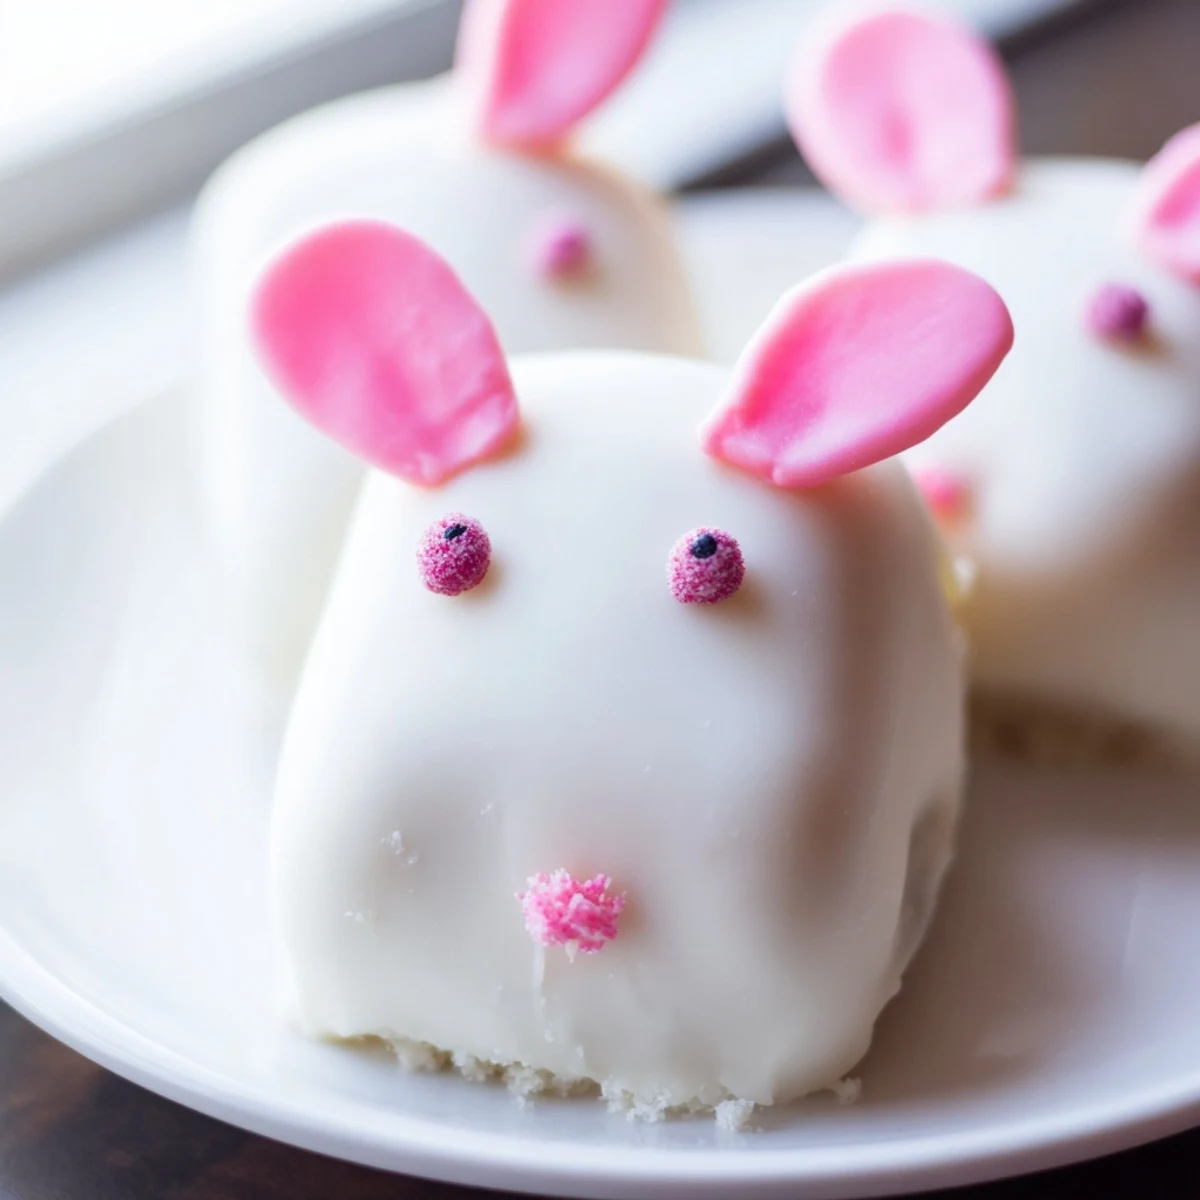
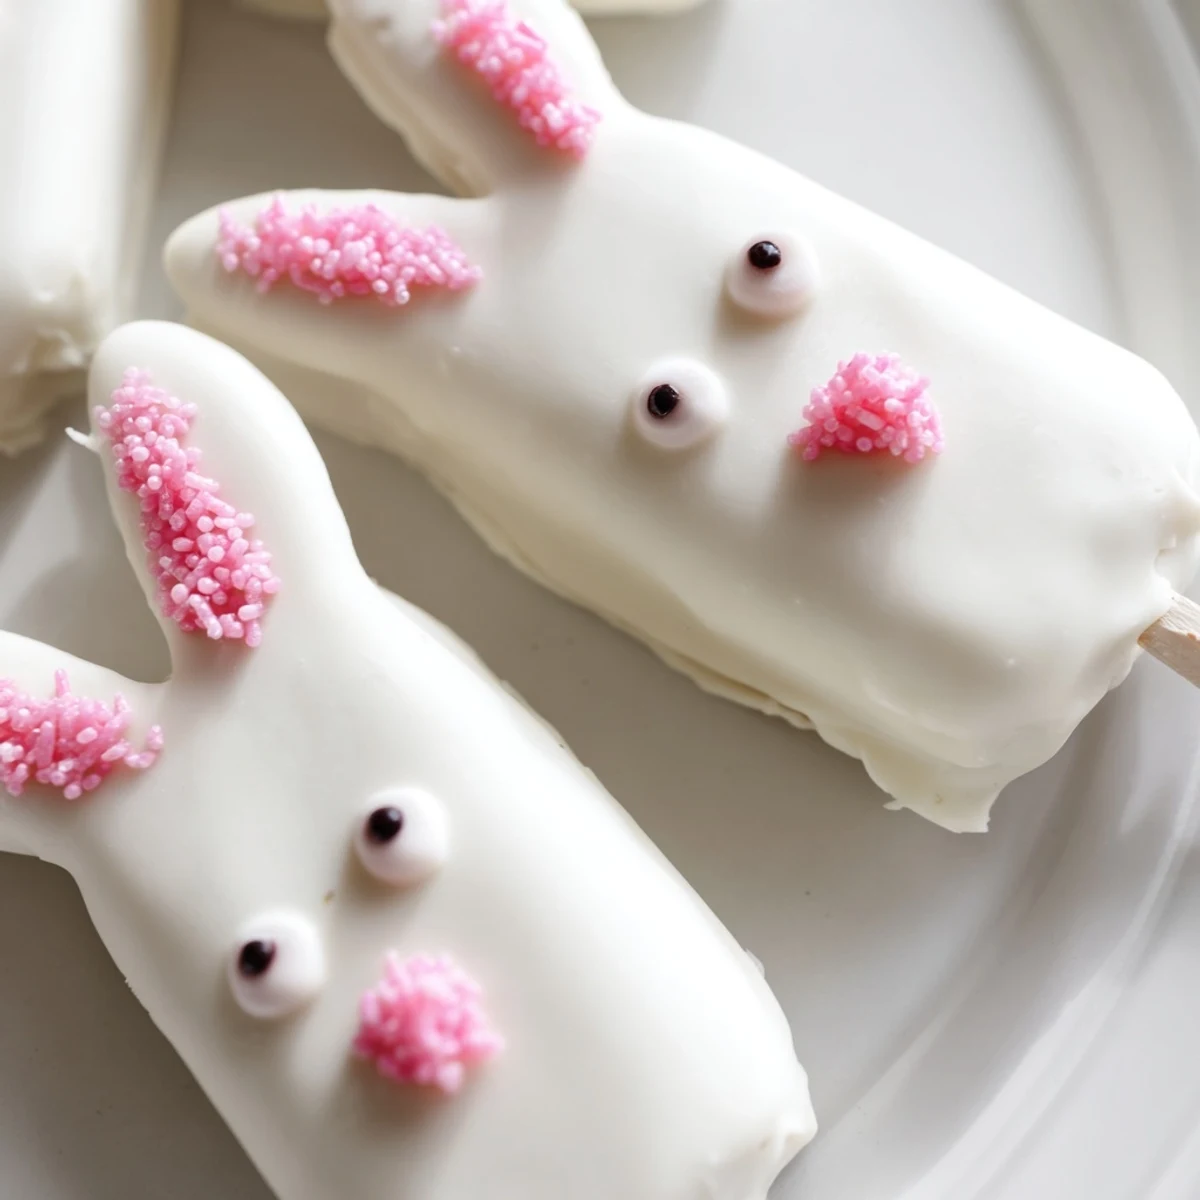
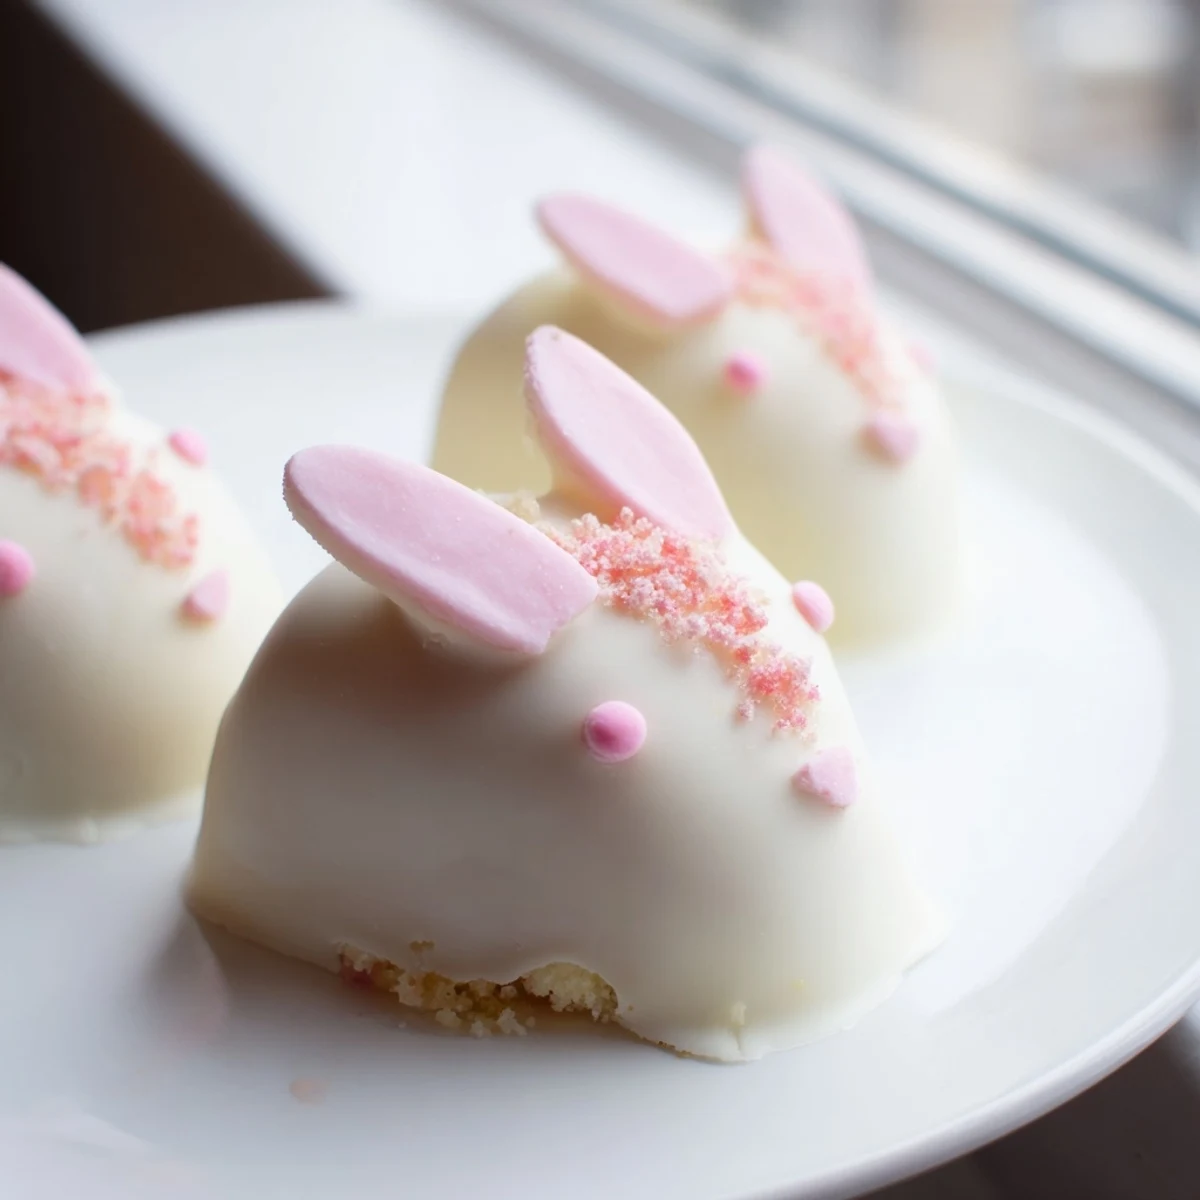
Save These delightful bunny-shaped treats start with vanilla cake crumbs mixed with cream cheese, butter, and vanilla for a moist, moldable dough. Shape into bunny faces, insert sticks, and chill until firm. Dip in melted white chocolate for a smooth, luscious coating that hardens beautifully. Decorate with candy eyes, sprinkle noses, and fondant ears to bring each bunny to life. The combination of tender cake and creamy white chocolate creates irresistible bite-sized Easter desserts that kids and adults will adore.
The kitchen counter looked like an explosion of white chocolate and sprinkles when my niece announced she wanted bunny shaped treats for her Easter egg hunt. I had never made cakesicles before, but the way her eyes lit up at the idea of cake on a stick made me dive right in. We ended up with flour on our noses and chocolate on our fingers, but those first imperfect bunny faces became the start of our sweetest Easter tradition. Now I cannot imagine spring without these adorable treats waiting in the fridge.
Last year I made fifty of these for a neighborhood Easter party and watched grown adults light up when they spotted the bunny tray. Kids grabbed them first, but I caught several parents sneaking seconds when they thought no one was watching. Something about food on a stick makes everything taste better and more festive.
Ingredients
- Vanilla cake crumbs: Use homemade cake scraps or store bought cupcakes crumbled into fine pieces
- Cream cheese: Must be softened to room temperature for smooth binding
- Unsalted butter: Adds richness and helps the mixture hold its shape
- Powdered sugar: Sweetens the dough without adding graininess
- Vanilla extract: Pure extract makes all the difference in flavor depth
- White chocolate: High quality melts create the smoothest coating
- Edible gel food coloring: Perfect for pink bunny noses and ears
- Cakesicle sticks: Insert before coating for secure attachment
- Sprinkles and candy eyes: Let your creativity run wild with decorations
Instructions
- Mix the cake dough:
- Combine all cake ingredients in a medium bowl until the mixture holds together like soft dough when pressed
- Shape bunny faces:
- Divide into 8 portions and form flattened ovals with slightly pointed tops for ears
- Add sticks and chill:
- Insert sticks about halfway into each shape and refrigerate until firm, about 30 minutes
- Melt the coating:
- Heat white chocolate in 30 second intervals, stirring between each until completely smooth
- Dip and decorate:
- Coat each cake pop completely, tap off excess, and add decorations while the chocolate is soft
- Set and serve:
- Let cakesicles set at room temperature or briefly in the fridge until the coating hardens
 Save
Save My most successful batch came from the year I enlisted my three year old to help decorate. Some bunnies ended up with three eyes or crooked ears, but those charmingly imperfect treats disappeared faster than any picture perfect version I have made since.
Flavor Variations
Chocolate cake crumbs transform these into an entirely different treat that vanishes just as quickly. I have also experimented with lemon cake for spring and red velvet for a dramatic pink crumb center that shows through tiny cracks in the white coating.
Decoration Ideas
Fondant rolled thin and cut with kitchen shears makes the most adorable floppy ears. Pretzel sticks dipped in pink chocolate work wonderfully for a dimensional ear effect, and edible markers let you draw on whiskers and mouths once the coating has fully set.
Storage And Make Ahead Tips
These beauties keep perfectly in an airtight container for up to three days, though they rarely last that long in my house. You can prepare the cake mixture and shape the bunnies up to two days ahead, keeping them refrigerated until you are ready to dip and decorate.
- Let refrigerated cakesicles come to room temperature for 10 minutes before serving
- Package individually in clear bags tied with pastel ribbons for gifting
- Set up a decorating station at your Easter gathering for interactive fun
 Save
Save Watch your guests faces light up when they spot these adorable bunnies on the dessert table.
Recipe FAQs
- → How do I prevent the cake mixture from falling off the sticks?
-
Ensure your cake dough reaches the right consistency—mixture should hold together when squeezed. Chill shaped bunnies for 20-30 minutes before dipping. Insert sticks about halfway through and gently press the cake mixture around the stick base to secure it firmly.
- → Can I make these ahead of time for Easter?
-
Absolutely! Complete cakesicles store beautifully in an airtight container in the refrigerator for up to 3 days. The white chocolate coating helps maintain freshness. For longer storage, freeze undecorated dipped cakesicles for up to 1 month, then add decorations after thawing.
- → What's the best way to melt white chocolate without seizing?
-
Melt white chocolate slowly in 30-second bursts at 50% power, stirring thoroughly between each interval. Avoid overheating—white chocolate is sensitive to high temperatures. If the mixture seems too thick, add 1 teaspoon of coconut oil or vegetable shortening to achieve smooth, dippable consistency.
- → Can I use store-bought cake instead of homemade?
-
Store-bought cake or cupcakes work perfectly! Simply crumble them finely and follow the same mixing process. This shortcut saves time while still delivering delicious results. Vanilla, yellow cake, or even chocolate cake varieties all complement the white chocolate coating beautifully.
- → What alternatives work for bunny ear decorations?
-
Fondant cutouts create classic perky ears, but pretzel sticks make playful crunchy alternatives. Modeling chocolate offers another pliable option that tastes delicious. For simple charm, use pink candy melts piped directly onto the white chocolate coating to suggest ears.
- → How do I achieve a smooth white chocolate finish?
-
Tap the dipped cakesicle gently against the bowl edge to remove excess coating, then rotate slowly as any remaining chocolate drips off. Place on parchment paper and avoid moving until completely set. Room temperature setting produces the smoothest finish—refrigerate briefly only if your kitchen is very warm.