 Save
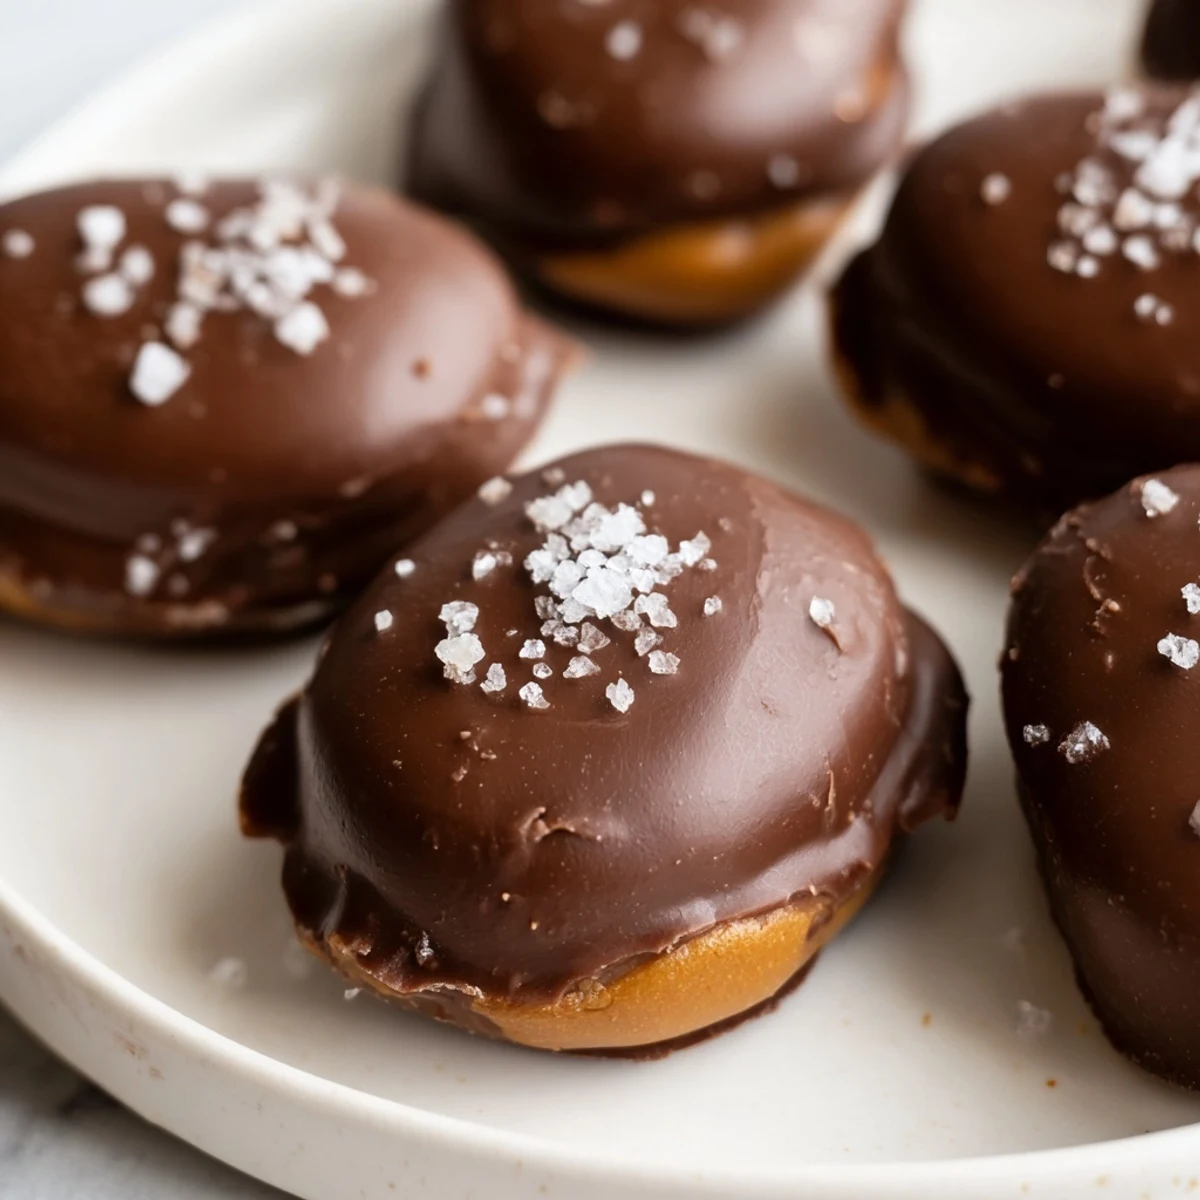
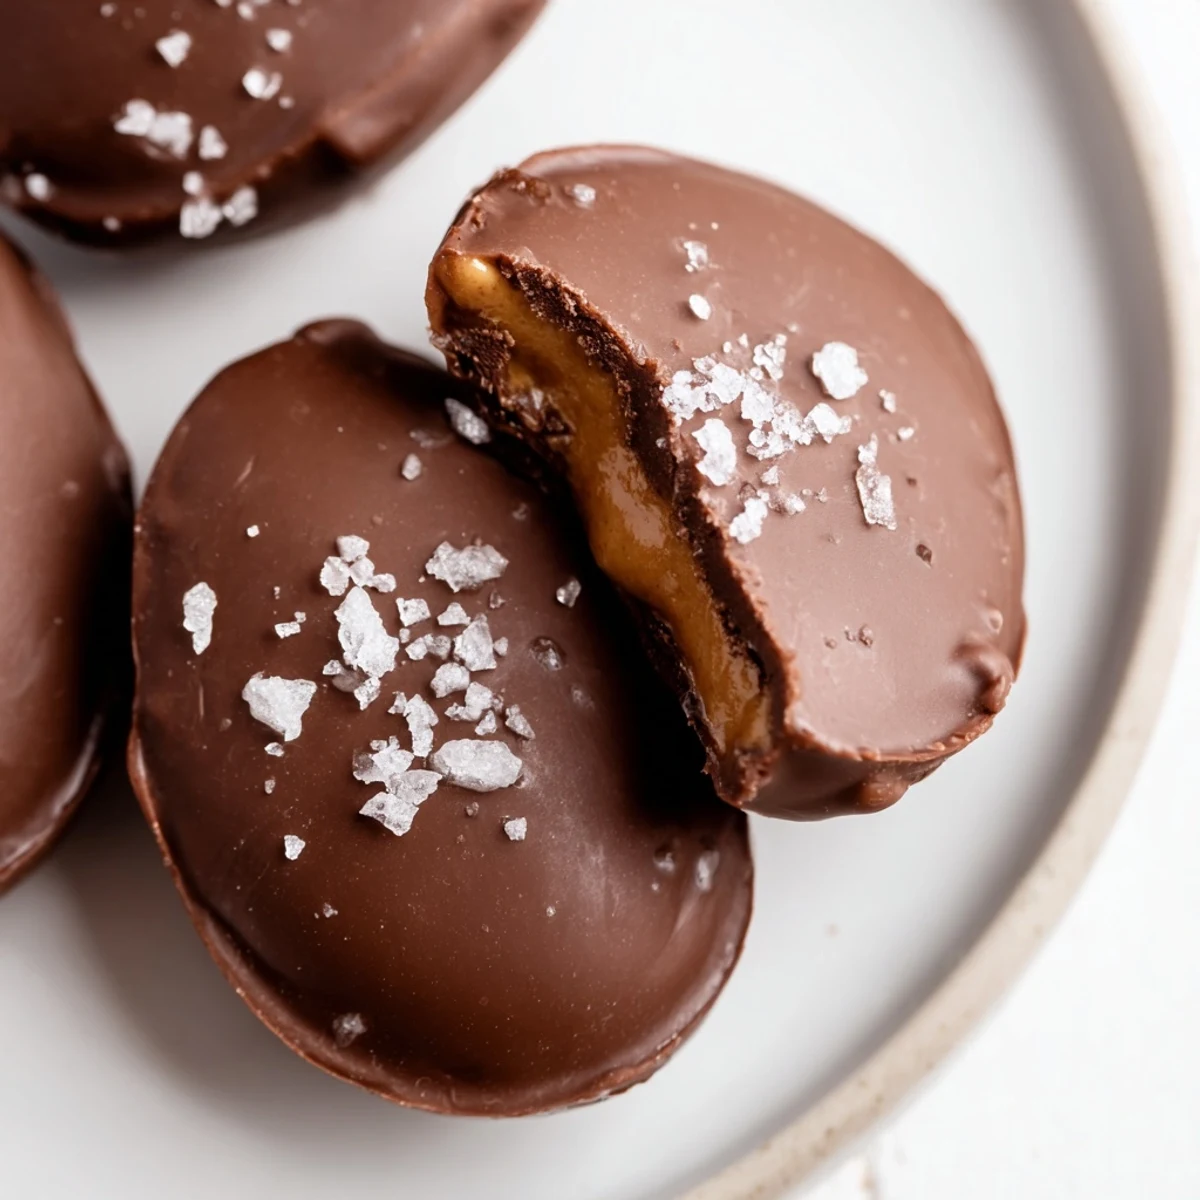
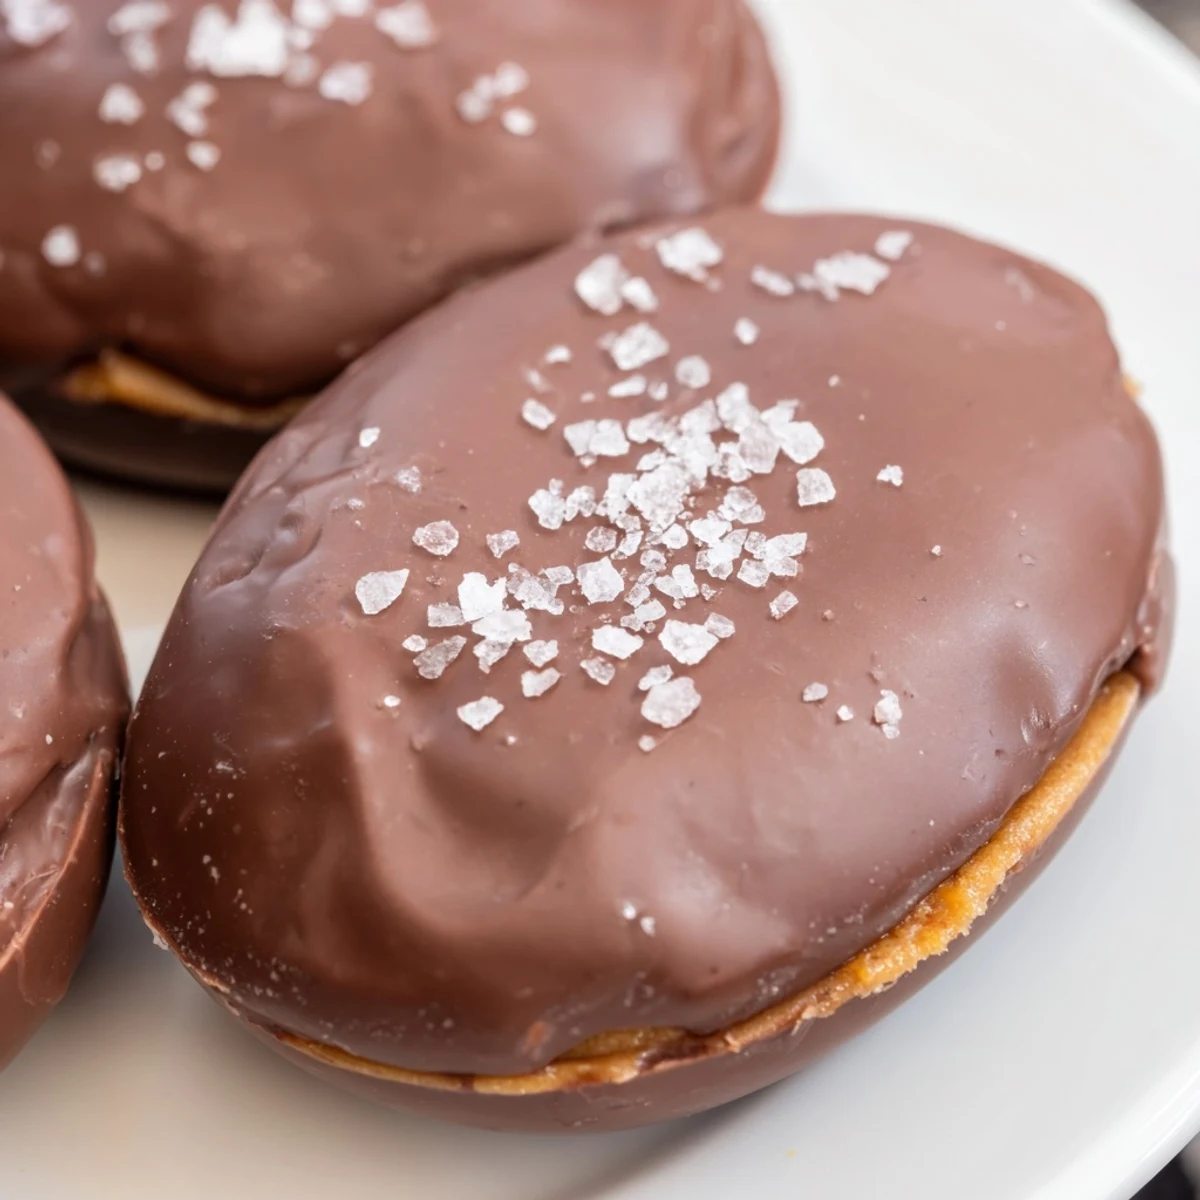
Save These creamy chocolate peanut butter eggs feature a rich, smooth filling made with peanut butter, butter, powdered sugar, and vanilla, shaped into bite-sized egg forms. After chilling to firm up, each piece is dipped in melted semisweet or milk chocolate for a luscious coating. No baking required, just simple mixing, chilling, and dipping to create a decadent treat suitable for festive occasions or everyday indulgence. Store chilled for freshness and enjoy the delightful combination of creamy filling and rich chocolate.
My apartment smelled like pure nostalgia the first year I attempted these homemade peanut butter eggs instead of buying the overpriced store versions. I had this moment standing over the mixing bowl, peanut butter everywhere, wondering why I had not tried this sooner.
Last Easter my sister took one bite and immediately accused me of hiding some secret ingredient because the texture was so incredibly smooth. Honestly, the only secret is patience while chilling the mixture, but I let her keep wondering.
Ingredients
- Creamy peanut butter: Use your favorite brand because the flavor really shines through, just avoid the natural separated types for the smoothest texture
- Unsalted butter: Softened to room temperature so it blends seamlessly into the peanut butter mixture without leaving lumps
- Powdered sugar: Sifted to prevent any gritty bits in your filling and give it that silky professional feel
- Vanilla extract: Pure vanilla makes all the difference here, amplifying the peanut butter without overpowering it
- Salt: Just a quarter teaspoon balances all that sweetness and makes the peanut butter flavor pop
- Semisweet or milk chocolate chips: Choose whichever chocolate you love eating straight from the bag because that is exactly how the coating will taste
- Coconut oil or vegetable shortening: This tiny addition makes the melted chocolate coating smoother and gives it that gorgeous professional gloss
Instructions
- Beat the filling:
- Combine peanut butter, softened butter, powdered sugar, vanilla, and salt in a medium bowl until completely smooth and it holds together like soft dough
- Shape into eggs:
- Scoop about 2 tablespoons of mixture and gently form egg shapes with your hands, then place them on a parchment-lined baking sheet
- Chill until firm:
- Freeze the shaped eggs for 20 to 30 minutes until they are completely firm and easy to handle without losing their shape
- Melt the chocolate:
- Melt chocolate chips with coconut oil in a microwave-safe bowl in 30-second intervals, stirring between each until silky and smooth
- Dip each egg:
- Use a fork to lower each chilled egg into the melted chocolate, lift it out, and tap gently to let excess drip away before returning it to the lined sheet
- Set the coating:
- Refrigerate the chocolate-coated eggs for at least 15 minutes until the chocolate is completely firm and set
- Store properly:
- Keep the finished eggs in an airtight container in the refrigerator for up to 2 weeks, though they probably will not last that long
 Save
Save These have officially replaced store-bought treats in my house, and the best part is watching people is face when they realize these are completely homemade. Something about that homemade touch makes them feel extra special and thoughtful.
Making The Perfect Shape
I have found that slightly damp hands make shaping the peanut butter mixture so much easier because it does not stick to your palms. If the mixture feels too soft to work with, pop the bowl in the fridge for 10 minutes before shaping.
Chocolate Coating Secrets
Tempering the chocolate is not strictly necessary for home cooks, but keeping it warm while dipping makes everything go so much more smoothly. A simple trick is setting your bowl of melted chocolate over another bowl of warm water to maintain the perfect dipping temperature.
Toppings And Variations
Once you have mastered the basic recipe, the variations are endless and each one feels like discovering something new.
- Sprinkle flaky sea salt on top before the chocolate sets for a sweet and salty finish
- Use dark chocolate instead of milk or semisweet for a more sophisticated, less sweet version
- Add a tiny drop of food coloring to the filling for pastel Easter eggs that look absolutely gorgeous
 Save
Save There is something deeply satisfying about making a classic candy from scratch and realizing how much better homemade tastes. These little eggs might just become your new spring tradition.
Recipe FAQs
- → How can I make the filling crunchier?
-
Swap creamy peanut butter for crunchy peanut butter to add texture to the filling.
- → What type of chocolate works best for coating?
-
Semisweet, milk, dark, or white chocolate can be used depending on your taste preference.
- → Can these treats be made vegan?
-
Use dairy-free butter and vegan chocolate to create a plant-based version.
- → How long should the eggs chill before dipping?
-
Freeze the shaped filling for 20–30 minutes to ensure firmness before dipping in chocolate.
- → What is the best way to store finished pieces?
-
Keep them in an airtight container in the refrigerator for up to two weeks to maintain texture and flavor.