 Save
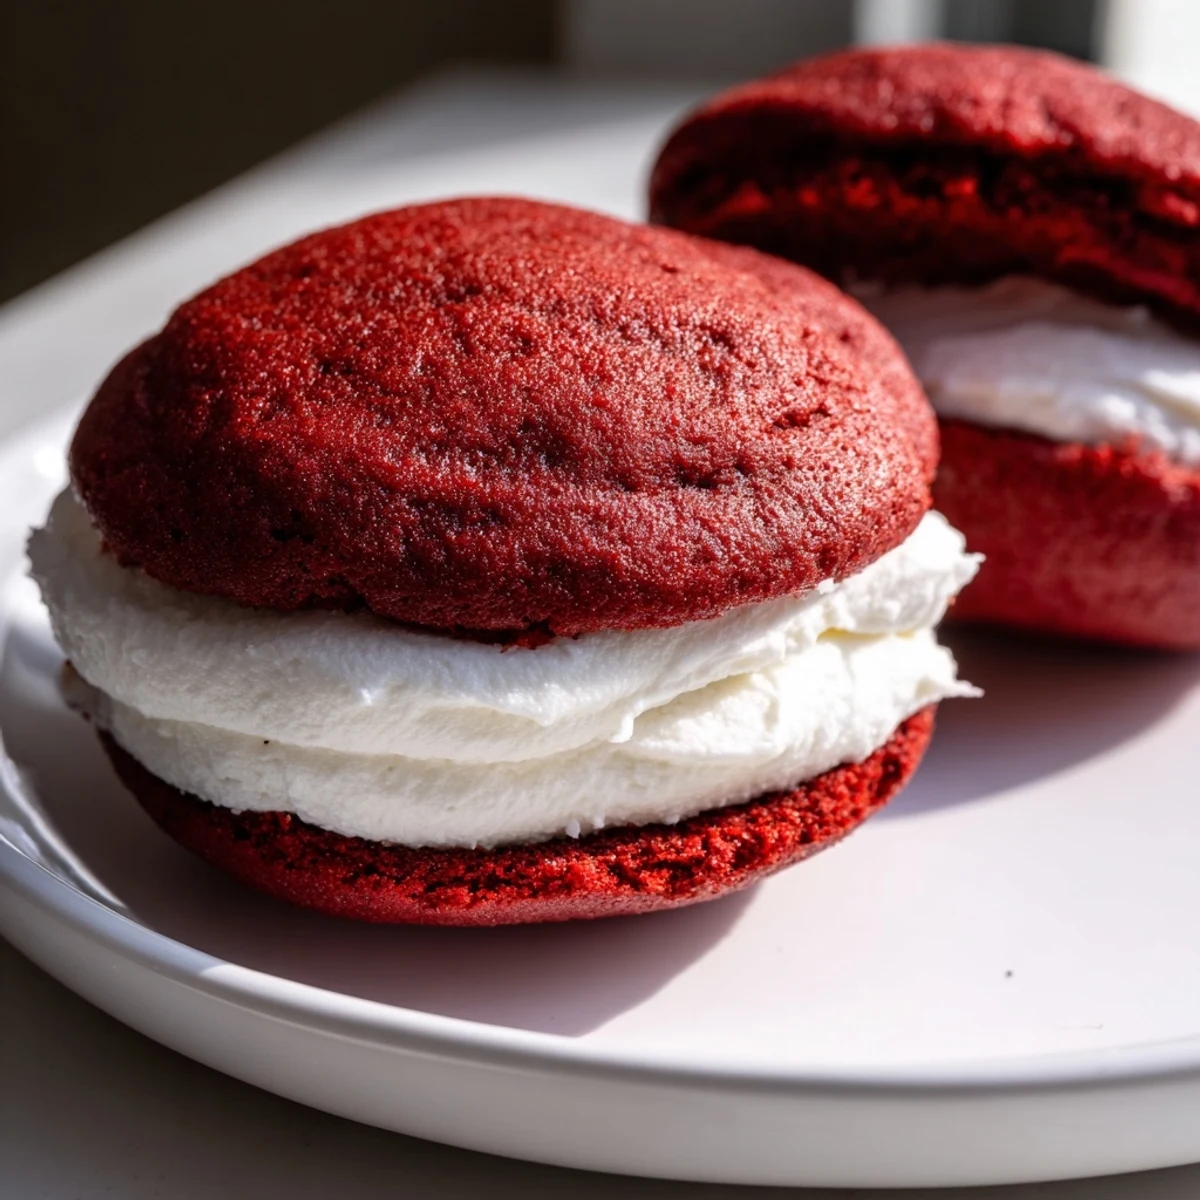
Save These soft, cake-like red velvet whoopie pies feature tender cocoa-enhanced cookies with a hint of buttermilk for moisture. The marshmallow cream filling adds a light, sweet contrast, making them a nostalgic dessert perfect for gatherings. Cooling and careful assembly ensure the perfect sandwich texture in every bite.
The kitchen counter looked like a crime scene with red splatters everywhere, but I couldn't stop laughing. My sister had accidentally squeezed the food coloring bottle too hard, and now we both looked like we'd been painting with cherry lipstick. We were attempting whoopie pies for the first time, inspired by a bakery in Philadelphia that shipped them nationwide, and neither of us realized just how vibrant that red dye would be. The best part? Those slightly messy cookies turned out to be the most incredibly soft, cake-like sandwiches we'd ever tasted.
I brought a batch to a potluck last winter and watched them disappear in under seven minutes. My friend's daughter, who's usually suspicious of anything with visible coloring, took one hesitant bite and immediately asked if she could take the extras home for her school lunch. Something about that marshmallow cream filling reminds people of childhood campfires and summer nights, even when it's snowing outside.
Ingredients
- All-purpose flour (2 cups): The foundation of that signature cake-like texture, and I've learned through trial and error that measuring by weight gives the most consistent results
- Unsweetened cocoa powder (2 tablespoons): Just enough to underscore the chocolate notes without overpowering the delicate red velvet flavor
- Baking powder and baking soda: This duo creates those perfectly domed tops that make whoopie pies so irresistible
- Salted butter (½ cup, softened): Room temperature is non-negotiable here—it's what creates that tender crumb
- Granulated sugar (1 cup): Cream this thoroughly with the butter, and I mean really thoroughly, until it looks like pale whipped frosting
- Red food coloring (1 tablespoon): Gel coloring gives a deeper red with less liquid, which prevents batter from becoming too thin
- Buttermilk (½ cup): The secret ingredient that makes these cookies tender and adds a subtle tang that balances the sweetness
- Powdered sugar (1 ½ cups, sifted): Sifting is tedious but absolutely prevents lumpy filling
- Marshmallow crème (7 oz jar): Don't try making this from scratch unless you have a candy thermometer and infinite patience
- Vanilla extract (2 teaspoons total): Use the good stuff, especially in the filling where vanilla really shines
Instructions
- Preheat and prepare:
- Set your oven to 350°F (175°C) and line two baking sheets with parchment paper. I'd suggest running the parchment under cold water first—it sticks better to the sheet and won't slide around when you're scooping batter.
- Whisk the dry team:
- In a medium bowl, combine flour, cocoa powder, baking powder, baking soda, and salt. Whisk them together thoroughly so you won't have to worry about pockets of baking soda later.
- Cream butter and sugar:
- Beat softened butter and sugar together for at least 2–3 full minutes until the mixture looks pale and fluffy. This step creates air pockets that make the cookies tender, so don't rush it.
- Add egg and vanilla:
- Beat in one large egg and a teaspoon of vanilla until everything is completely combined. Scrape down the sides of the bowl—there's always butter hiding up there.
- Make it red:
- Pour in the red food coloring and mix until evenly distributed. If using gel coloring, you might need slightly less than a tablespoon to achieve that deep crimson shade.
- Combine wet and dry:
- On low speed, add the flour mixture and buttermilk in three alternating additions, starting and ending with flour. Stop as soon as the flour streaks disappear—overmixing makes tough cookies.
- Scoop and space:
- Drop 24 mounds of batter onto the prepared sheets, about 2 tablespoons each, leaving 2 inches of space between them. A cookie scoop makes perfectly uniform portions, and uniform cookies mean better sandwiches.
- Bake until set:
- Bake for 10–12 minutes until the cookies spring back when gently touched. They should look matte, not shiny or wet—underbaked cookies won't hold their shape.
- Cool completely:
- Let them rest on the baking sheets for 5 minutes before transferring to a wire rack. Warm cookies will melt the filling, so patience here prevents messy disasters later.
- Make the marshmallow filling:
- Beat softened butter until creamy, then gradually add powdered sugar until fluffy. Fold in the marshmallow crème, vanilla, and pinch of salt until everything is smooth and dreamy.
- Sandwich and serve:
- Pair cookies by size, spread 1–2 tablespoons of filling on the flat side of one, and gently press its mate on top. Give them 15 minutes in the fridge to set before serving.
 Save
Save Last Thanksgiving, I made these instead of the traditional pumpkin pie, and my grandmother actually asked for seconds—which is practically a five-star review in her book. Now they've become the official holiday dessert, and I've accepted that I'll be making red whoopie pies every November for the rest of my life.
Making Ahead Like a Pro
The cookie dough can be scooped and frozen on baking sheets, then transferred to a storage bag for up to three months. Bake them straight from frozen, adding just 1–2 minutes to the baking time. The filling also keeps beautifully in the refrigerator for a week, so you can prep components separately and assemble whenever you need them.
Perfect Pairings
A glass of cold milk is the classic choice for a reason—the creaminess cuts through the sweetness and balances that marshmallow fluff. For something more grown-up, try them with a cup of black coffee or even a glass of dessert wine like port or late-harvest zinfandel. The slight bitterness of coffee especially enhances the cocoa notes in the cookie.
Storage Secrets
Once assembled, these beauties stay fresh at room temperature for two days, though I've found they're actually even better on day two when the flavors have had time to meld. For longer storage, wrap each whoopie pie individually in plastic wrap and freeze them—they'll last for months and taste just like freshly made. When you're ready to eat, just let them thaw at room temperature for about 20 minutes.
- Press the sandwiches gently when assembling so the filling spreads to the edges without oozing out
- Place assembled pies in the fridge for 15 minutes before packing them for travel
- If the filling seems too stiff, let it sit at room temperature for 10 minutes before spreading
 Save
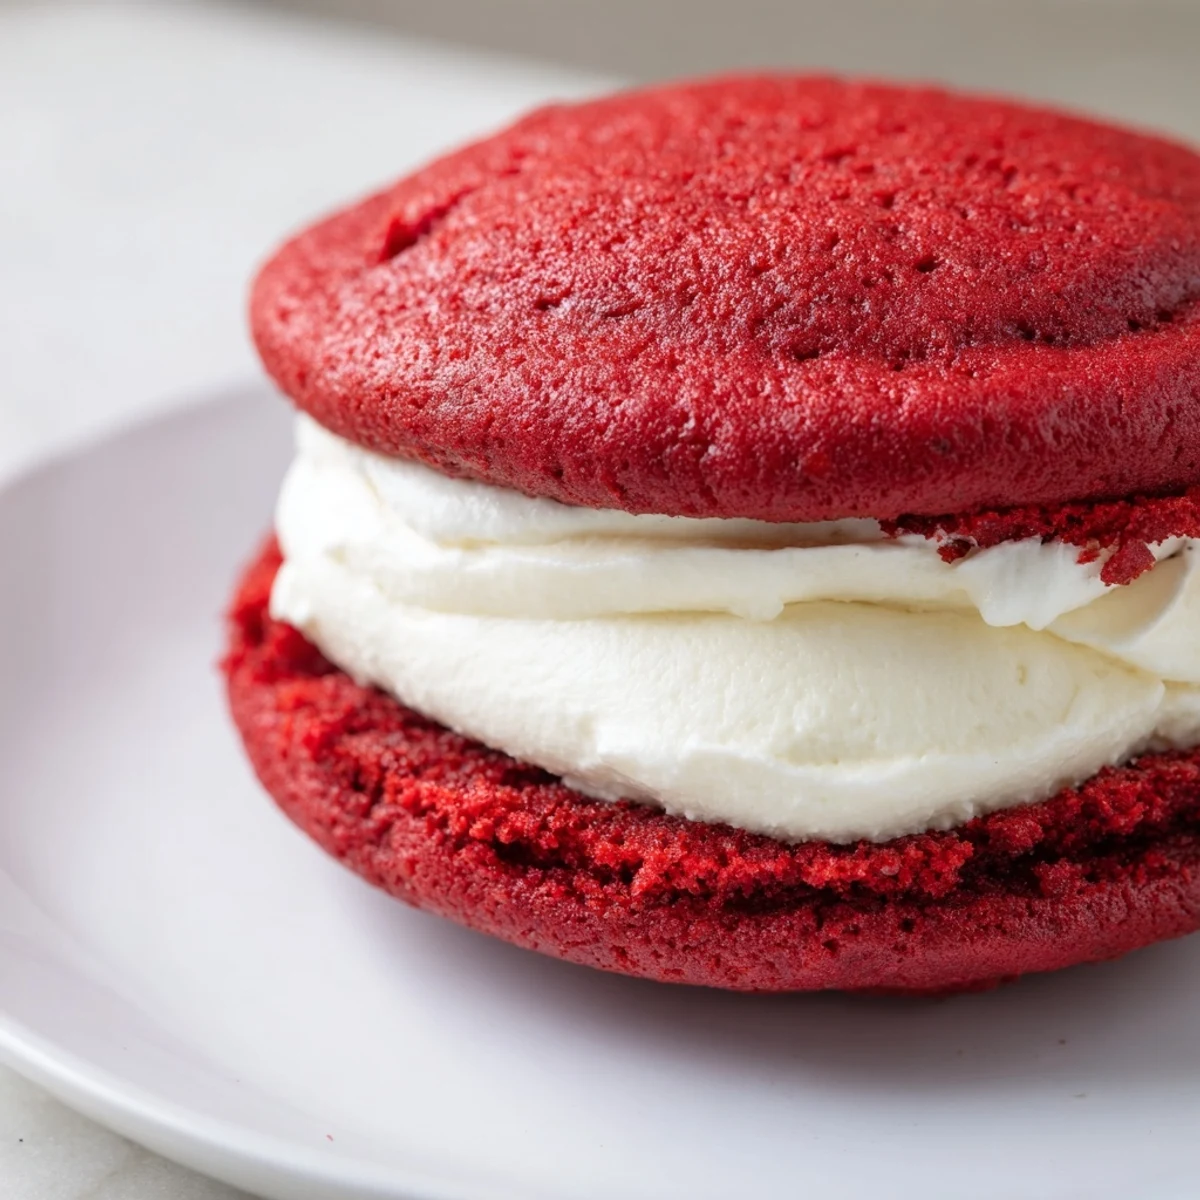
Save There's something deeply satisfying about biting into these sandwich cookies, that soft cake giving way to pillowy marshmallow cream. They're the kind of treat that makes people close their eyes and say oh wow, and really, isn't that exactly what dessert should do?
Recipe FAQs
- → What gives the cookies their red velvet flavor?
-
The combination of unsweetened cocoa powder and red food coloring, along with vanilla and buttermilk, creates the classic red velvet flavor and velvet-soft texture.
- → How is the marshmallow filling made fluffy?
-
Butter is beaten until smooth before gradually adding powdered sugar and marshmallow crème, which is then whipped to create a light and fluffy texture.
- → Can I make these whoopie pies ahead of time?
-
Yes, you can assemble them and store in an airtight container at room temperature for 2 days or refrigerate for longer freshness.
- → What equipment is essential for preparation?
-
An electric mixer, mixing bowls, baking sheets lined with parchment paper, and a cookie scoop or tablespoon for portioning are needed.
- → How do I ensure the cookies bake evenly?
-
Spacing the batter mounds about 2 inches apart on parchment-lined sheets allows even heat circulation for uniform baking and texture.