 Save
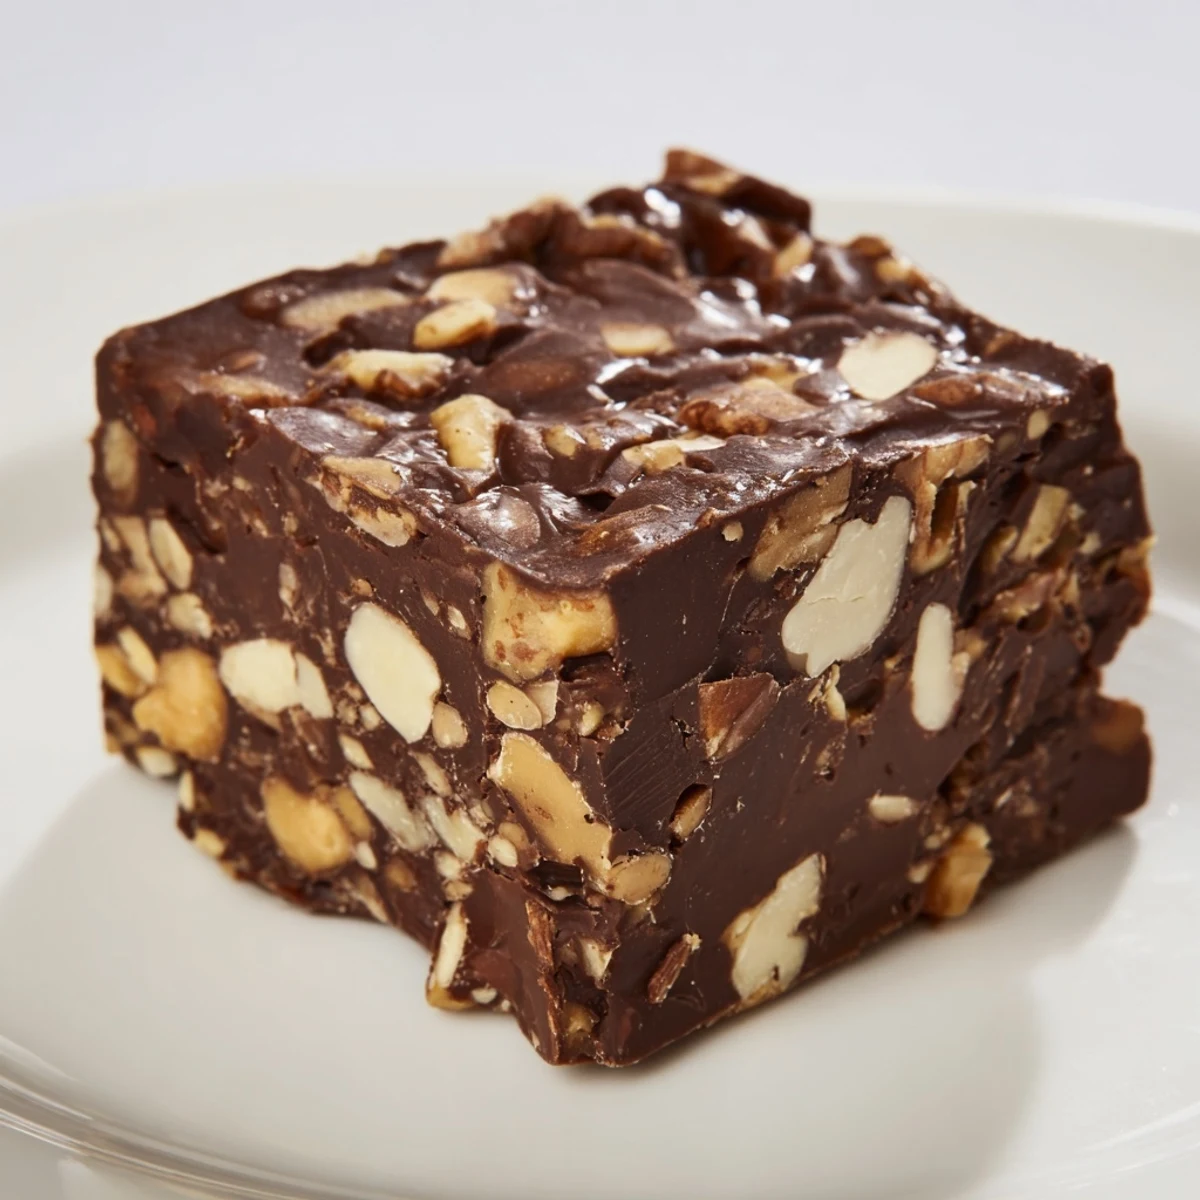
Save This indulgent confection features a smooth, creamy base of melted chocolate and peanut butter enriched with sweetened condensed milk and a pinch of salt. Mixed nuts add delightful crunch, folded evenly into the blend. Once poured into a lined pan and chilled for at least two hours, it firms into ideal squares perfect for sharing. Optional nut toppings enhance texture and flavor. This easy-to-make treat pairs wonderfully with coffee or milk and can be customized with cinnamon or vanilla hints for extra warmth.
My neighbor brought over a container of homemade chocolate peanut butter fudge one December afternoon, and I was immediately hooked—but more importantly, I became obsessed with replicating it in my own kitchen. After several batches of experimenting with ratios and textures, I landed on this version, which delivers that perfect balance of smooth chocolate, creamy peanut butter, and the satisfying crunch of mixed nuts. It's become my go-to gift for holidays and the kind of treat I make when I need something both impressive and surprisingly simple.
I made this fudge for the first time during a chaotic dinner party where I'd overcommitted myself with appetizers and a main course, so I needed dessert that wouldn't demand my attention. Pulling that pan from the fridge and cutting those perfect squares felt like a small victory—suddenly I had something elegant to offer without the stress.
Ingredients
- Semisweet chocolate chips: The heart of this fudge—use good quality if you can, because the chocolate flavor really shines through the sweetness.
- Creamy peanut butter: Natural or conventional both work, but stir it well before measuring to ensure even texture throughout your fudge.
- Sweetened condensed milk: This is the secret binding agent that makes the fudge creamy without being grainy, and it prevents crystals from forming.
- Salt: Just a pinch, but it rounds out all the flavors and keeps the sweetness from becoming cloying.
- Mixed nuts: Roughly chop them so you get varied sizes—some will stay visible, others will break down slightly and add texture throughout.
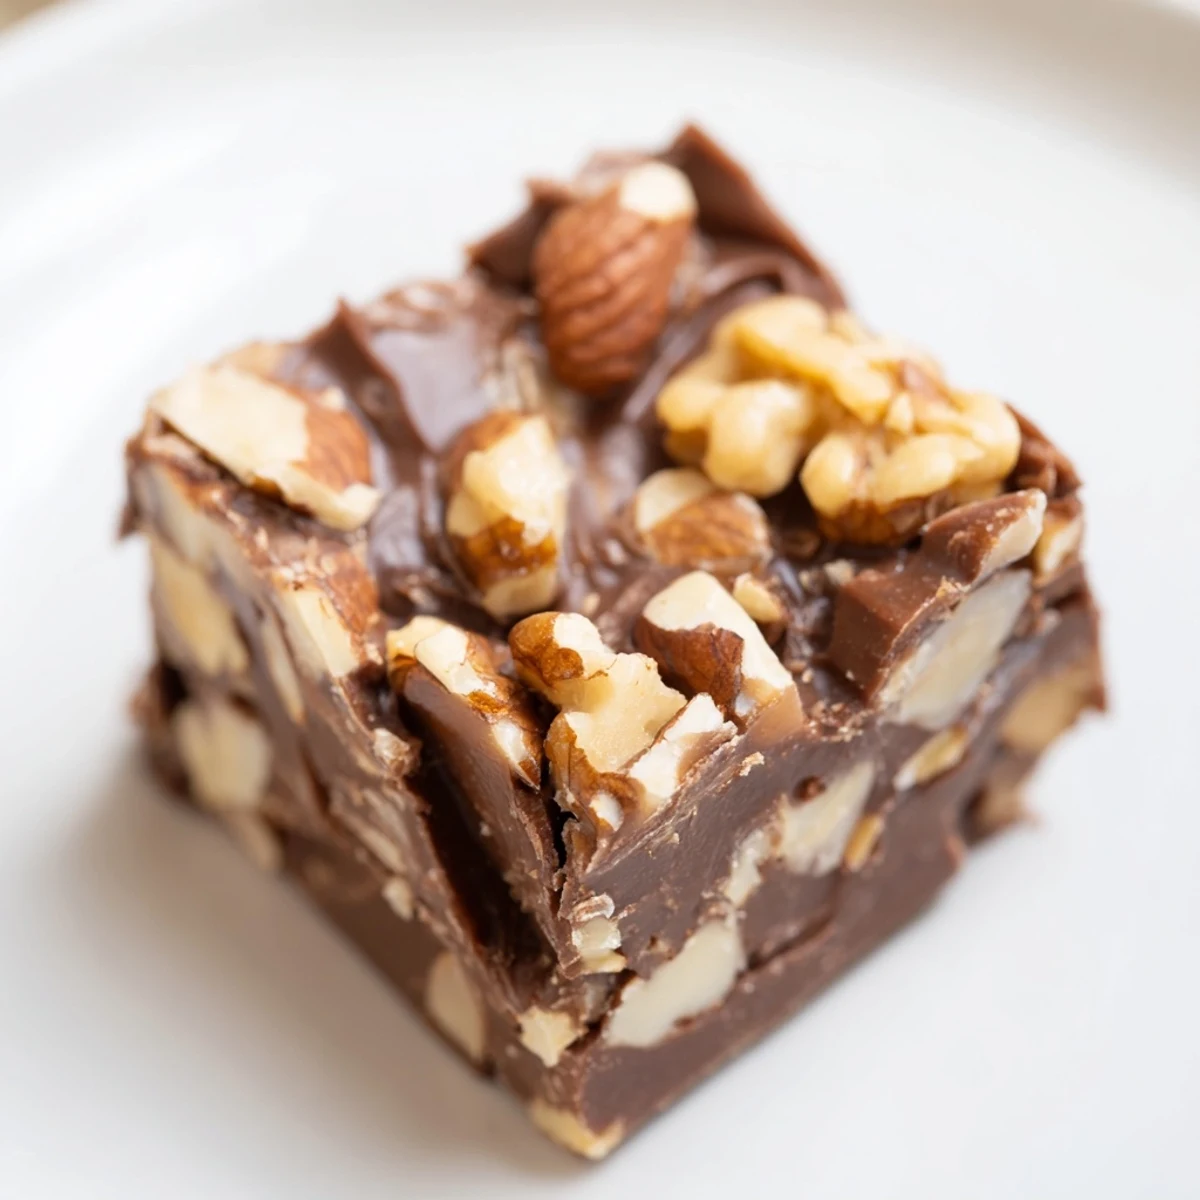
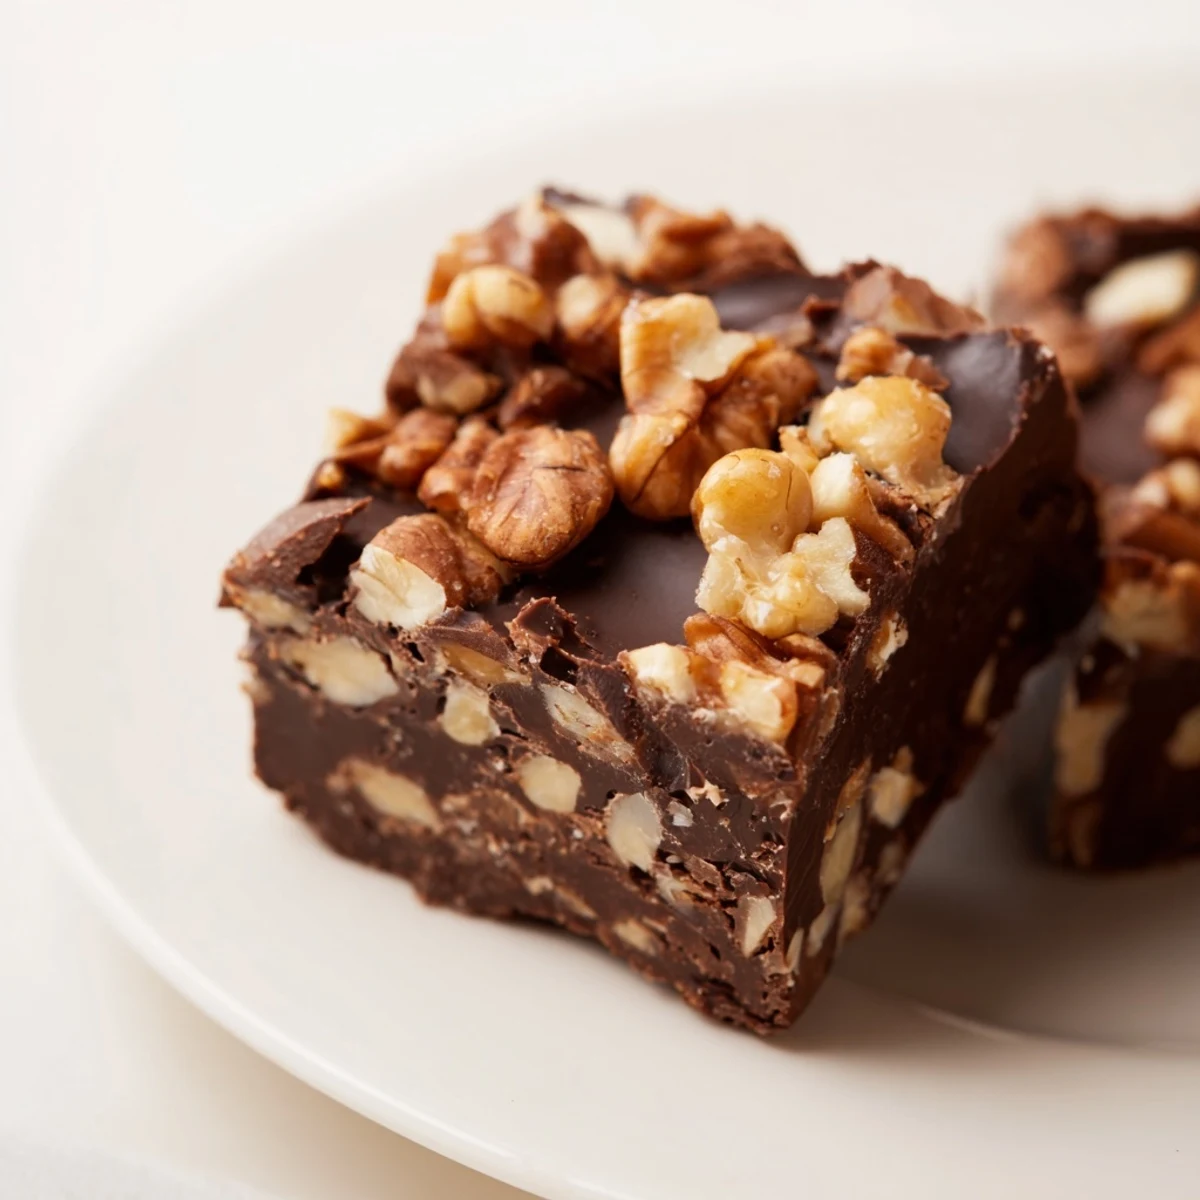
- Optional garnish nuts: These add visual appeal and give you one more layer of crunch on top.
Instructions
- Prepare your pan:
- Line an 8x8-inch square pan with parchment paper, letting the edges overhang the sides like little handles. This makes pulling the finished fudge out smooth and effortless.
- Melt everything together:
- Combine chocolate chips, peanut butter, condensed milk, and salt in a medium saucepan over low heat, stirring constantly for about 5 minutes until the mixture is completely smooth and glossy. You'll notice the steam rising and the chocolate deepening in color—that's when you know it's ready.
- Fold in the nuts:
- Remove from heat and gently fold in your chopped nuts with a spatula until they're evenly scattered throughout the mixture. Don't overmix—you want to preserve some texture rather than break everything down.
- Transfer to the pan:
- Pour the warm mixture into your prepared pan and use a spatula to smooth the top into an even layer. Work gently so the nuts don't sink to the bottom.
- Add the garnish:
- If you're using the extra nuts, sprinkle them over the top now and press them in lightly so they stick to the fudge as it cools.
- Chill until set:
- Refrigerate for at least 2 hours—I usually leave mine overnight because cold fudge cuts so much cleaner and holds its shape better.
- Cut and store:
- Use the parchment overhang to lift the entire slab from the pan, then slice into 24 squares with a sharp knife dipped in hot water between cuts. Keep everything refrigerated in an airtight container for up to a week.
 Save
Save The real turning point came when my teenagers actually asked for this fudge instead of just accepting it as something I'd made. That single question—'Are you making the chocolate peanut butter again?'—told me I'd nailed something worth keeping in regular rotation.
Texture Matters
The beauty of this fudge lies in its layered texture: the initial creaminess from the chocolate and condensed milk base, followed by the subtle richness of peanut butter, and then that satisfying crunch from the nuts. Some people prefer chunky peanut butter for even more texture contrast, and honestly, I've made it both ways depending on my mood. The key is not to overstir once you add the nuts, because that's what keeps them from getting pulverized into submission.
Flavor Variations Worth Exploring
While this recipe works beautifully as is, I've discovered that a pinch of cinnamon adds a subtle warmth that plays nicely with the chocolate and peanut butter, almost like a deconstructed snickerdoodle moment. A teaspoon of vanilla extract also transforms the flavor profile into something more sophisticated, though use restraint—vanilla can overpower if you're heavy-handed. I've even experimented with a tiny splash of espresso powder, which deepens the chocolate notes without making it taste like coffee.
Storage and Shelf Life
This fudge keeps beautifully in the refrigerator, which means you can make it days ahead if you're planning to give it as a gift or need it for an event. I've found that keeping it sealed in an airtight container actually improves the flavor as it sits, because the ingredients continue to meld together. Some people freeze it for longer storage, though I've never successfully made a batch last long enough to test that theory.
- If your kitchen runs warm, keep it refrigerated rather than on the counter or it'll soften too much.
- Cut pieces can be individually wrapped in parchment paper for gifting, which makes everything look intentional and special.
- Bring to room temperature for about five minutes before eating if you prefer it slightly softer and more melt-in-your-mouth.
 Save
Save This fudge has become one of those recipes I return to again and again because it never disappoints and always feels a little bit special, even though it's so easy. It's proof that the best treats don't require hours in the kitchen—just good ingredients and a few minutes of attention.
Recipe FAQs
- → What type of chocolate is best for this fudge?
-
Semisweet chocolate chips provide the ideal balance of sweetness and depth, melting smoothly to blend with peanut butter.
- → Can I substitute the nuts used in this dish?
-
Yes, use walnuts, pecans, almonds, or your preferred nuts. Omitting nuts creates a softer texture but retains richness.
- → How long should the mixture chill before cutting?
-
Refrigerate for at least two hours until firm, ensuring clean, neat squares when sliced.
- → Can I add extra flavors to the chocolate mixture?
-
A pinch of cinnamon or a splash of vanilla extract can be added during melting for warm, aromatic layers of flavor.
- → How should the finished squares be stored?
-
Store in an airtight container in the refrigerator for up to one week to maintain freshness and texture.