 Save
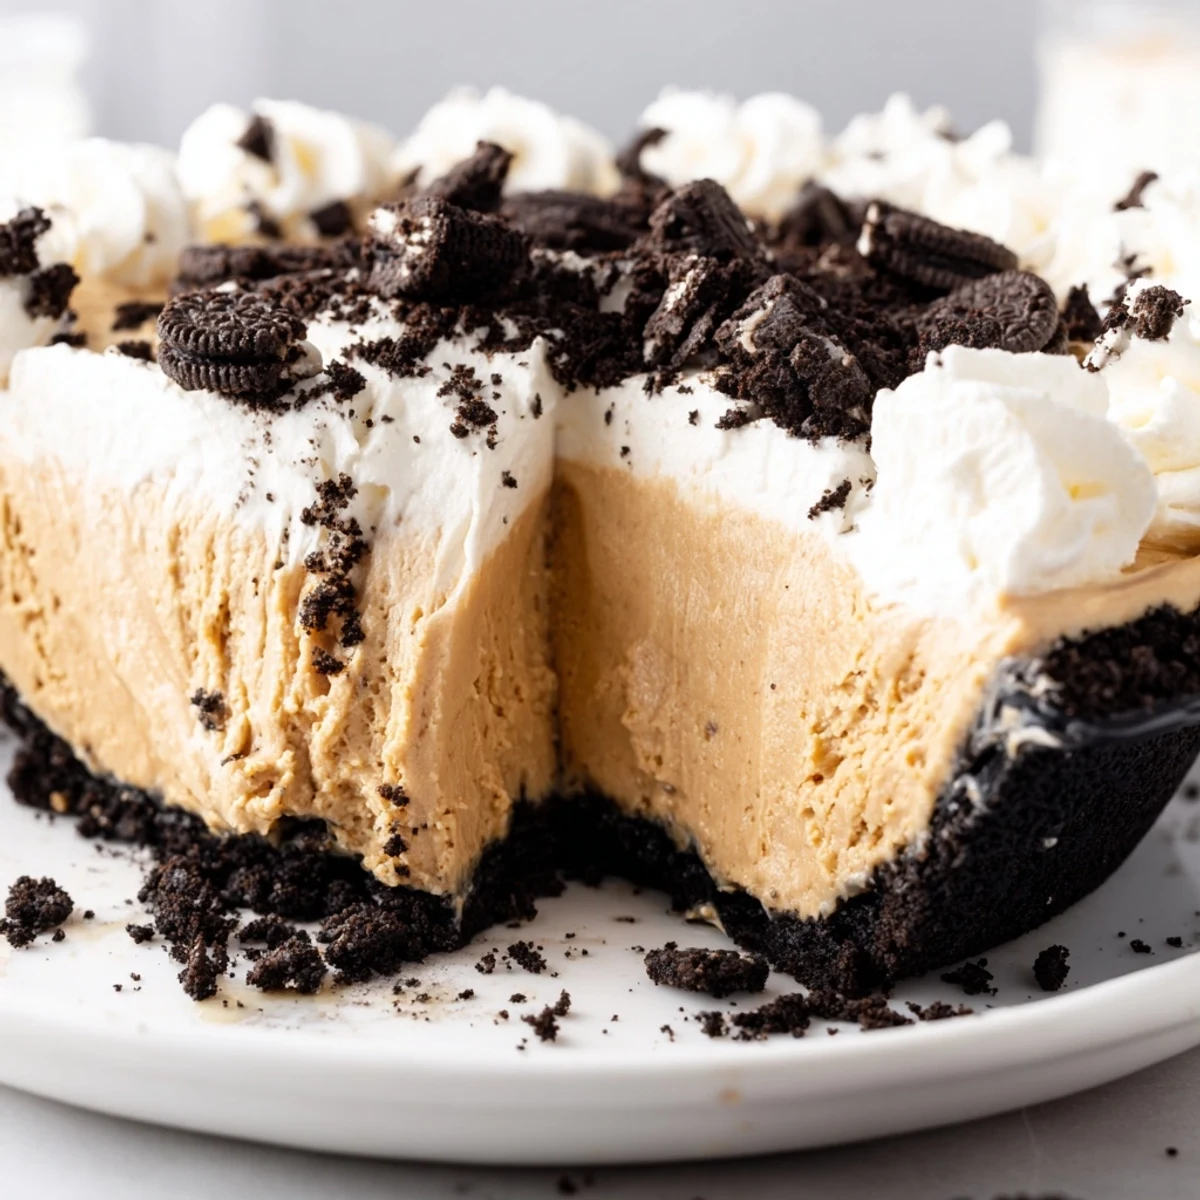
Save This indulgent dessert combines the classic flavors of peanut butter and chocolate cookies in a stunning presentation. The chocolate Oreo crust provides a crunchy foundation for the velvety smooth peanut butter filling, which gets its airy texture from freshly whipped cream. After chilling to set, the pie is crowned with sweetened whipped cream and generous sprinkles of crushed Oreos for that perfect finishing touch.
The entire process comes together in just 30 minutes of active prep time, though the minimum 2-hour chilling period is essential for achieving that perfectly sliceable consistency. The result is a restaurant-worthy dessert that looks impressive but requires minimal culinary expertise.
I'll never forget the summer my sister discovered this pie during what we jokingly called the great dessert experiment phase of our lives. We were hosting a last minute backyard barbecue and she realized at 4pm that she'd forgotten to make anything sweet. The resulting creation disappeared so fast that our cousin actually asked if there was a secret second pie hiding somewhere.
Last Thanksgiving I made six of these pies for different gatherings and each time someone asked for the recipe before they'd even finished their first slice. My dad who claims he doesn't have much of a sweet tooth went back for seconds which is basically the highest compliment in our family.
Ingredients
- 24 Oreo cookies: The filling in the cookies helps bind the crust together so don't bother scraping it out
- 5 tbsp unsalted butter melted: I've tried salted but it competes with the sweetness so stick to unsalted
- 1 cup creamy peanut butter: Room temperature makes all the difference for smooth blending
- 8 oz cream cheese softened: Leave it out for at least an hour or you'll end up with tiny lumps
- 1 cup powdered sugar: Sift it first if it's been sitting in your pantry for months
- 1 cup heavy whipping cream: Cold from the fridge is essential for achieving those stiff peaks
- Additional 1 cup heavy whipping cream: For the whipped topping layer that makes it look professional
- 2 tbsp powdered sugar: Just enough to sweeten the cream without making it cloying
- 4 Oreo cookies coarsely crushed: The rough texture on top is what makes people say wow before they even take a bite
Instructions
- Build that chocolate crust foundation:
- Preheat your oven to 350°F and pulse those Oreos in a food processor until they resemble sand. Mix in the melted butter until everything is evenly coated then press firmly into your pie dish using the bottom of a measuring cup. Bake for exactly 10 minutes then let it cool completely while you make the filling.
- Whip up the peanut butter clouds:
- Beat the peanut butter and softened cream cheese until you can't see any white flecks anymore. Add the powdered sugar and mix until it disappears then in a separate bowl whip that heavy cream until it stands in stiff peaks. Gently fold the cream into the peanut butter mixture being careful not to deflate all that air you just worked so hard to incorporate.
- Layer and chill like a pro:
- Spread that gorgeous peanut butter filling into your cooled crust and smooth the top with an offset spatula. Pop it in the fridge for at least 2 hours because patience is what separates good pie from great pie.
- Add the grand finale topping:
- Whip the remaining cream with the powdered sugar until it's thick and luscious. Spread it over the chilled pie then scatter those crushed Oreos over the top for that perfect bakery finish.
 Save
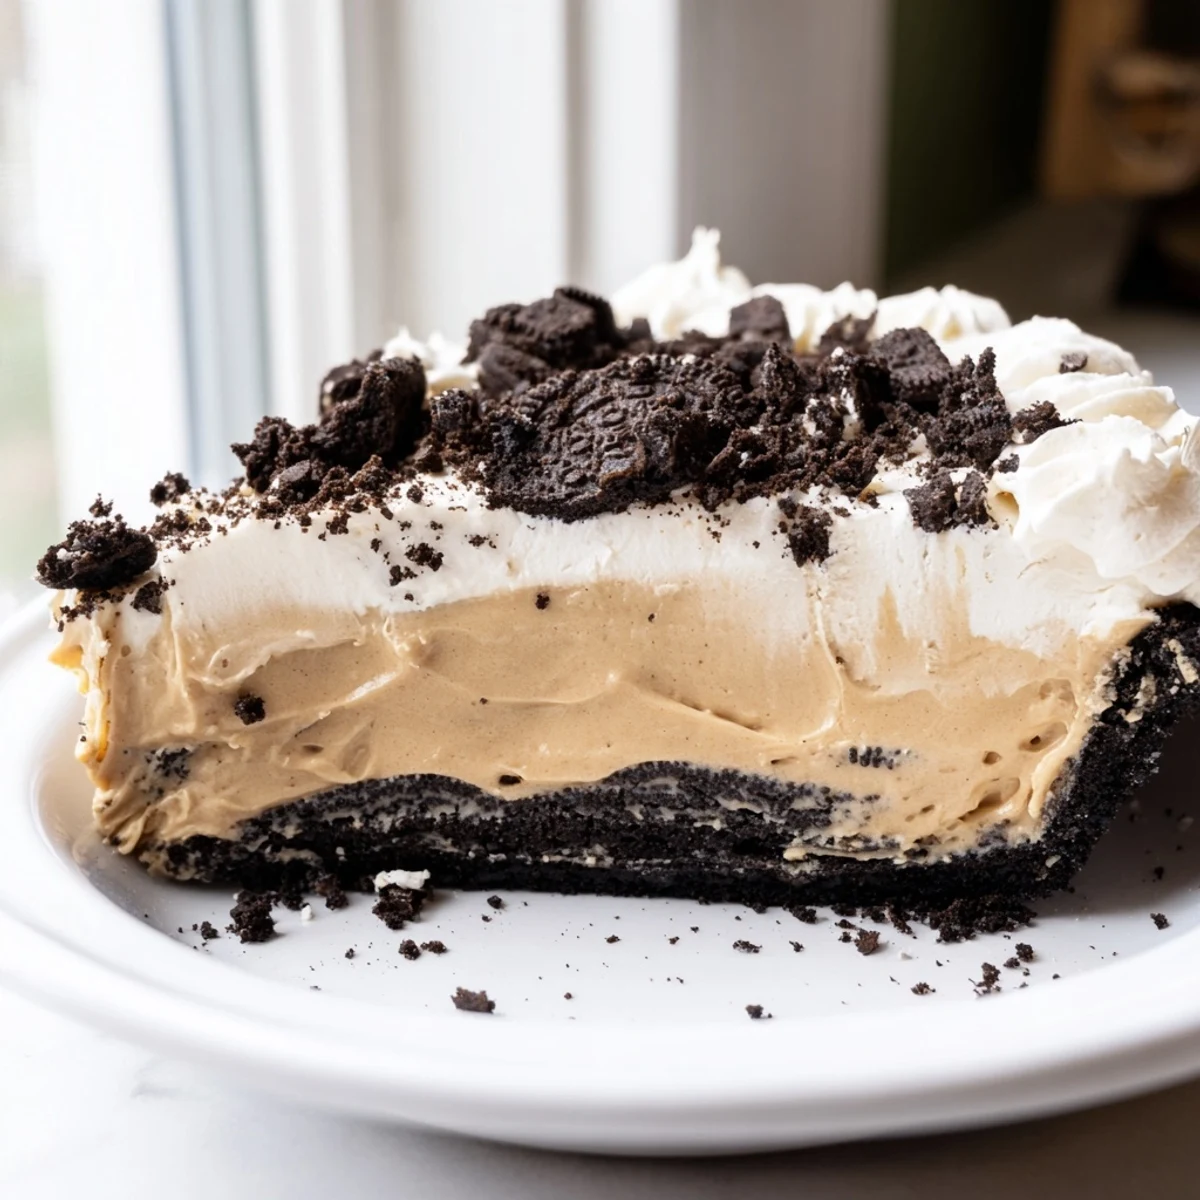
Save This became my go to dessert after the time my roommate made it for her birthday and refused to share the recipe for three months. Now I make it for every potluck and watching people's faces when they take that first bite never gets old.
Making It Ahead
I've learned through experience that this pie actually tastes better after sitting in the fridge overnight. The flavors meld together beautifully and the texture becomes even more luxurious. Just wait to add the whipped topping until a couple hours before serving.
Storage Solutions
The pie will keep covered in the refrigerator for up to four days though I've never had one last that long in my house. The crust might soften slightly after day two but the flavor remains absolutely incredible.
Serving Suggestions
A warm slice sounds counterintuitive but I discovered by accident that letting it sit at room temperature for 15 minutes before serving makes the filling even silkier. This trick has converted several cold pie skeptics in my family.
- Use a sharp knife dipped in hot water for clean slices
- Chill your serving plates for restaurant style presentation
- Have a glass of milk ready because this is seriously rich
 Save
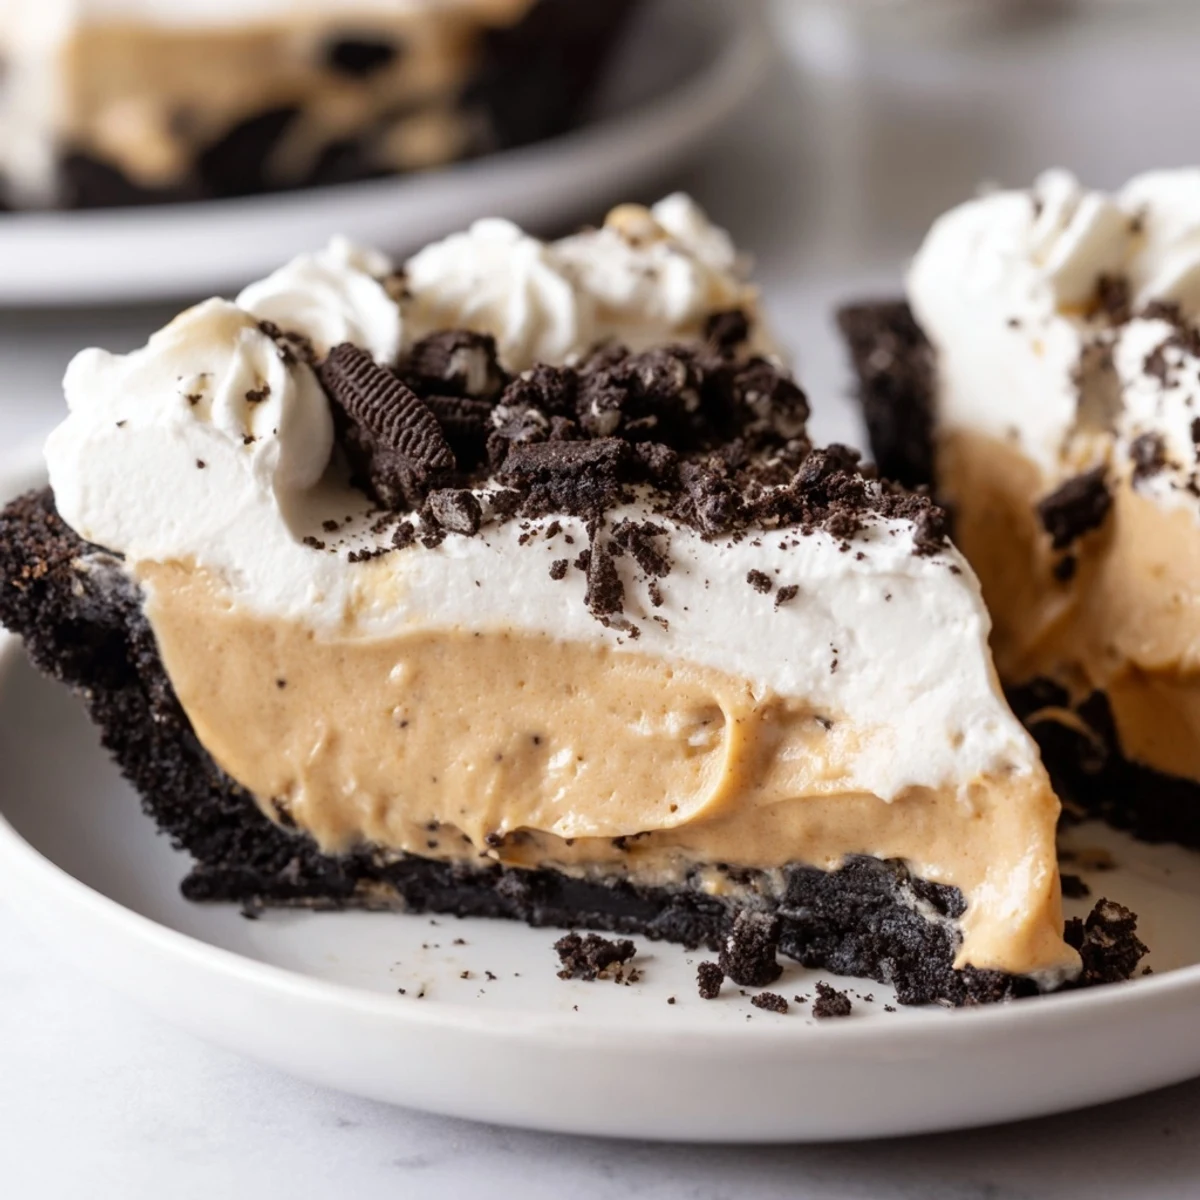
Save There's something deeply satisfying about a dessert that looks impressive but comes together with such simple ingredients. Every time I serve this I'm reminded that the best recipes are often the ones born from last minute inspiration.
Recipe FAQs
- → Can I make this ahead of time?
-
Absolutely! This pie actually tastes better when made ahead. You can prepare it up to 2 days in advance and store it covered in the refrigerator. The flavors meld together beautifully, and the texture becomes even more firm and sliceable.
- → Can I use natural peanut butter?
-
While you can use natural peanut butter, keep in mind that the filling may be slightly less stable and more oily. For best results, use commercial creamy peanut butter like Jif or Skippy, which contain stabilizers that help maintain the smooth, creamy texture.
- → How do I know when the crust is done baking?
-
The Oreo crust should bake for exactly 10 minutes at 350°F. You'll notice a subtle toasted aroma, and the crust will feel firm to the touch. It won't change color significantly since Oreos are already dark. Allow it to cool completely before adding the filling.
- → Can I freeze this pie?
-
Yes! This pie freezes exceptionally well. Wrap the fully assembled pie tightly with plastic wrap and foil, then freeze for up to 2 months. Thaw overnight in the refrigerator before serving. Note that the whipped cream topping may weep slightly after thawing.
- → What if I don't have a food processor?
-
No problem! Place the Oreo cookies in a large zip-top bag and crush them with a rolling pin or the bottom of a heavy pan. Continue crushing until you achieve fine, uniform crumbs. This hands-on method works just as well as a food processor.
- → Can I make this gluten-free?
-
Traditional Oreos contain wheat, but you can easily substitute with gluten-free chocolate sandwich cookies. Many brands make excellent gluten-free alternatives that will work perfectly in the crust and as garnish.