 Save
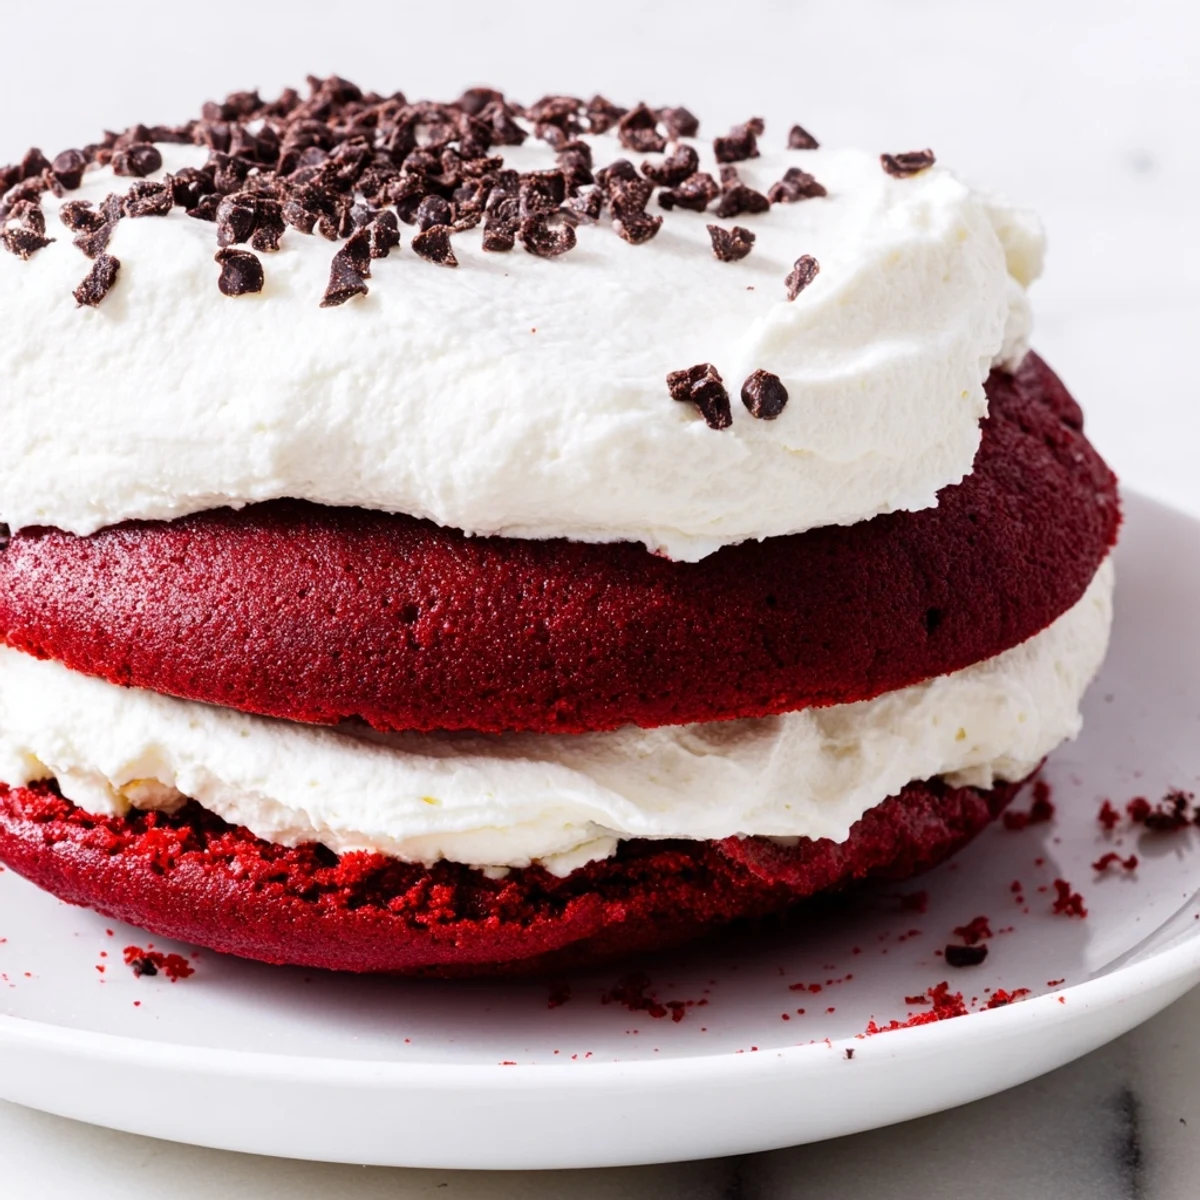
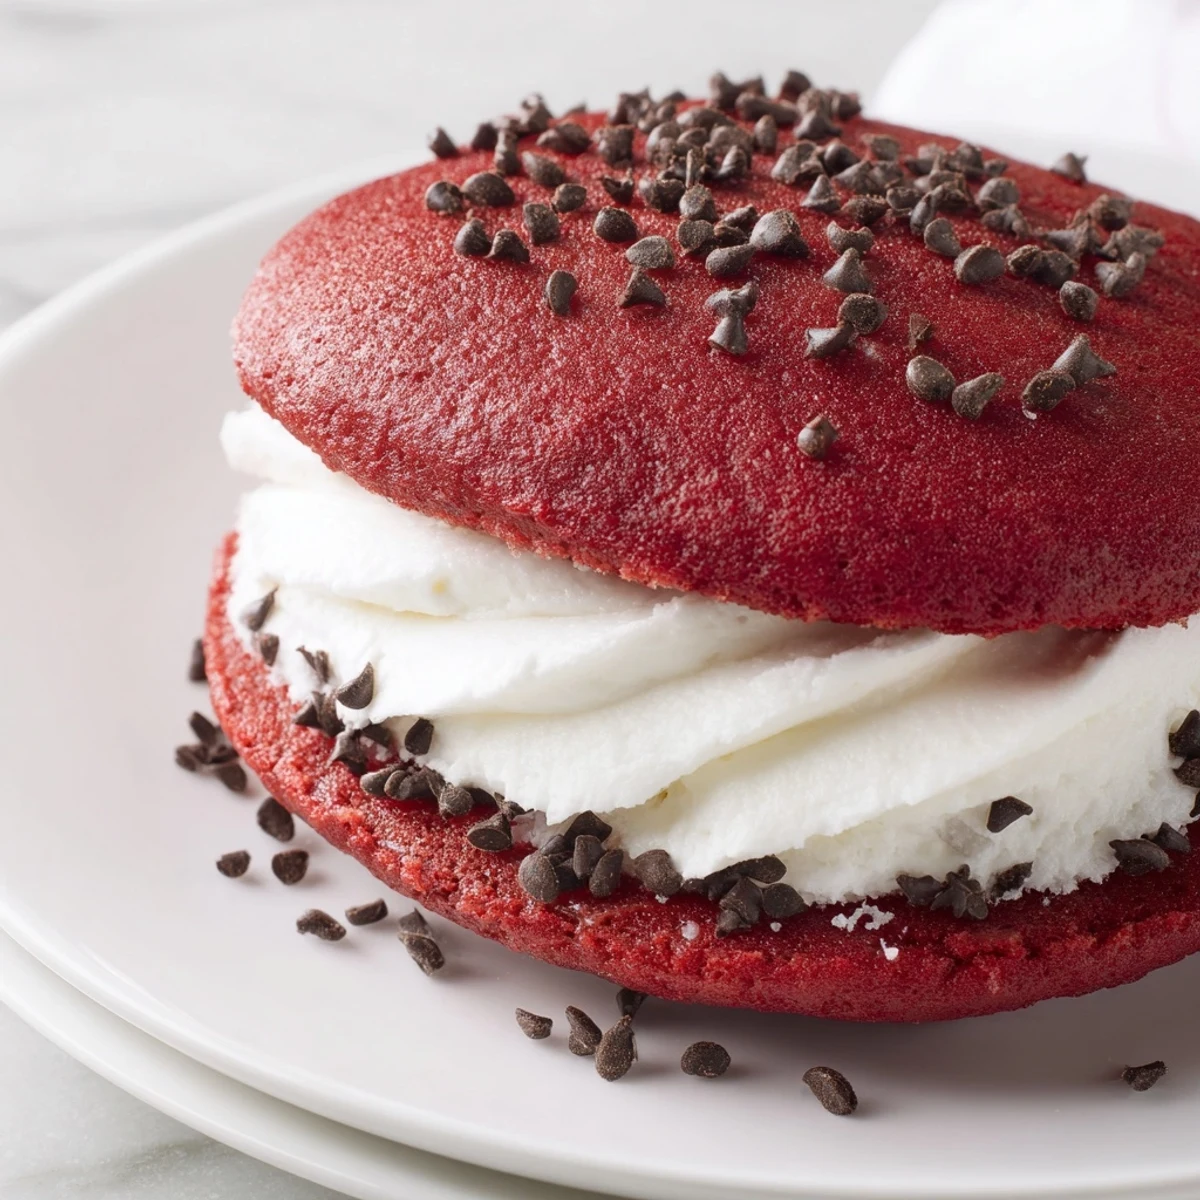
Save Enjoy soft, moist red velvet cakes made with cocoa and vibrant red coloring, baked to perfection. These are paired with a creamy, airy marshmallow filling made from butter, powdered sugar, and fluff, creating a luscious combination. Perfectly portioned as individual sandwiches, these treats can be served fresh or chilled. Simple steps like alternating dry ingredients with buttermilk and careful mixing ensure tender cakes. Optionally, add mini chocolate chips on edges for extra texture and flavor.
My grandmother kept red food coloring in the pantry year-round, but those little bottles only came out for celebrations. The first time I made whoopie pies, I didn't realize how much the color would deepen in the oven, and they came out looking like burgundy cushions instead of bright red buttons. Everyone still ate them anyway, reaching for seconds with marshmallow cream smeared across their chins.
Last summer I made a batch for a block party and watched kids line up by the back door, peeking through the screen as I arranged them on a platter. One neighbor asked if I'd sell her the recipe, and I laughed because these are so much easier than their bakery-case appearance suggests. Now they're the first thing people ask for when invitations go out.
Ingredients
- All-purpose flour: The structure here matters—scoop and level gently to keep the cakes tender
- Unsweetened cocoa powder: Just enough to whisper chocolate without overpowering the classic velvet flavor
- Buttermilk: Room temperature is key for proper emulsification, and the tang balances the sweetness beautifully
- Red food coloring: Gel coloring produces that bakery-red without thinning the batter like liquid can
- Marshmallow creme: Don't skip the pinch of salt—it wakes up the entire filling
Instructions
- Preheat your oven to 350°F (175°C)
- Line two baking sheets with parchment paper, leaving no gaps between sheets
- Whisk the dry ingredients together
- Combine flour, cocoa powder, baking powder, baking soda, and salt in a medium bowl until uniform
- Cream the butter and sugar
- Beat on medium-high speed for about 3 minutes until noticeably lighter and fluffy
- Add the egg and vanilla
- Mix until fully incorporated, scraping the bowl to ensure nothing hides at the bottom
- Work in the red food coloring
- Beat until the color is evenly distributed with no streaks remaining
- Alternate wet and dry ingredients
- Add dry ingredients in three parts, buttermilk in two, beginning and ending with the flour mixture and stopping as soon as combined
- Scoop the batter
- Drop 24 even mounds onto prepared sheets, leaving 2 inches between each for spreading
- Bake until set
- Cook for 10 to 12 minutes until cakes spring back when gently touched in the center
- Cool completely
- Let them rest on wire racks until room temperature before filling
- Make the marshmallow filling
- Beat butter until creamy, blend in powdered sugar, then fold in marshmallow creme, vanilla and salt until smooth
- Assemble the pies
- Spread filling generously on half the cakes and top with remaining halves, pressing gently to spread the cream to the edges
 Save
Save My sister once tried to speed up the cooling process by putting the cakes in the freezer, but the condensation made them soggy when she filled them. Now we set a timer and find something else to do for those twenty minutes, usually taste-testing the filling with extra cookies from a previous batch.
Making Them Ahead
The unfilled cakes freeze exceptionally well—layer them between parchment paper in a freezer-safe container and they'll keep for a month. Thaw at room temperature still wrapped to prevent condensation, then fill when you're ready to serve. The filling can be made a day ahead and stored in the refrigerator, though you'll need to let it soften for 15 minutes before spreading.
Getting That Bakery Look
A cookie scoop creates the most uniform rounds, but I've also used two tablespoons and done a quick spin to smooth the tops. For the filling, piping it into a circle with a slight hollow in the center ensures the filling doesn't squish out when you press the halves together. The visual difference between messy and meticulous is about thirty seconds of effort.
Customization Ideas
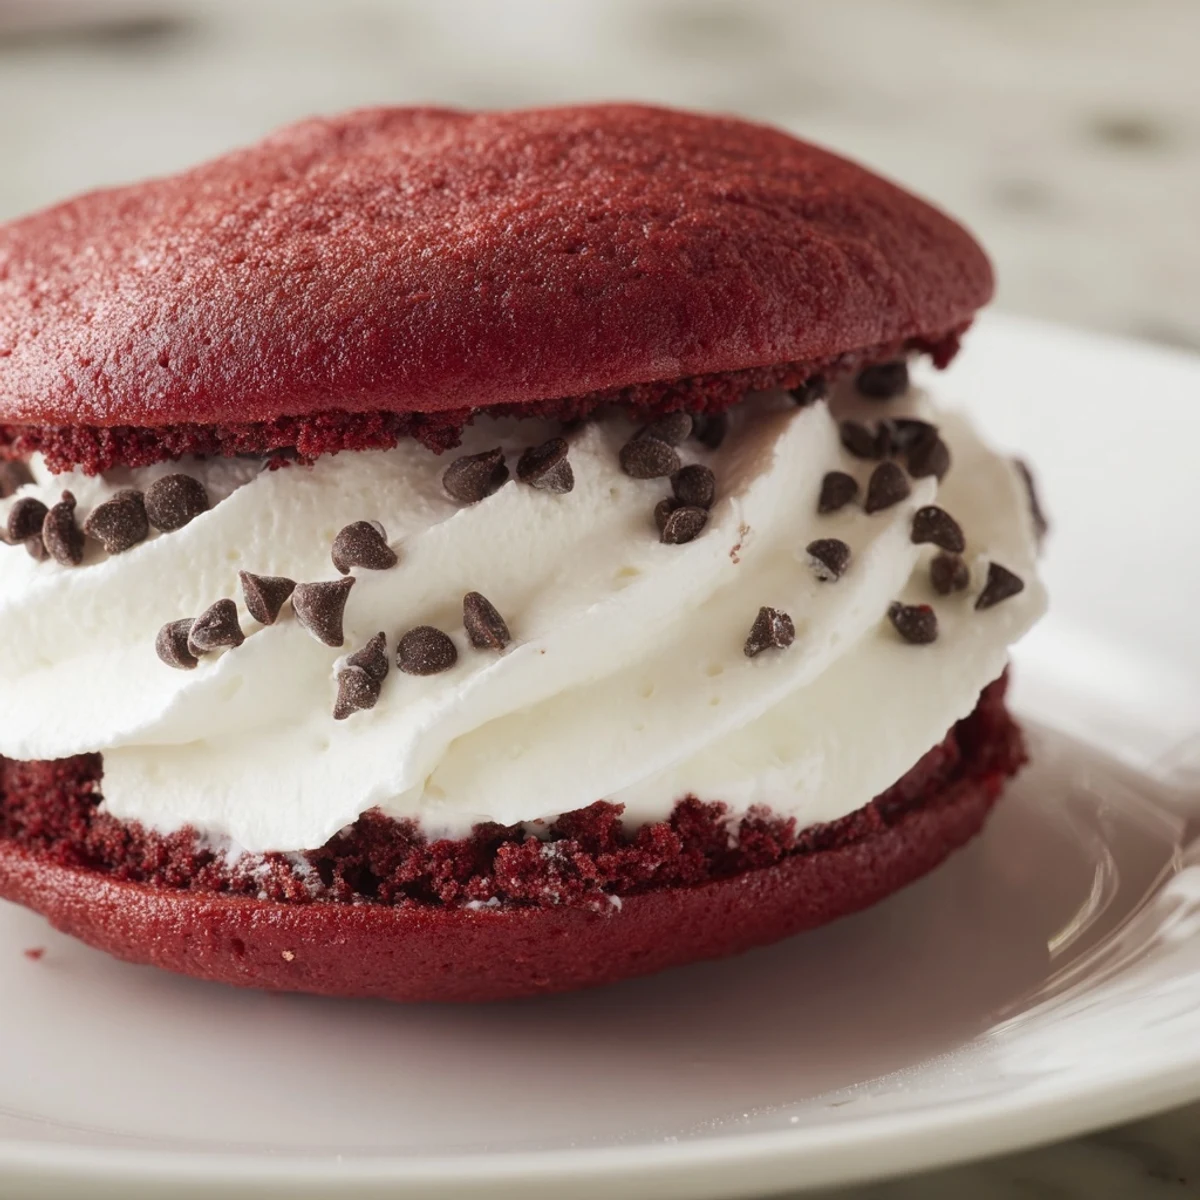
Sometimes I'll fold a handful of mini chocolate chips into the filling for texture, or roll the edges in crushed peppermint during winter. A few drops of almond extract in the cakes instead of vanilla creates a completely different flavor profile that feels more sophisticated.
- Add cream cheese to the filling for a tangier version
- Sprinkle the tops with edible glitter before baking for holidays
- Try orange food coloring for autumn with chocolate sprinkles around the edges
 Save
Save There's something genuinely joyful about biting through that soft red exterior into the cloud-like center. Hope these become part of your celebration traditions too.
Recipe FAQs
- → What makes the velvet cakes tender?
-
Using buttermilk combined with cocoa powder and gentle mixing helps create a soft, tender crumb in the cakes.
- → How do I achieve vibrant red color in the cakes?
-
Gel red food coloring provides a more intense hue compared to liquid coloring, enhancing the cakes' appearance.
- → Can I prepare these ahead of time?
-
Yes, assembling in advance and refrigerating in an airtight container keeps the whoopie pies fresh for up to three days.
- → What tool is best for portioning the batter evenly?
-
A cookie scoop or tablespoon allows for consistent-sized mounds, ensuring even baking across all cakes.
- → Are there options to add texture on the edges?
-
Rolling the edges in mini chocolate chips or sprinkles adds delightful texture and enhances the visual appeal.